CANDLESTICKS IN RUST LOOK

Elfen & Helden Kerzenständer aus Flaschen Patina Look 1

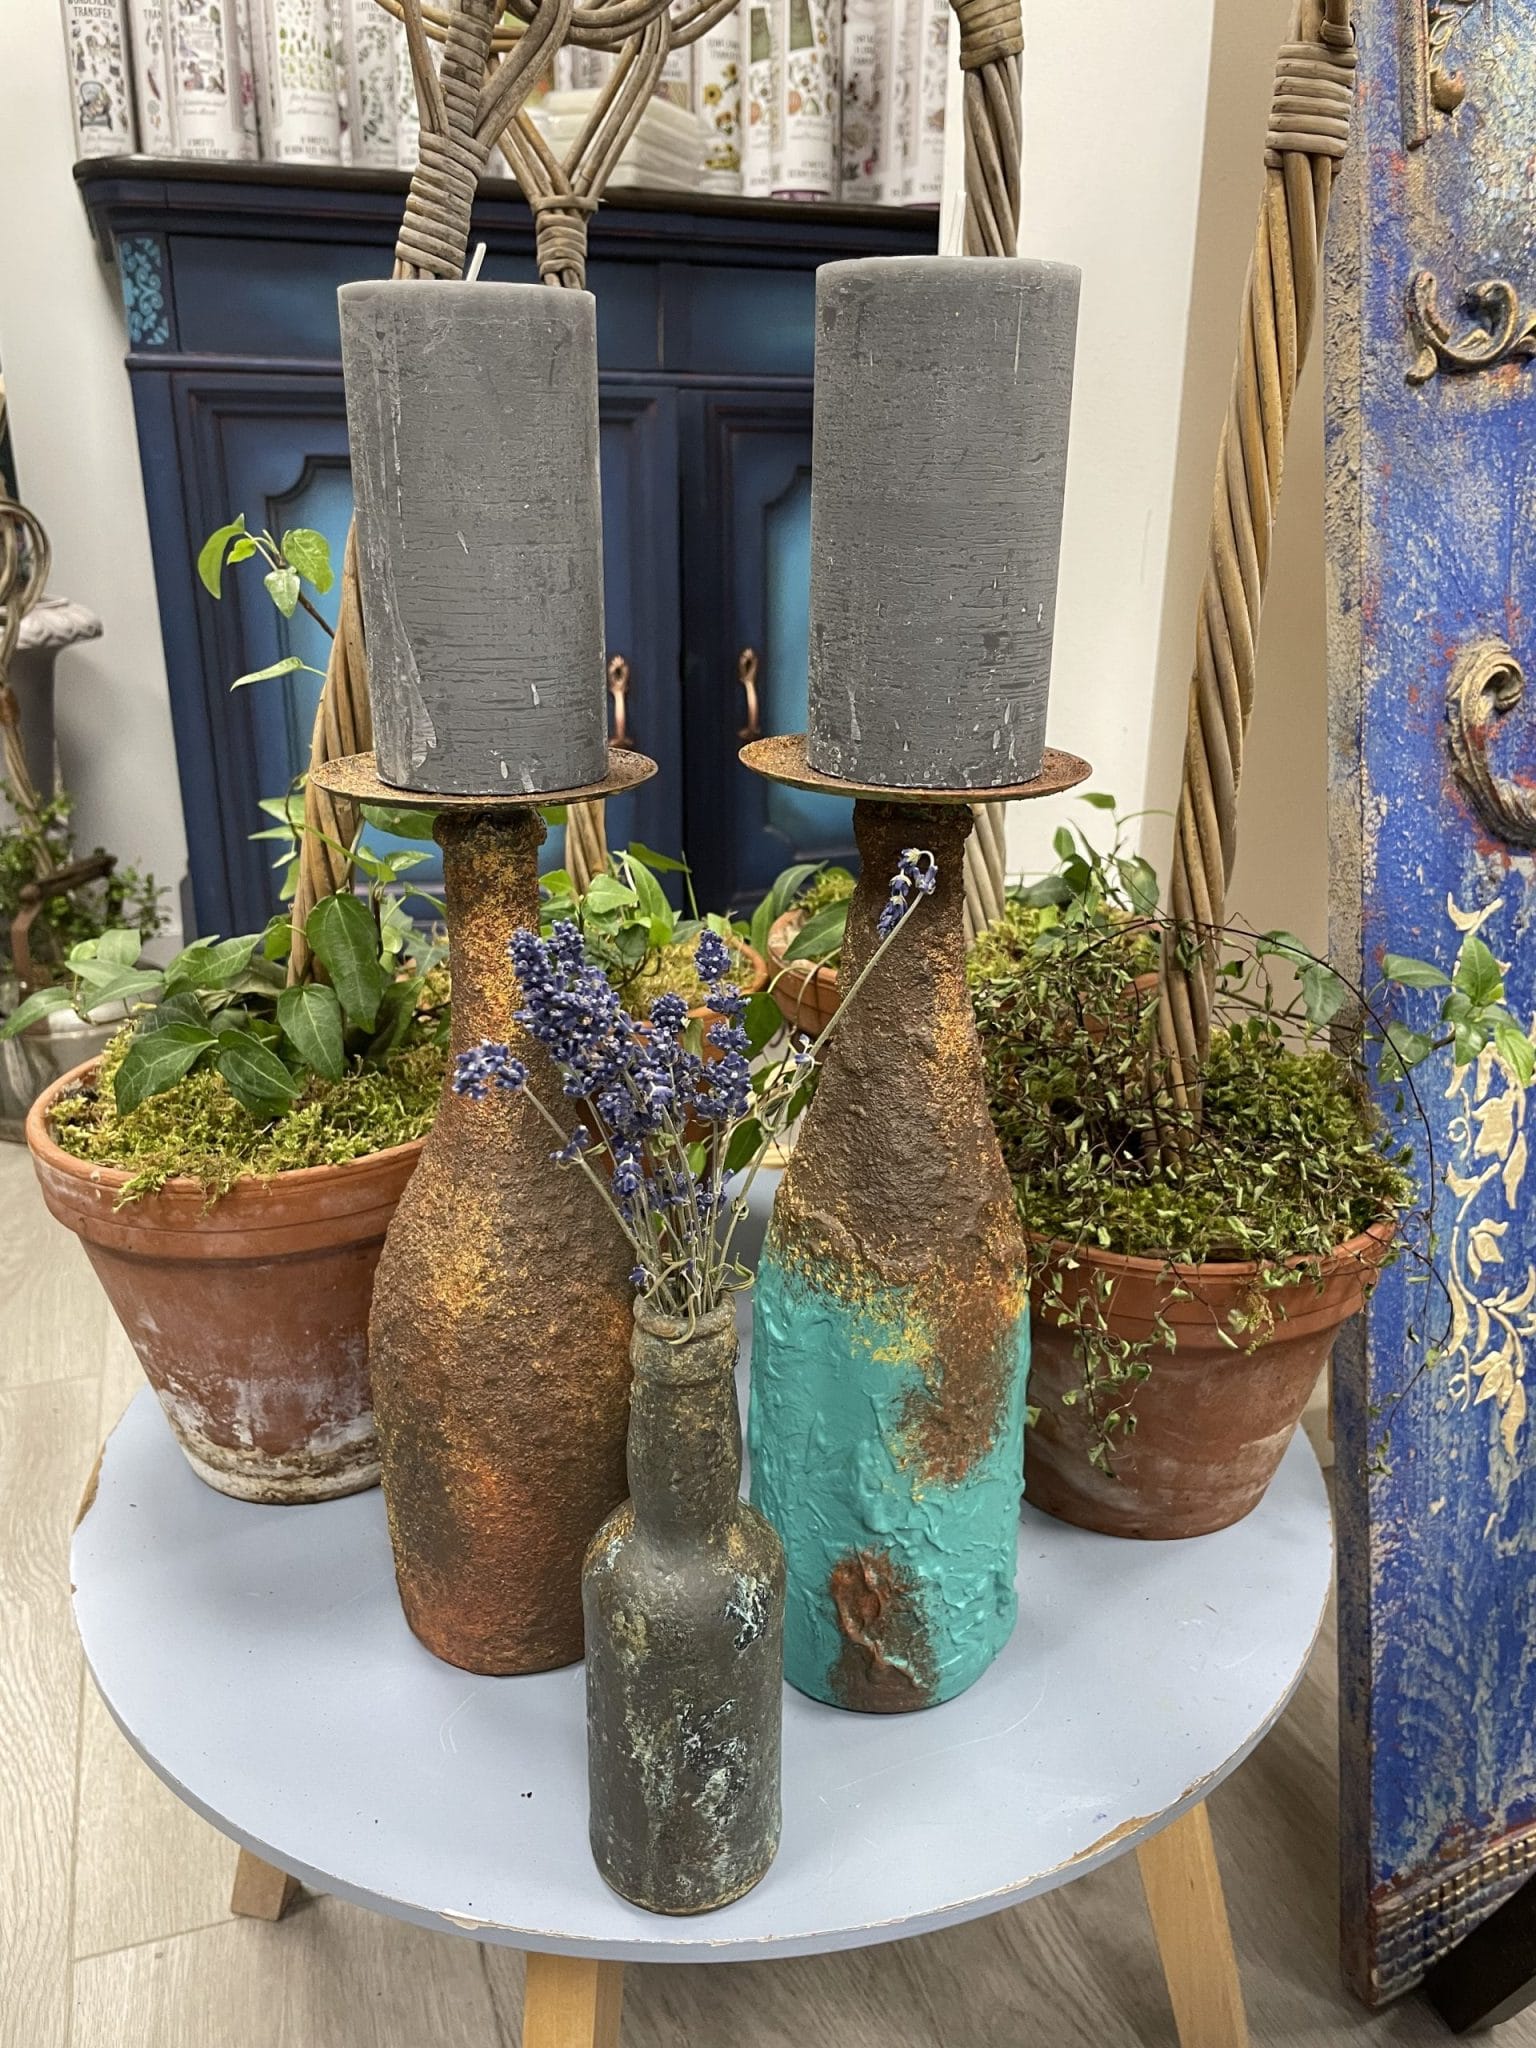
In general, everything is right The main thing is that you like it and beauty is known to be in the eye of the beholder ?

  1. Clean bottles thoroughly
  2. DB Slick Stick Apply adhesive base (allow 1st layer to dry – about 1-2 hours depending on temperature and humidity. 2nd shift allow to dry for 24 hours or at least overnight)
  3. (optional) Fill bottles half with plaster or similar for weighting
  4. (optional) Apply residues of gypsum or other texture to the outside of the bottle for a structural look
  5. A) Cut the cork and insert it firmly into the neck of the bottle. Drill a hole with a very thin drill in the middle of the cork so that the Advent arrangement candle holder can be inserted more easily. He should, of course, be stuck.
    B) If no cork is available, put paper or the like about 3-5 cm in the bottle neck and fill with hot glue or 2-component glue. Insert the Advent arrangement candle holder and let it dry.
  6. Rust optics are available in different variations such as
    A) Spray can
    B) as water-based color pastes, which are applied on top of each other to achieve the appropriate optics
    C) Paints with real metal pigments (iron, copper, bronze) which trigger a “real” corrosion with the help of an activation liquid applied over it and form rust and patina
  7. In this example, we use variant B) as the most environmentally friendly solution.
    Before applying, the colors must each be mixed well on their own, as they contain a structural medium.
  8. We start with the base color, an egg yolk yellow, and cover the whole bottle (or the areas that should look rusty afterwards) with it. For this you can also use a worn natural bristle brush , as this gives even more structure. If you dab or tap the color, there is even more texture. Allow this layer to dry well (depending on room temperature and humidity about 1 hour)
  9. Now comes the 2nd color a rusty red. Mix these well and apply them to the yellow by tapping/dabbing, so that yellow parts can still be seen. Also allow this layer to dry well
  10. The third color as well as the 2nd shade tapped over the first two until you are satisfied with the achieved effect. The complete effect is only really visible after drying.
  11. At the end you can fix the whole thing with a clear lacquer (preferably matt).
  12. Last but not least, put the candle on it and enjoy ❤️ the ambience

Have fun crafting

Your

Angela