
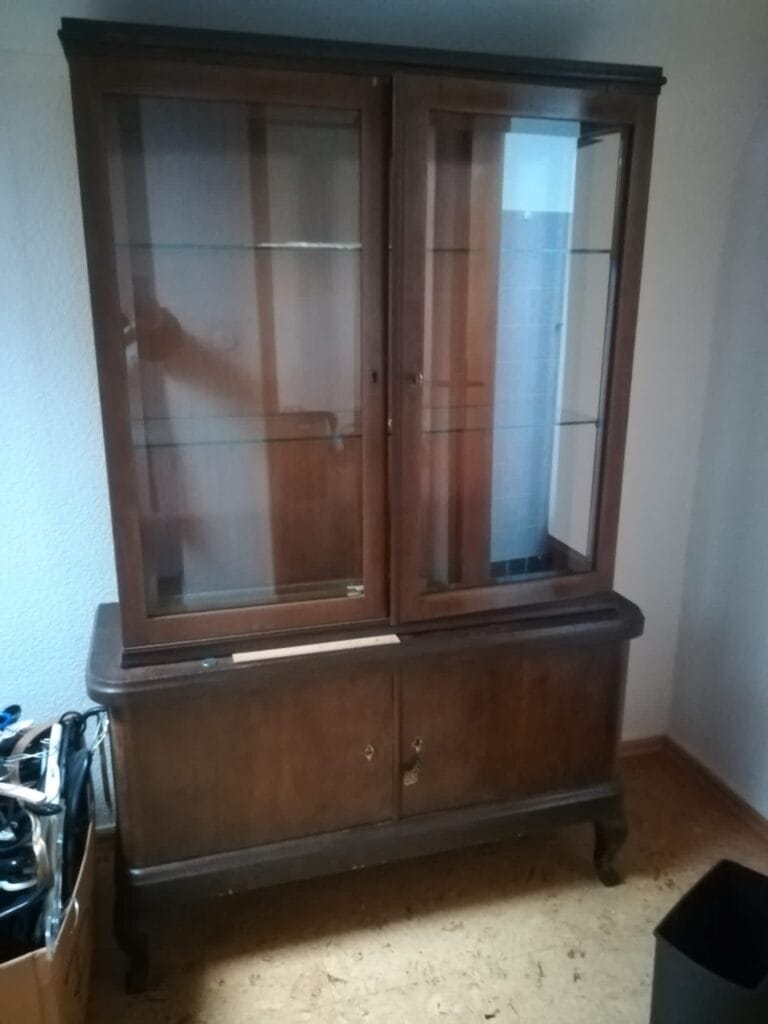
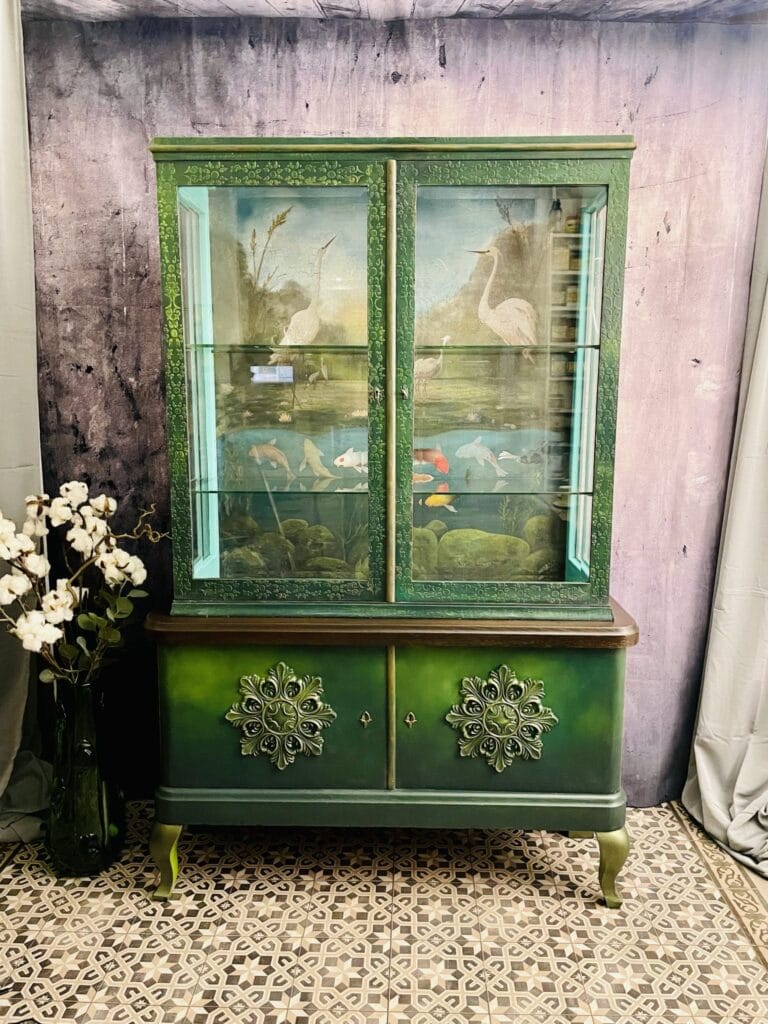
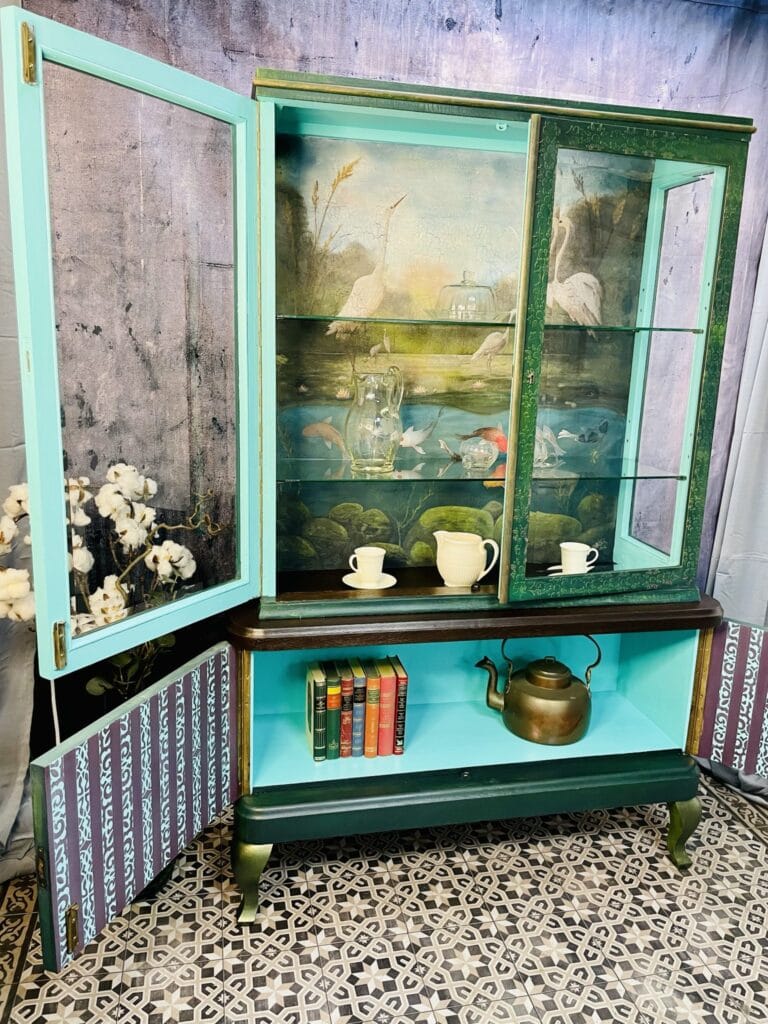
Today I’ll show you step by step how I created this spring dream from a battered display case with Dixiebelle Terra Clay Paints, stencils, decoupage, Woodubend and transfers.

The full description can be found below the video and a list of the products used at the end of this article.
In a way, this project was a bit of a matter of the heart. Although I did not know Gela until the pick-up, she was in the process of dissolving the house of the deceased mother. I myself lost my mother as a child, so I already had a lump in my throat. Fortunately, Gela had many more years with her mom, but that doesn’t make it any easier. However, Gela had many memories with this showcase of her childhood in her parents’ house. So I knew something special had to happen with it … even if the good piece almost fell apart when picking it up.
In preparation, I first cleaned the whole project thoroughly with Dixie Belle White Lightning as always and glued the upper part.
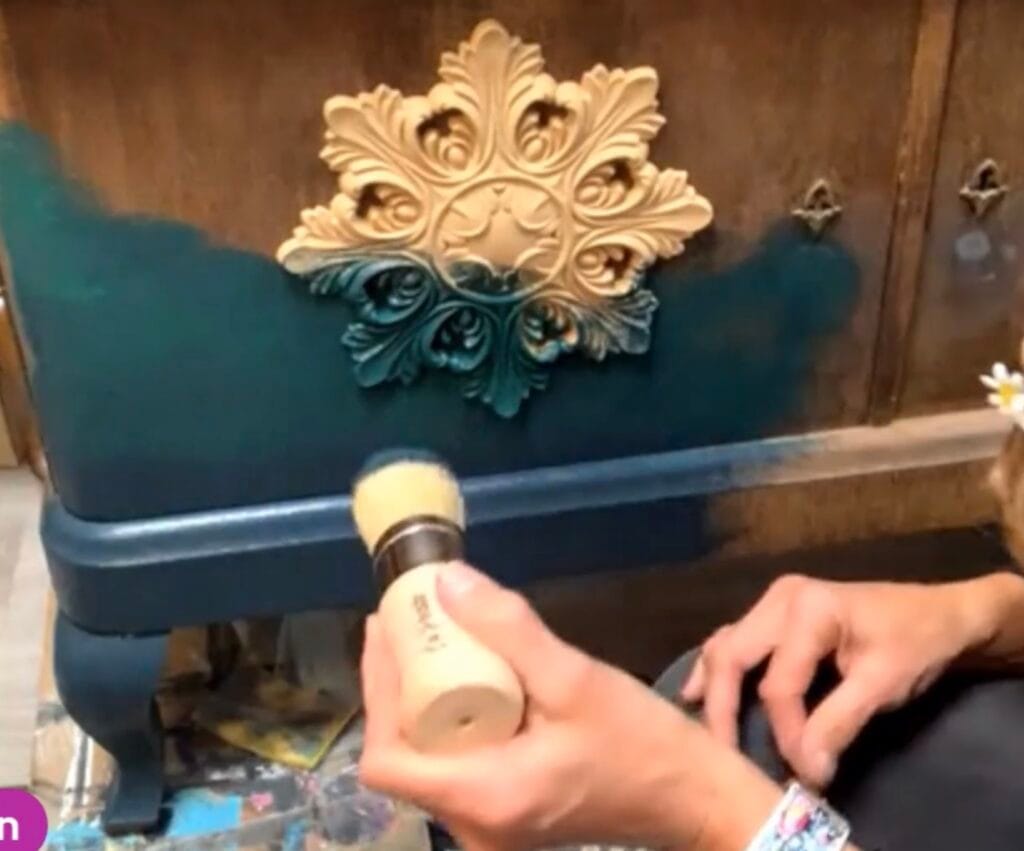
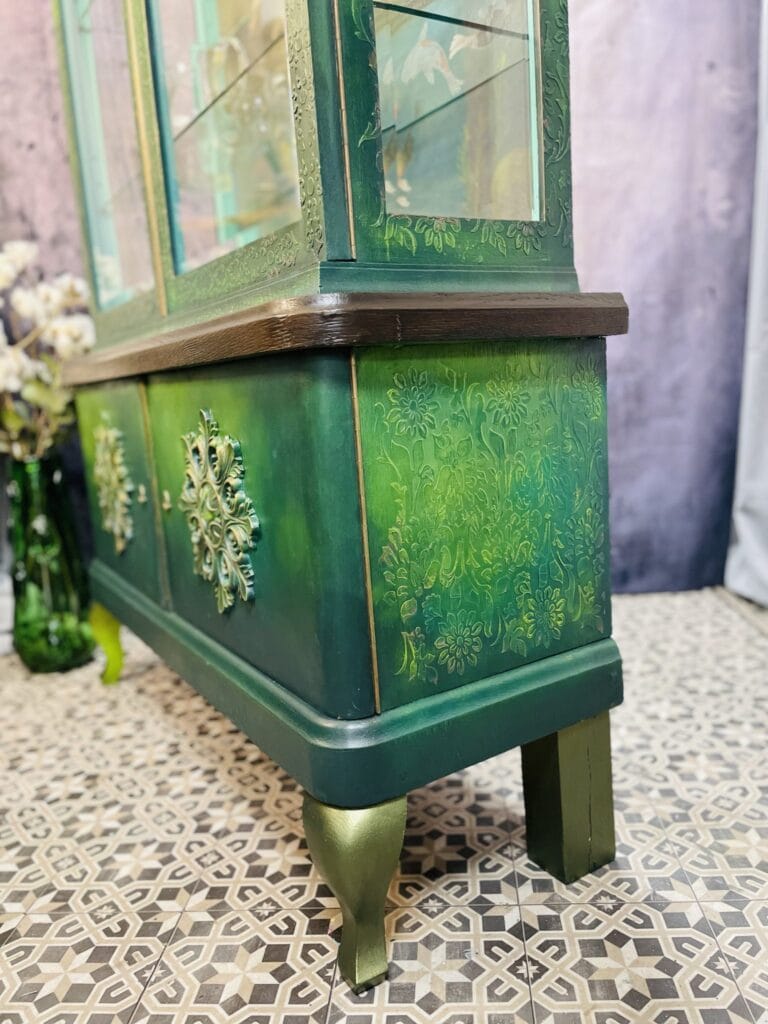
For the doors I chose the centerpiece WUB1323.26 from WoodUbend. The 26 here stands for the diameter of this ornament.

Since it is quite large, I have warmed it well on my small grill and also with my hot air dryer, so that it is nice and flexible. For application I use the Quick & Thick adhesive from Titebond. This has the advantage that it also has a good initial adhesion on vertical surfaces without the ornament slipping off immediately. I thoroughly paint the back with the glue and then press it well on the door. Heat again so that it becomes flexible again and press again well, especially at the edges, so that it clings to the ground.

I remove the excess glue with a damp cloth and in the places where I do not get along well with the cloth with a damp brush.

In this project I work with the Terra Clay Artisan Paints by Dixiebelle. For the first layer, I take
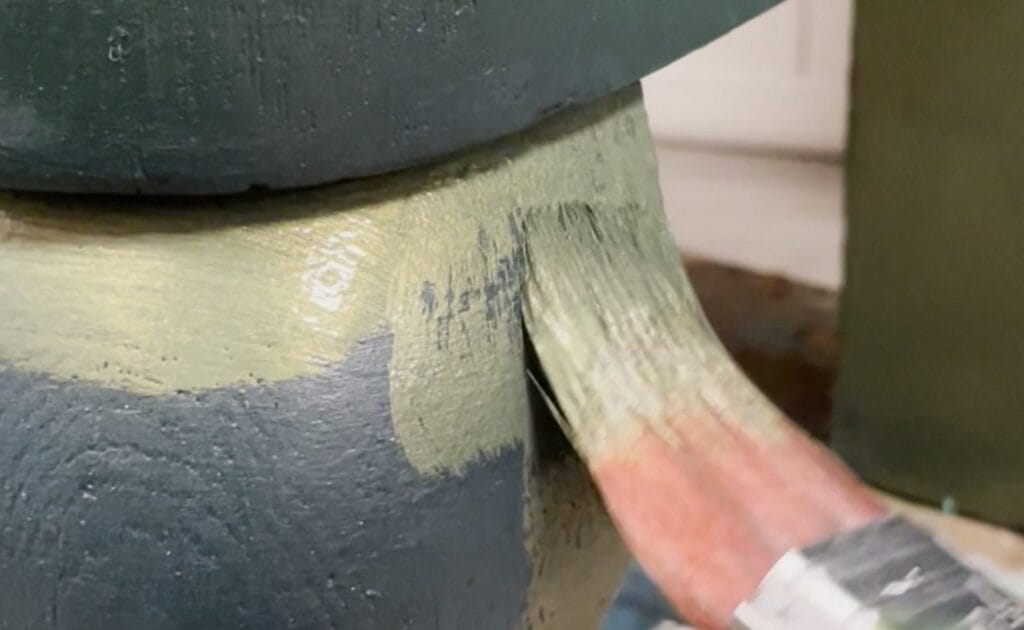
The first layer I see if I like the color combination so much. If not, then I can change that in the second. For painting today I take a natural bristle brush by Dixie Belle die La Petit. More specifically, this one has natural bristles and synthetic bristles, half/half.
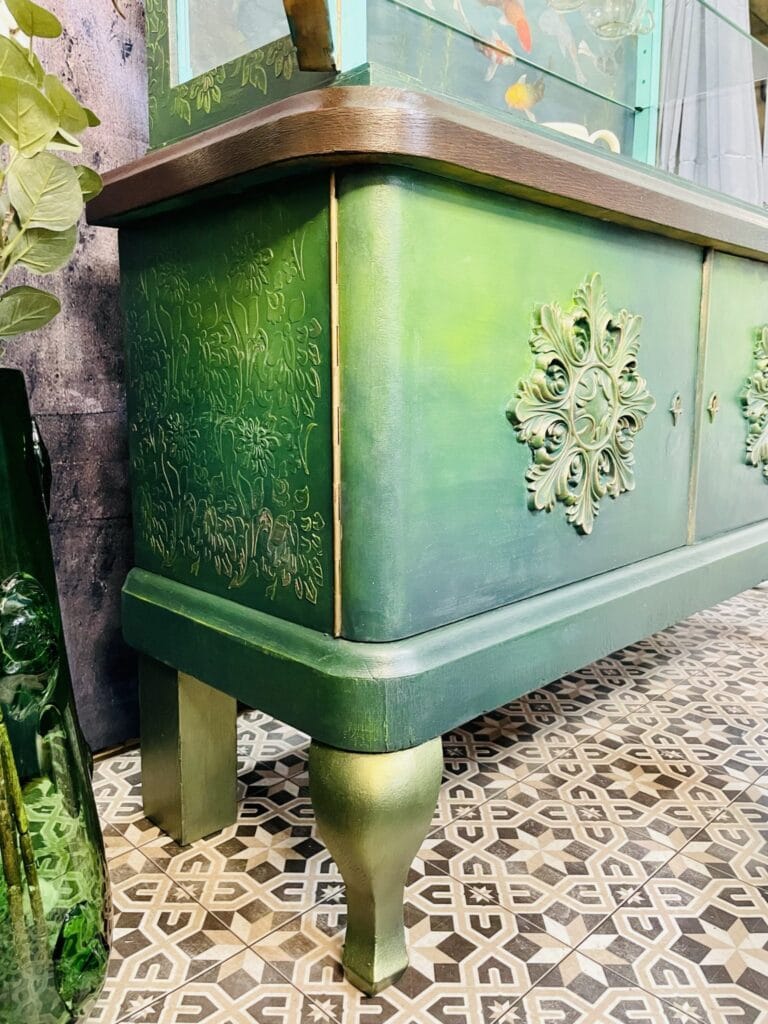
I start from the bottom with the darkest color of the Galaxy and get lighter towards the top with Malachite and Pistachio. With the Daffodil and Prairie Dawn I set a few brighter accents. But I actually omitted the Prairie Dawn in the second round. That took away too much of the color intensity from me.
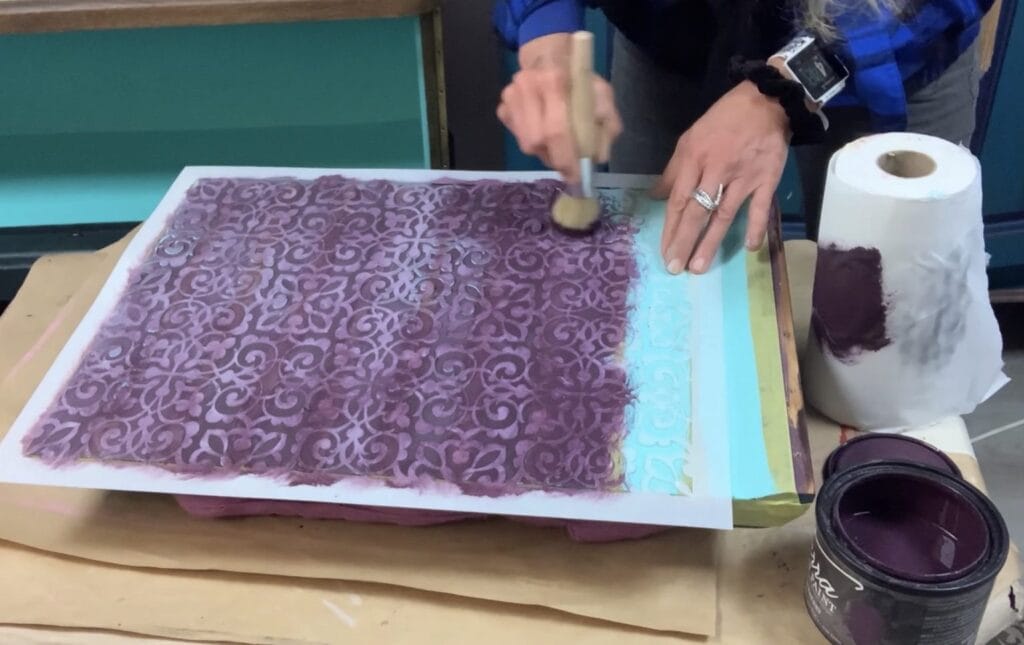
To give the whole thing even more depth and texture, I use the 3D stencil technique. For this I use a part of the “Tiles” stencil by Belles & Whistles for the frame and the template Tea Towel in the lower side area. For this I take the Terra Clay Paint Bougainvillea and mix it with a texture additive from Dixie Belle, the Seaspray. I always mix it by feeling. It may be a bit thicker to be able to build up really nice texture.

To brush into the stencil I use the silicone tool Thing.a.ma.jig.

I let the whole thing dry well because you can also see very nicely that the colors are really dark in the damp state and then dry lighter

With bougainvillea I have set a few accents on the edges and on the ornaments.

The second layer I repeat basically like the first, except that I omitted the Prairie Dawn.

Terra clay paint are water-based and the special thing about these paints is that they can be reactivated with water at any time, as long as they are not sealed. Whether in 24 hours or 12 months. This is a great effect if you want to work on it even further and change certain areas.
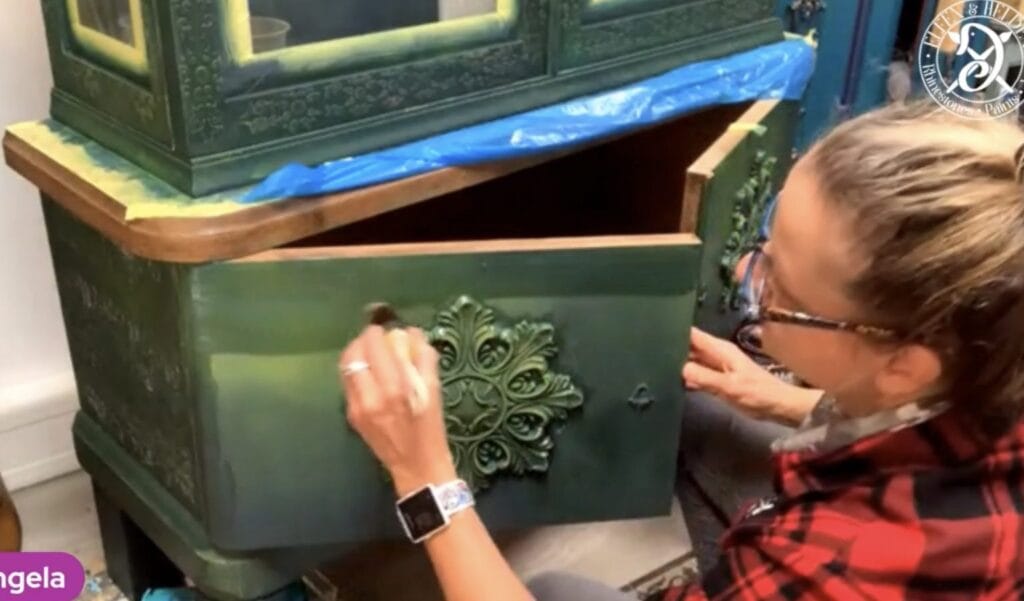
Using a drybrush, i.e. almost dry brush, I emphasized the texture of the 3D stencilled with the contrasting green.

Now I’ve reached the stage where I’m as happy with the finish as it is. That’s why I first seal with one of the water-based overcoats. So it is protected for the time being, but I can still paint over it if I wanted to. For sealing, I use the Tara Tuff here. Tara Tuff dries in a satin-finished finish and makes the colours shine beautifully again.
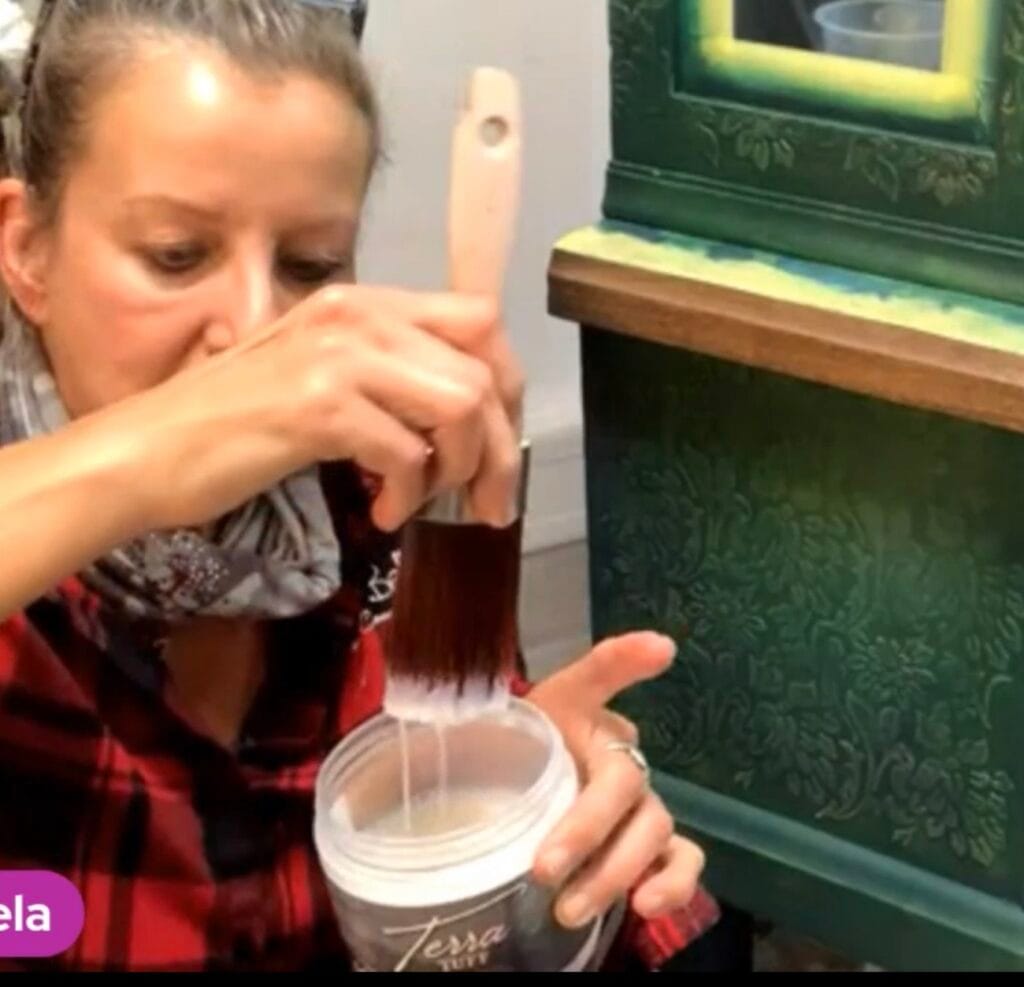
Terra Clay Paints dry lighter than they are when wet. When sealing the Terra Clay Paints with one of the water-based top coats, I avoid moving the brush back and forth too much on the first application so that I do not reactivate the colors. You can see very nicely how the colors immediately become more intense again.
I seal with 2 layers. With the first one a bit carefully, with the second order is already completely sealed and I make sure that I have not overlooked any place.
Now it’s time for the inner workings of this showcase. Here I first set a base with Galaxy. For the corners I use the Premium Chip Brush and for the rest of the area the Big Daddy Brush.

After the Galaxy has dried, I apply Dixiebelle Crackle – this is a cracking medium – in an irregular pattern at the top.
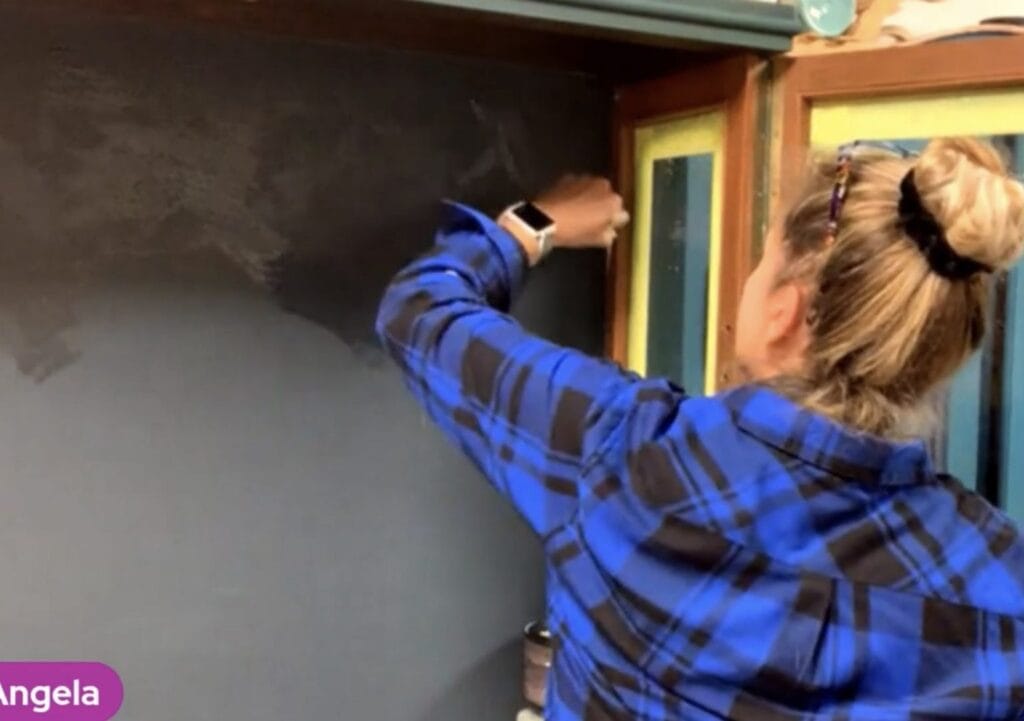
The crackle is a little thick and viscous and tends to form droplets on a vertical surface during drying. That’s why I keep it under observation and stipple the drops away with the French Tip Brush.

When the crackle is dry, the second color can be over it. I chose the fluff from the Chalk Mineral Paint series. Since I want to put a decoupage paper over it, I like a white base.

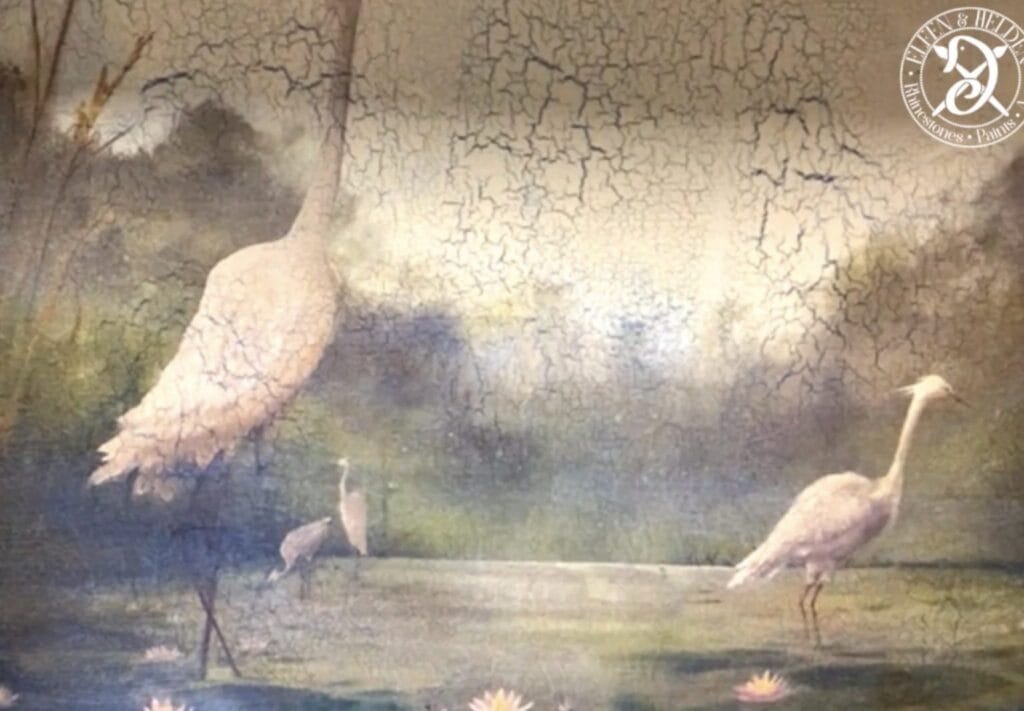
Crackle shows its effect very quickly and you can see how the cracks develop. It’s a really cool process and I love this product.

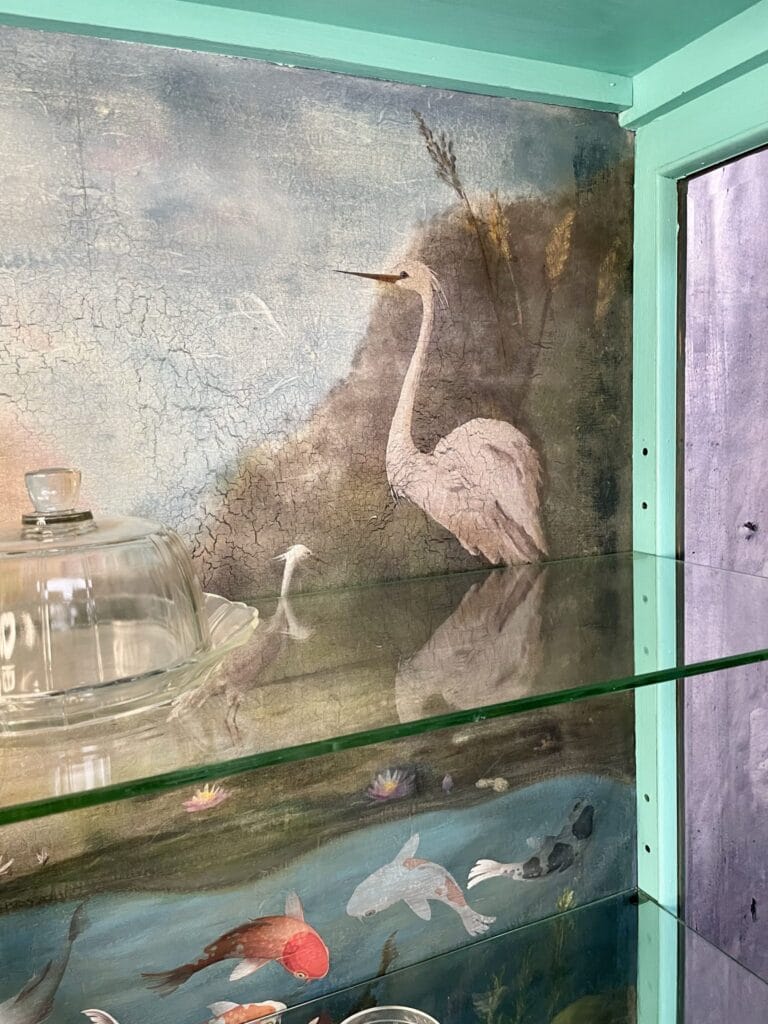
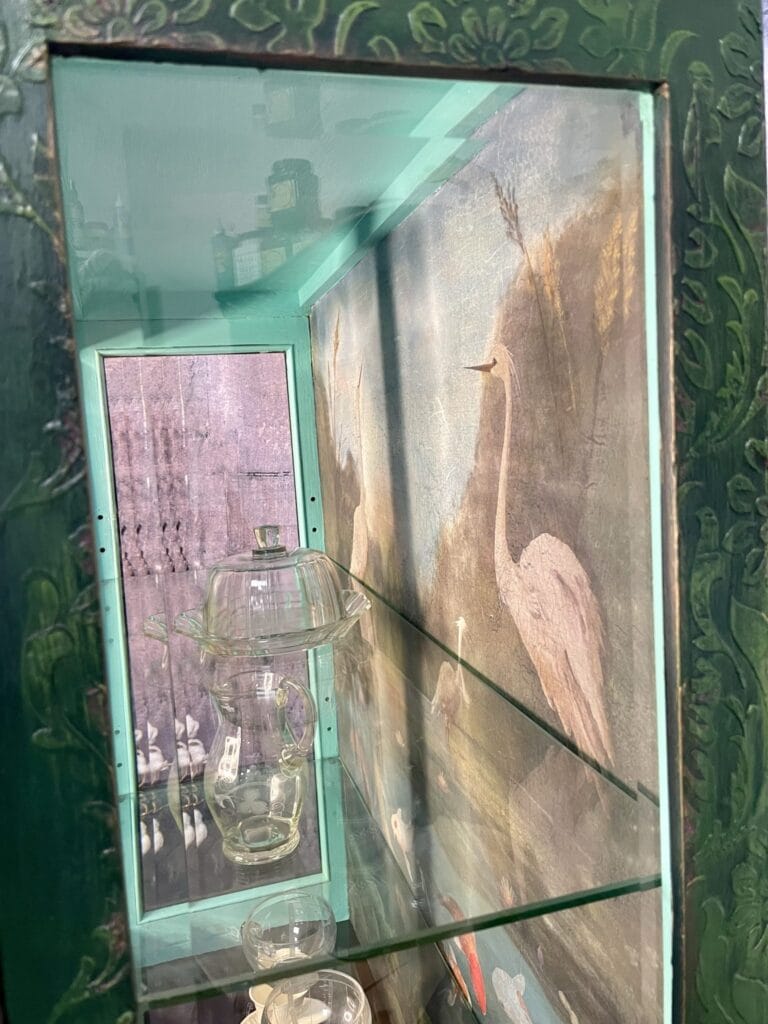
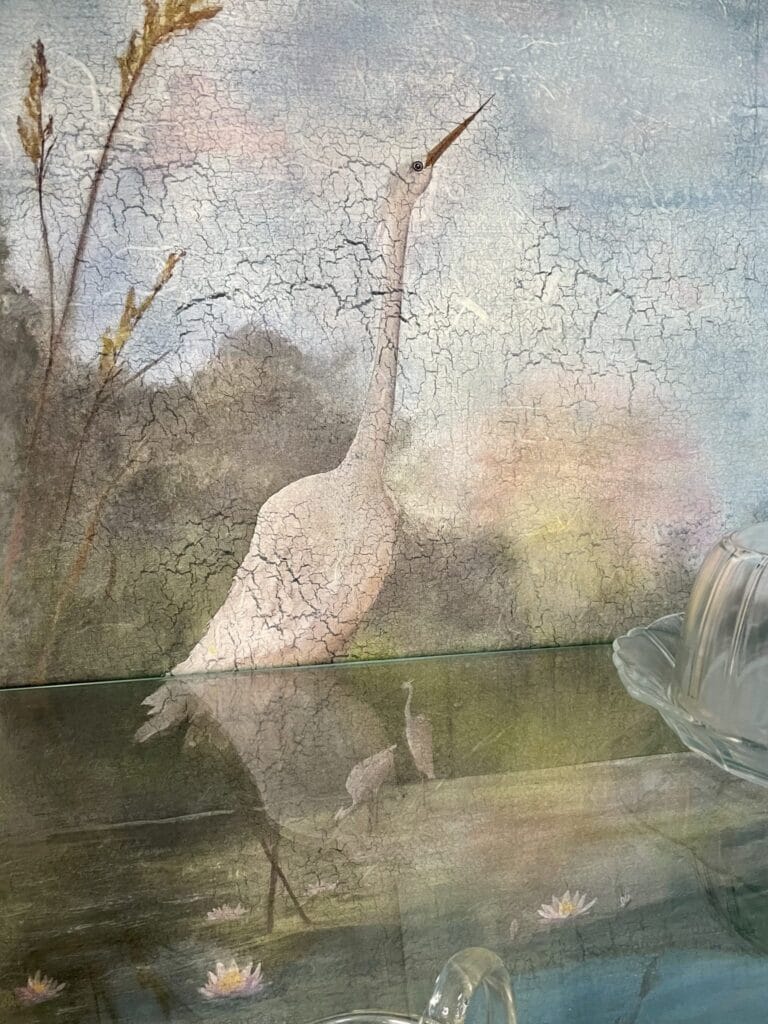
The decoupage paper comes from the Posh Chalk Deluxe Decoupage line and is one of the Jonathon Marc Mendez motifs, the “Utopia”. This is available in two sizes in DIN A3 and DIN A1. As a decoupage medium I use the infusor of Posh Chalk. This actually dissolves the Posh pigments, but it is also ideal as a decoupage medium and also as a sealant. It is even suitable for outdoor use.
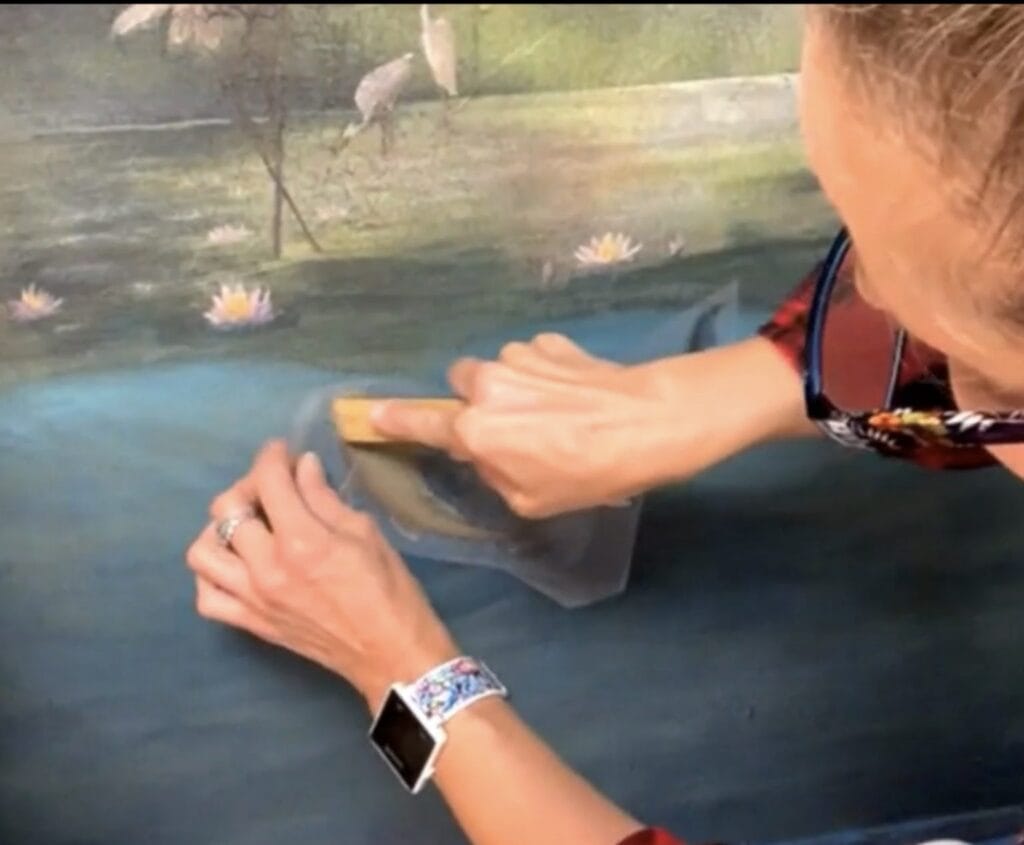
I put on a layer with the infusor and then put the decoupage paper over it. I work my way forward in stages.
To spread out wrinkles and air bubbles I take a squeegee with felt edge which I have wrapped in plastic, so that I do not contaminate the felt edge with the infusor.
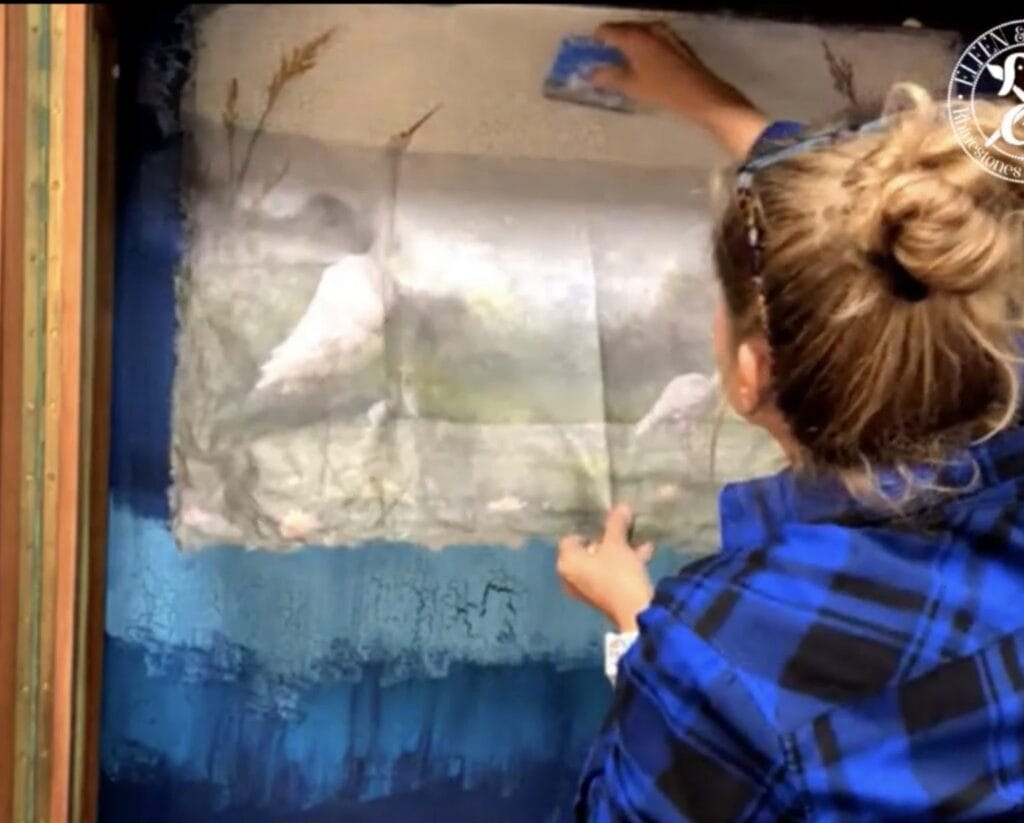
Most decoupage papers are semi opaque and here you can see the cracks from the color underneath.
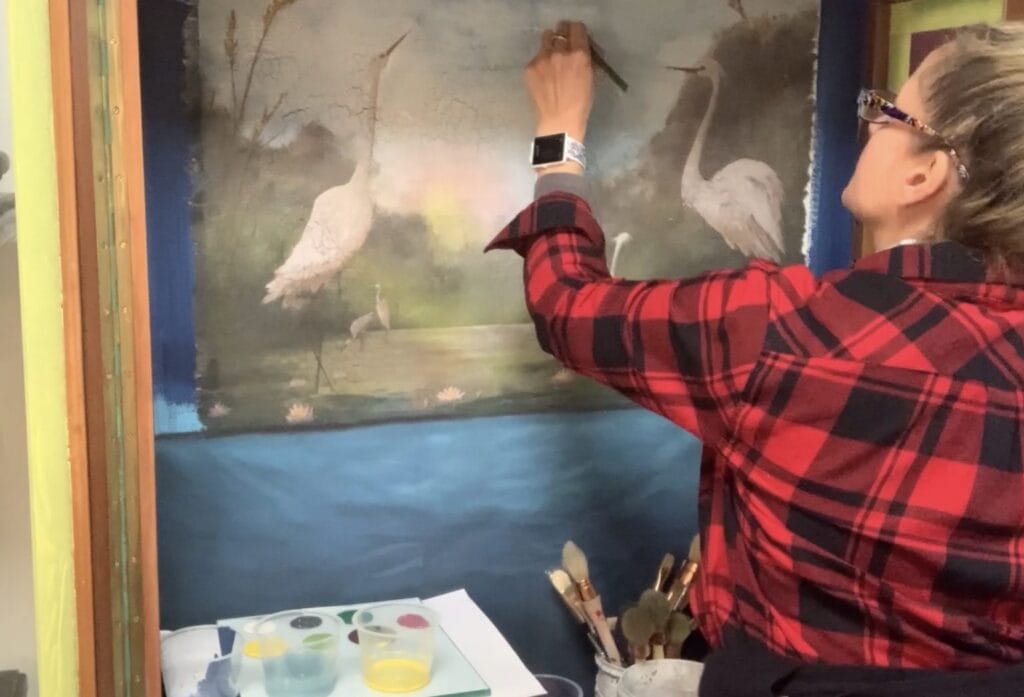
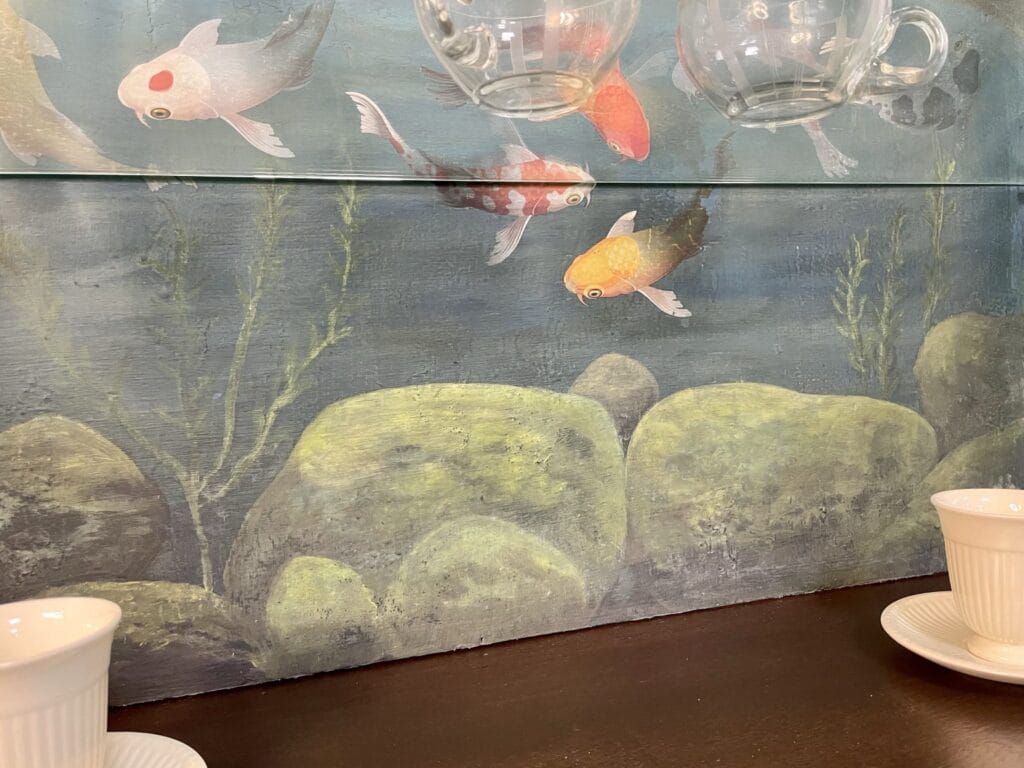
In the lower area comes my underwater area. For this I take with the Big Daddy. Brush Blue Moon and Cerulean Blue and blend them directly when applying.
After the paint has dried, I incorporate a reflection into the lighter area. As if you look from underwater against the surface and reflect the sun.
With the different shades of blue I describe with the brush in about a lying 8 and to achieve this effect.


We also have to work the decoupage into the background. For this I prepare myself on my palette Malachite, Onyx, daffodil, Pistachio, Bougainvillea, elderberry Moon Beam and the blue tones Blue Moon and Cerulean Blue. With this I mix the different shades of green and olive. But I actually only need very little of each color.
I would like to make the background a bit more colorful. To do this, I first dilute the colors with water and delicately bring in a setting sun and a few discreet clouds.

Again, I seal the whole thing when I reach the point I want to receive.
In addition, I would like to apply a transfer and the Terra Clay Paints should be sealed. Here I use the Terra Seal.
As a transfer, I chose Balance from Belles & Whistles.

Transfers are wafer-thin self-adhesive films that can be applied to almost any project with the help of the scratch stick.
As always, I massage in the edges with my finishing pad and this time spray it with the Easy Peasy Spray Wax so that it glides more gently.
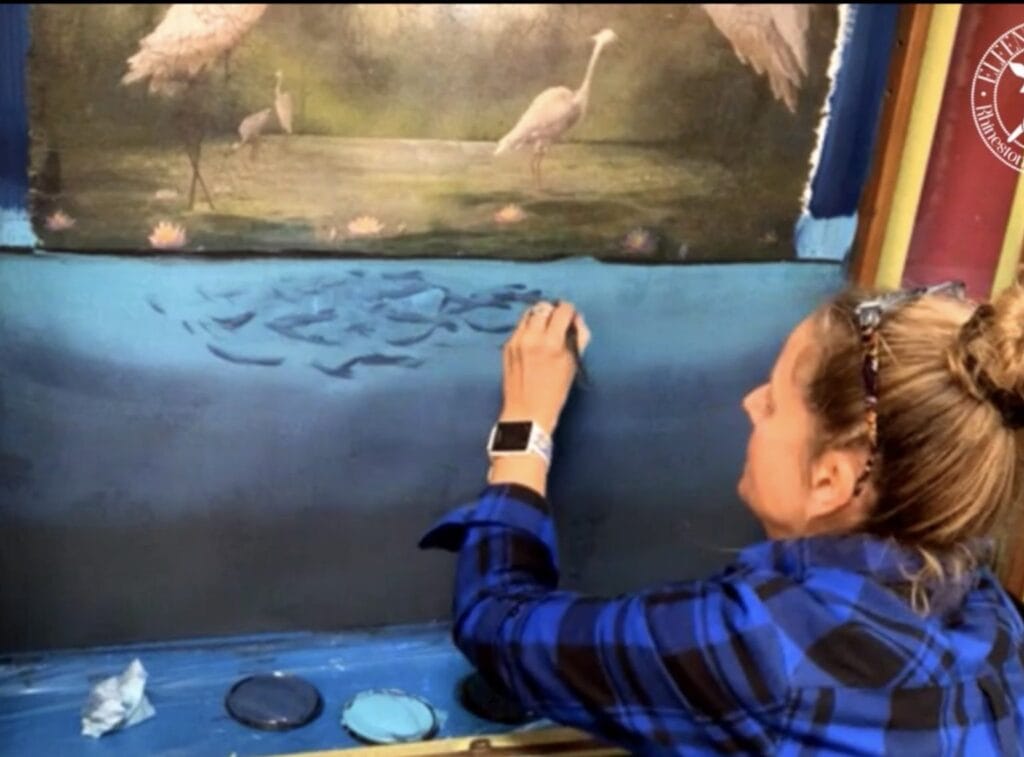
The project was created live and the spectators suggested to bring in a few stones in the lower area. No sooner said than done. For this I took my pallet again. I had covered the colors with cling film and what was a little dried I simply reactivated with a little water. First, I drew roughly with chalk.

I keep the stones greenish, as if they were covered with algae. To do this, I start with the darkest color and then set accents with the lighter colors to achieve this effect.

The interior in the lower part was no longer in good condition. That’s why I deleted it without further ado with Lani’s Lagoon.
The doors get patterned stripes. For this purpose, a base with Elderberry was first created and sealed.

I glue the strips with Maler Krepp and also use the crepe tape as a spacer.
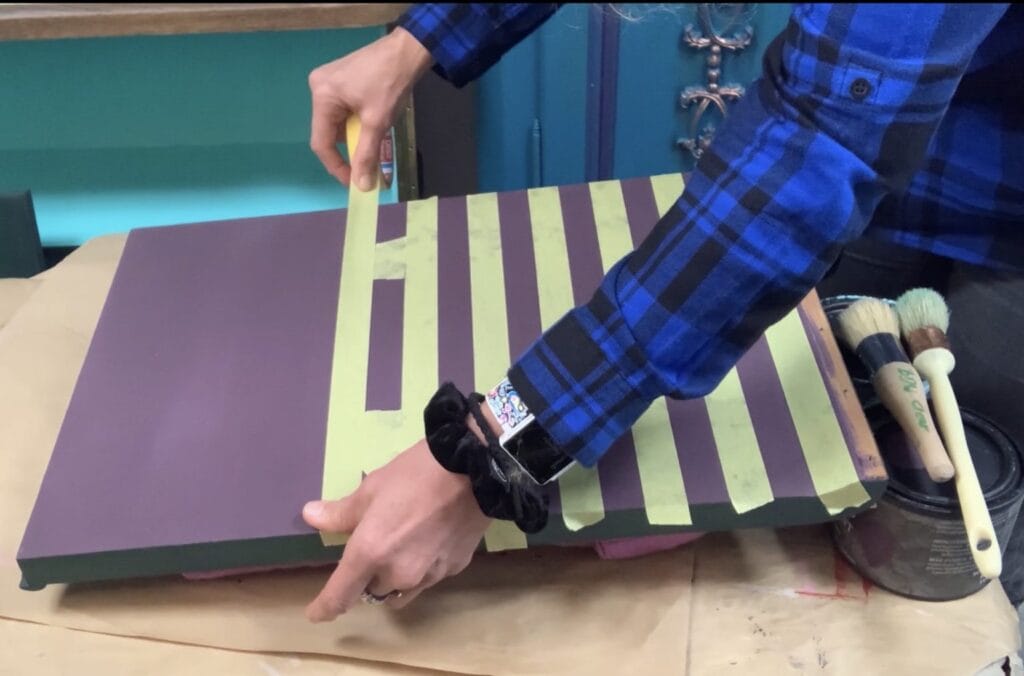
The stripes are painted in Lanis Lagoon. For the pattern, after the strips have dried, I use the template Moroccan from Belles & Whistles.
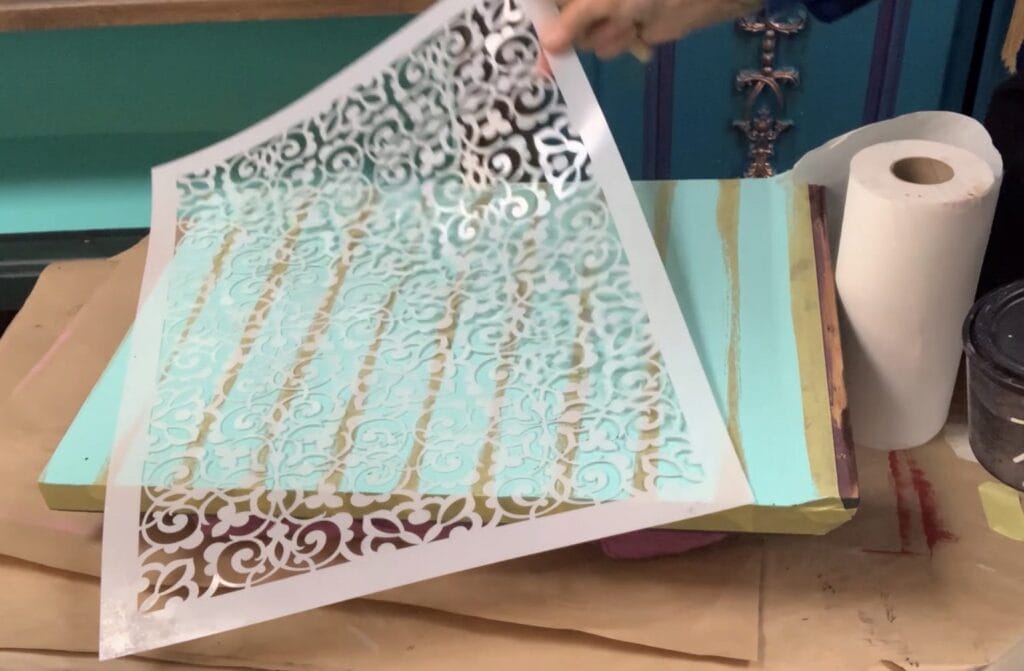
With the Elderberry and the the Belle brush, the pattern is now stenciled over the turquoise stripes. The templates are continuous i.e. if it does not quite fit on it you can practically put them on again and continue the pattern.
Now it’s time to get the tape down.

Tadaaaaa!

I sanded the whole thing a bit with the Sanding Sponge by Dixie Belle – which has about a 220 grit – to soften the contrast. Finally, sealed with Terra Seal and done.
The feet still get a bit of bling. On the outside they are already painted with Galaxy and inside with Pistachio. In addition, I take the Deep Woods from the Moonshine Metallics. On the outside a solid layer and over the pistachio I spray water over it and dab it down again with a paper towel so that the pistachio comes to light.
When depositing the lower part of the showcase, I wanted to preserve the wood and chose the No Pain Gel Stain in espresso from Dixiebelle.
No Pain Gel Stain is oil-based and is best processed outside or in a well-ventilated room.
If you are sensitive, feel free to wear a mask. The gloves prevent you from soaking your hands.
For application I prefer to use the Applicator Pad or the Buffing Pad. The No Pain Gel Stain is super easy to process and also covers wonderfully unsightly areas.

You can seal it with one of the water-based top coats. However, wait at least 5 days or longer to make sure that the No Pain Gel Stain is well dried. As I said, it is oil-based and therefore takes longer. I sealed with Gator Hide on this project.
On the ornaments I have set a few highlights with the Dixiebelle Gilding Wax in bronze.
I hope you like the project and maybe inspired you a bit. So I definitely really feel like spring.
If you have any questions or suggestions, please feel free to PM or in the comments.
For today I say thank you for reading and bye bye until the next blog post ?
Your Master of Disaster
Angela


Sign up for my newsletter and stay up to date.
I share new products, creative trends, helpful tutorials and exclusive offers with you.
You can easily unsubscribe at any time – via the link in the footer of every email or by sending me a message. You can find the relevant contact details in the imprint or directly in the newsletter.