Dear creative friends,
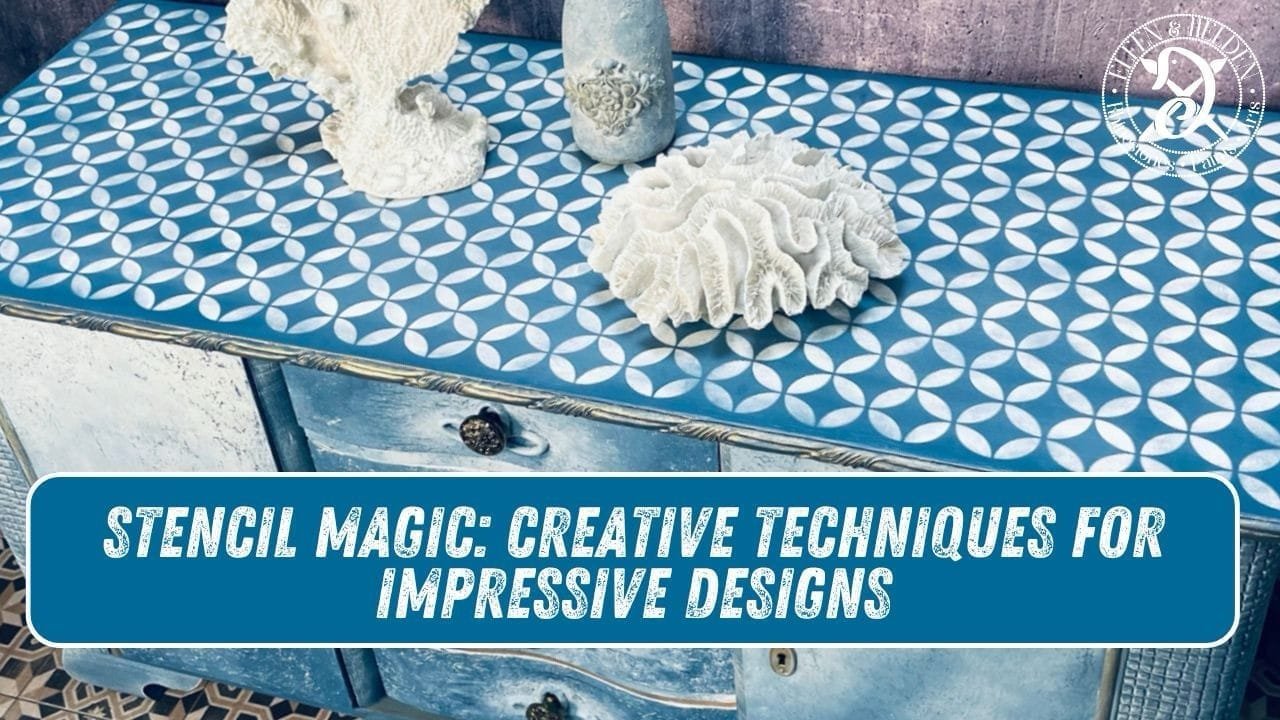
Today we are delving into the fascinating world of stencils – indispensable tools for anyone who wants to add that certain something to their projects. Whether you’re spicing up furniture, designing walls or creating individual accents, stencils offer endless possibilities.
✨ Make sure you read to the end – there’s a little surprise waiting for you! 🎁


Stencils are templates, usually made of robust material such as Mylar, which allow patterns and designs to be transferred precisely onto different surfaces. They are reusable, easy to clean and ideal for multiple use. In addition to the classic Mylar stencils, there are also the particularly fine Silkscreen stencilswhich work with a fabric screen and deliver particularly detailed results.
These are made of a flexible, hard-wearing plastic (usually 190 or 250 microns thick) and are reusable. The cut-out patterns allow you to apply paint with a brush, sponge or paint roller. Ideal for furniture, walls and decorative projects.


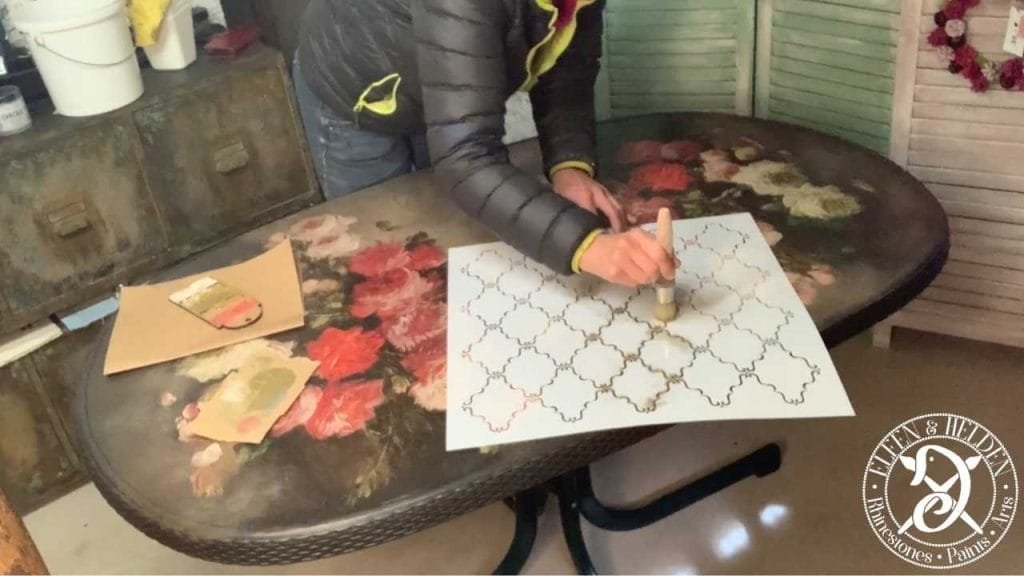
Here, the design is not cut out, but printed on a fine mesh screen (similar to screen printing). The ink is pressed through the screen with a squeegee or spatula, which enables incredibly fine and detailed designs – ideal for lettering or intricate motifs!


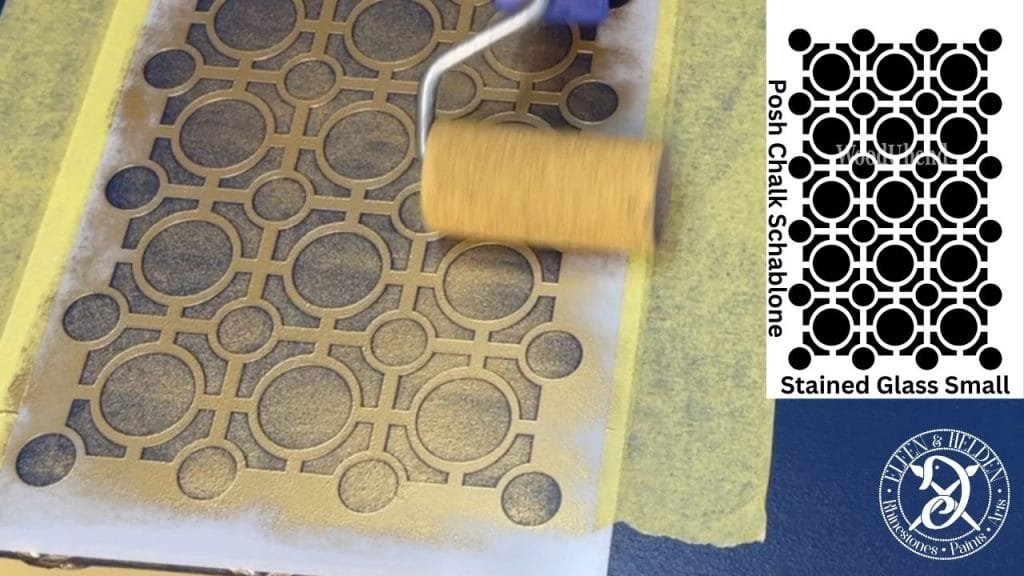


Tip: You can finish the raised designs after drying with metallic wax, Posh Chalk Pigments or patina effects!
Whether you work with paint, pigments or pastes – stencils are truly multi-talented! Mylar stencils are robust and versatile, while silkscreen stencils provide super-fine details. And if you want to go one better, you can add a luxurious touch to your project with raised stencil effects.
Let yourself be inspired and try out the different techniques!
I would be happy to accompany you personally in one of my workshops and show you all the techniques step by step. 😊🎨
XOXO,
Your Master of Disaster
Angela
🎉 As a little thank you for your creativity, I have a surprise for you! Use the code 👉 SCHABLONEN10 👈 and receive a 10% discount on all stencils* – even on already reduced items. Have fun designing! 🖌️✨
Art Deco fan – An elegant design from the 1920s.

Evergreen – A timeless pattern that combines nature and elegance.

Secret Garden – Playful and romantic accents.

Prism – A modern geometric design.

Moroccan Vibes – Brings oriental flair.


* Only while stocks last, redeemable once per customer and exclusively for B2C
Sign up for my newsletter and stay up to date.
I share new products, creative trends, helpful tutorials and exclusive offers with you.
You can easily unsubscribe at any time – via the link in the footer of every email or by sending me a message. You can find the relevant contact details in the imprint or directly in the newsletter.