
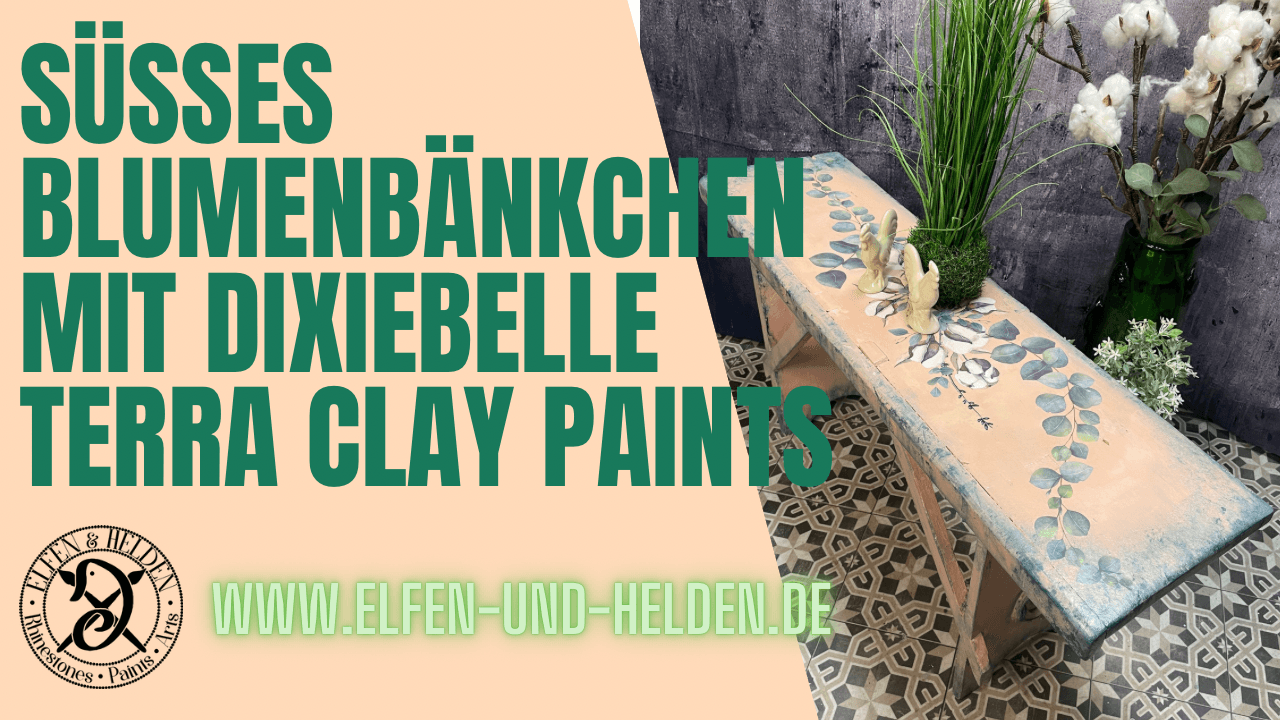
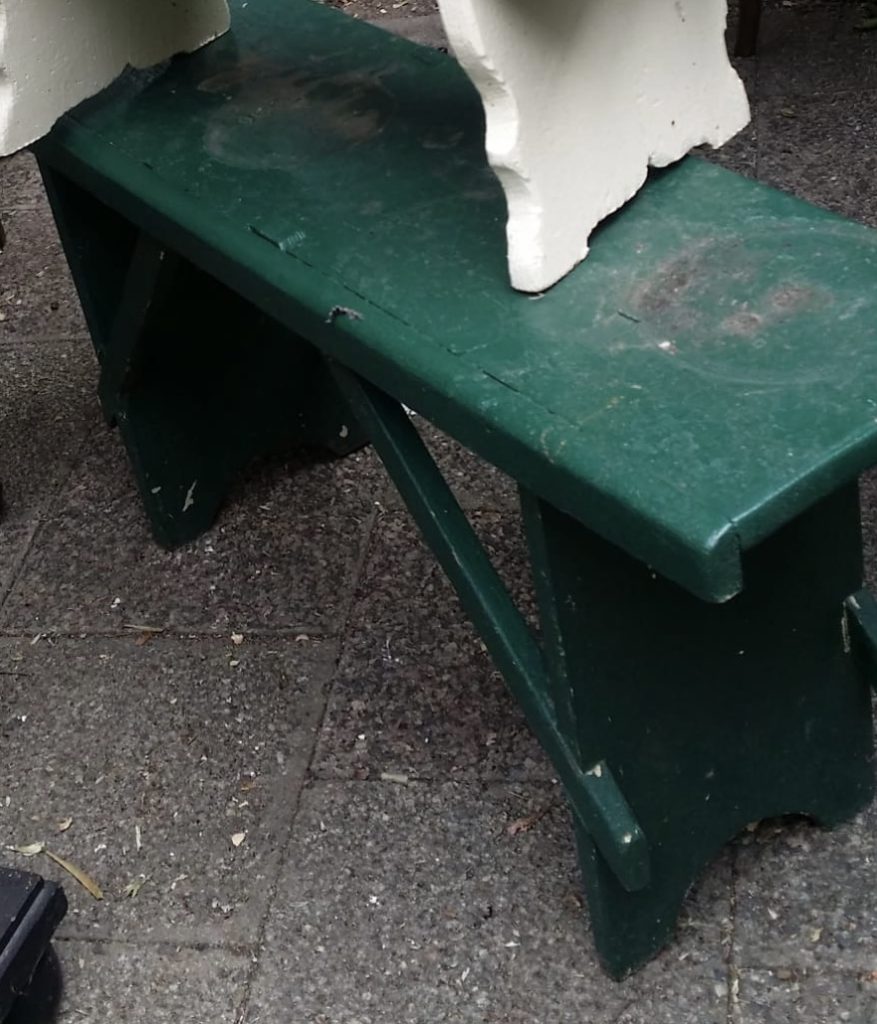
Today we’re giving this little bench a makeover using Terra Clay Paints by Dixie Belle, WoodUbend ornaments, and a decal from Belles & Whistles. This little gem comes from a theater’s prop collection, and I have no idea how many times it’s been painted or repainted during its career as a prop.
The full description can be found below the video and a list of the products used at the end of this article.
So, what are we waiting for? Roll up your sleeves and start by giving it a thorough cleaning with White Lightning. Then I tried to tackle all those layers of paint. Paint stripper, sanding, paint stripper, sanding… and cleaning it again. I couldn’t get it all off—so we’ll just have to work with what we’ve got.
Since I have a light color in mind for this project and noticed while cleaning that the wood releases tannins, I started by applying a coat of Dixie Belle’s B.O.S.S. Transparent. B.O.S.S. is a water-based sealer used to block any discoloration or odors that might show through. Personally, I find it easy to work with.
Of course, there is almost no project without my beloved WoodUbends. Today I use the ornament set WUB1520.

For those who aren’t familiar with WoodUbend yet: These decorative elements are made from wood dust. When cold, they can be worked much like wood—for example, by sawing, sanding, or drilling. When heated, they become flexible and can thus be shaped to fit the project. Depending on the project, I use a hair dryer, a heat gun, or an embossing gun to heat them.
WoodUbends can be painted or treated with wood stain. Whether you decorate them before or after installing them depends entirely on your project and the desired result.
After heating the WoodUbend with a hot air gun, I apply a even coat of suitable wood glue to the back. I prefer to use Titebond Quick & Thick. For my projects, I especially like its strong initial adhesion, because it keeps the embellishment from slipping off vertical surfaces as easily while I’m working on it.
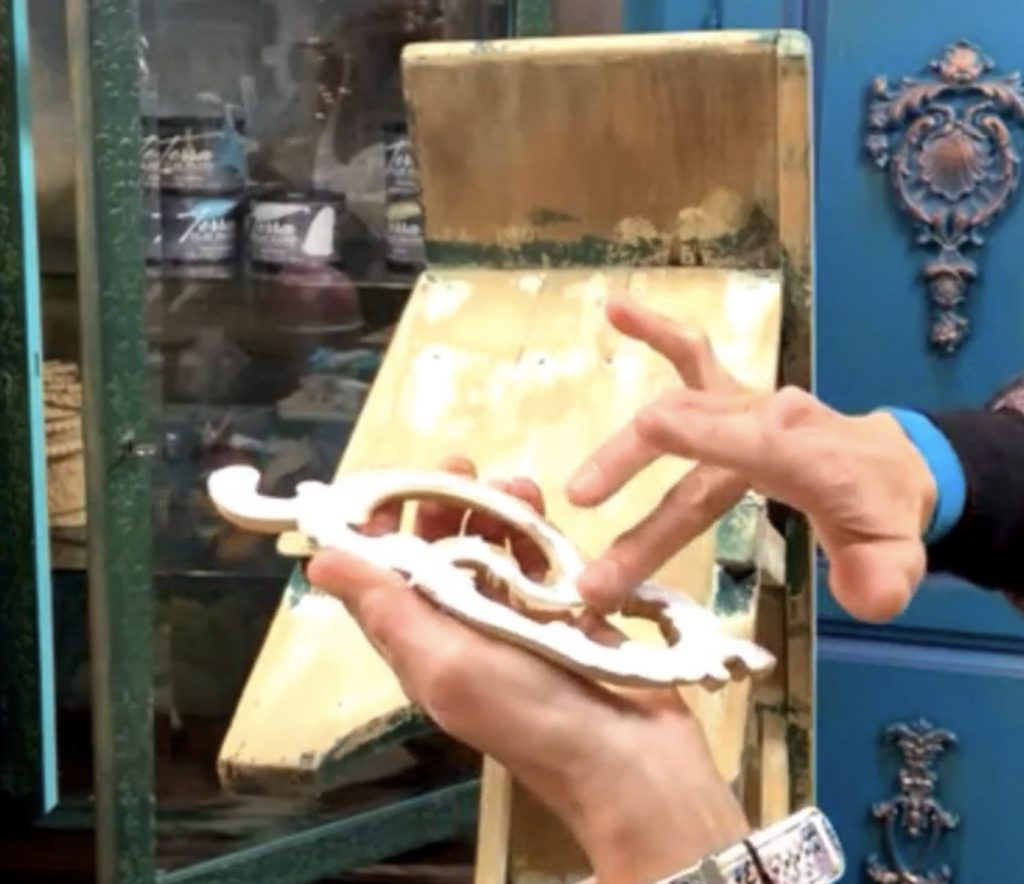
Once I’ve coated the back thoroughly with glue, I press the ornament onto my project and, if necessary, warm it up again so it becomes flexible. This allows me to adjust the edges nicely to the shape of the surface.
That’s exactly what I love so much about WoodUbend. The embellishments also come in many different shapes and sizes—from small decorations and scrolls to long strips.
I immediately wipe away any excess glue that oozes out from the sides with a damp cloth or brush.
Today I’m working with Dixie Belle’s Terra Clay Paints. Terra Clay Paints are water-based and contain clay particles. What makes these paints special is that they can be reactivated with water as long as they haven’t been sealed yet. They’re also not self-leveling—so brush strokes and textures remain intentionally visible. These are exactly the qualities I particularly love for creative techniques.
Of course, I’ve once again set my mind on a shade that Terras doesn’t offer as a ready-mixed color: a color that’s similar to the “Apricot” from the Chalk Mineral Paint line.
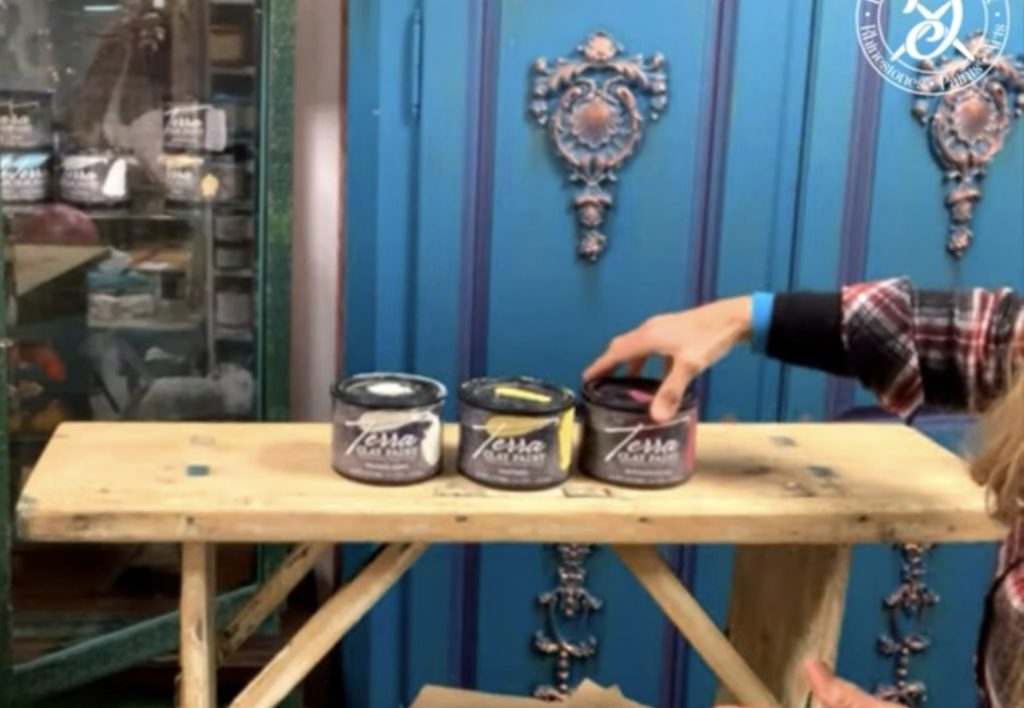
Since the colors can be mixed together, I simply mix my own custom shade. To do this, I use the Terra Clay Paint colors Bougainvillea, Daffodil, and Prairie Dawn. I mix these three together until I’m happy with the shade. For this project, I used about two parts Daffodil, two parts Prairie Dawn, and one part Bougainvillea.
For painting this time, I’m choosing the La Petite Brush from Dixie Belle, a brush with a mix of natural and synthetic bristles.
I like to work with a damp brush and start by painting the entire bench—top, bottom, and all around—with my mixed paint. For the harder-to-reach spots, I use a Da Vinci artist’s brush. On the base and around the WoodUbends on the sides, I add a small highlight with Prairie Dawn.
After letting the paint dry overnight, it’s time for the second coat—even though the first one actually provided enough coverage. This time, I’m using Dixie Belle’s Best Dang Brush with Prairie Dawn for the highlights. With this project, I’m using it to create a cloudy, irregular, and slightly faded effect.
Once everything has dried, that’s when the fun really begins. That’s when Galaxy—a deep, dark shade of green—comes into play. For this effect, I mixed vinegar with water in my spray bottle. In my project, this mixture alters the flow of the still-unsealed Terra Clay Paint and creates a coagulated-looking effect.
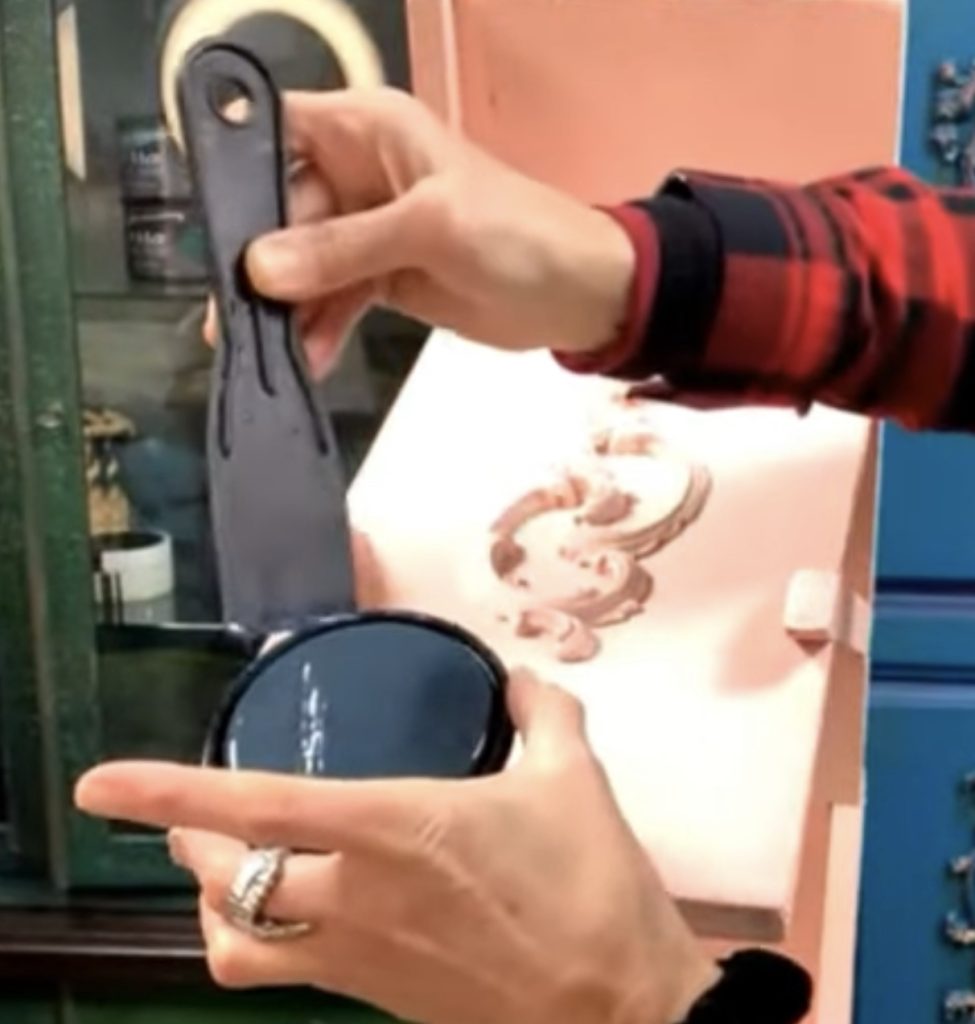
First, I spray the relevant areas with the vinegar mixture. To apply Galaxy, I use the Mud Spatula from Dixie Belle. I pick up a small amount of paint with the front edge and pull the spatula with the paint at a flat angle from the corners and along the edges—anywhere I want to create a distressed look. I do this around the ornament as well. I hardly touch the surface at all while doing this. To help the paint flow a little more, I give it a little nudge with my vinegar mixture and my fingers 😉.
The Mud Spatula is made of plastic. I’ll use it again in the next step, this time with Prairie Dawn and without vinegar water. I apply the paint unevenly and in patches over the bench to create a peeling look. I spread it thinly in various spots until it almost dries out. This creates areas with varying degrees of coverage.
After that, I let it dry again. Since Terra Clay Paints can be reactivated with water as long as they aren’t sealed, I seal a design layer as soon as I’m satisfied with that stage and don’t want to change it anymore. After that, I can build up additional layers of paint without reactivating the design underneath with water.
In this case, I’m not only satisfied with the current result, but I’ve also planned to continue working with a transfer from Belles & Whistles. Since application instructions may vary depending on the transfer, please always follow the manufacturer’s instructions. Before applying the transfer, I sealed the Terra Clay Paint with Terra Seal and then let it dry.
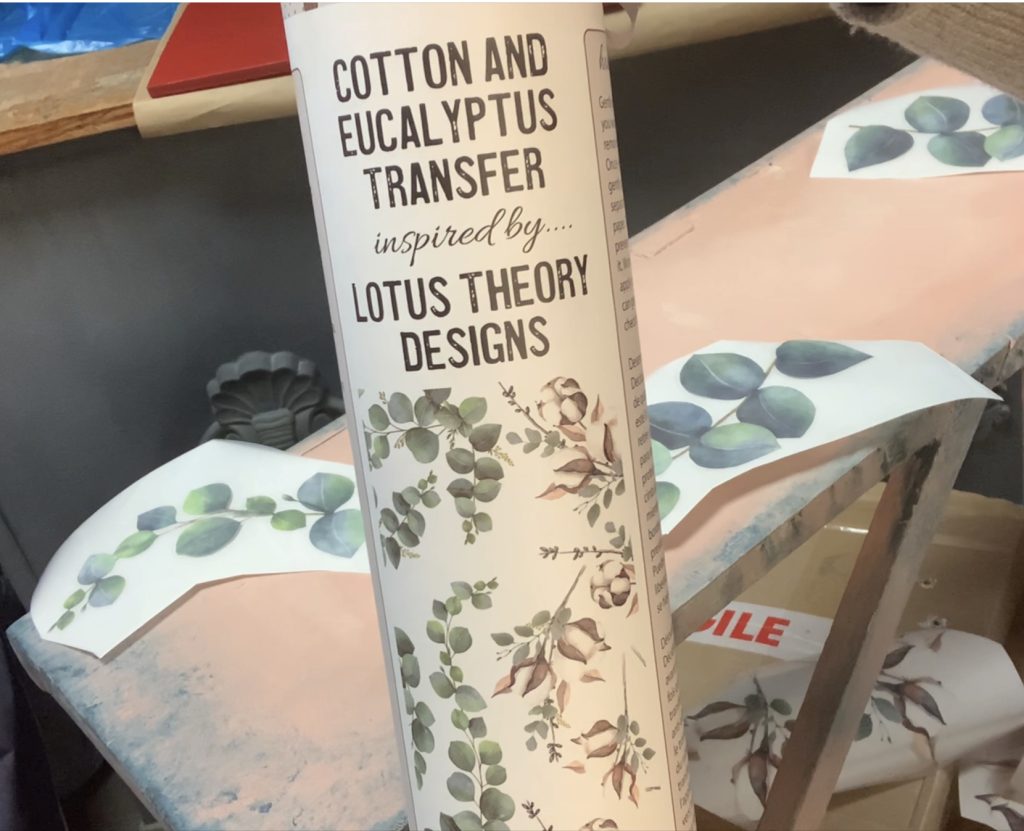
I chose the“Cotton and Eucalyptus”transfer, which features eucalyptus leaves and cotton blossoms. The individual motifs can be applied as a whole, in parts, or combined with one another. Thanks to the thin transfer film, the motif appears to be very tightly bonded to the surface after application.
The thicker, milky film you see here is the backing film. Using the included scraper or transfer stick, I peel the design off the backing film piece by piece and transfer it to my project.
Think about where you want to place the design beforehand. Once the transfer sheet is on the surface, I try not to move it anymore. Parts of the design may already be adhering to the surface and could be damaged if you lift it again.
If you look closely, you’ll see that I’m rubbing with one hand and gently lifting the backing sheet with the other. That way, I can clearly see whether the transfer has already been applied to the project. If any part is still sticking to the backing sheet, I put it back down and rub over it again until every last bit has been transferred.
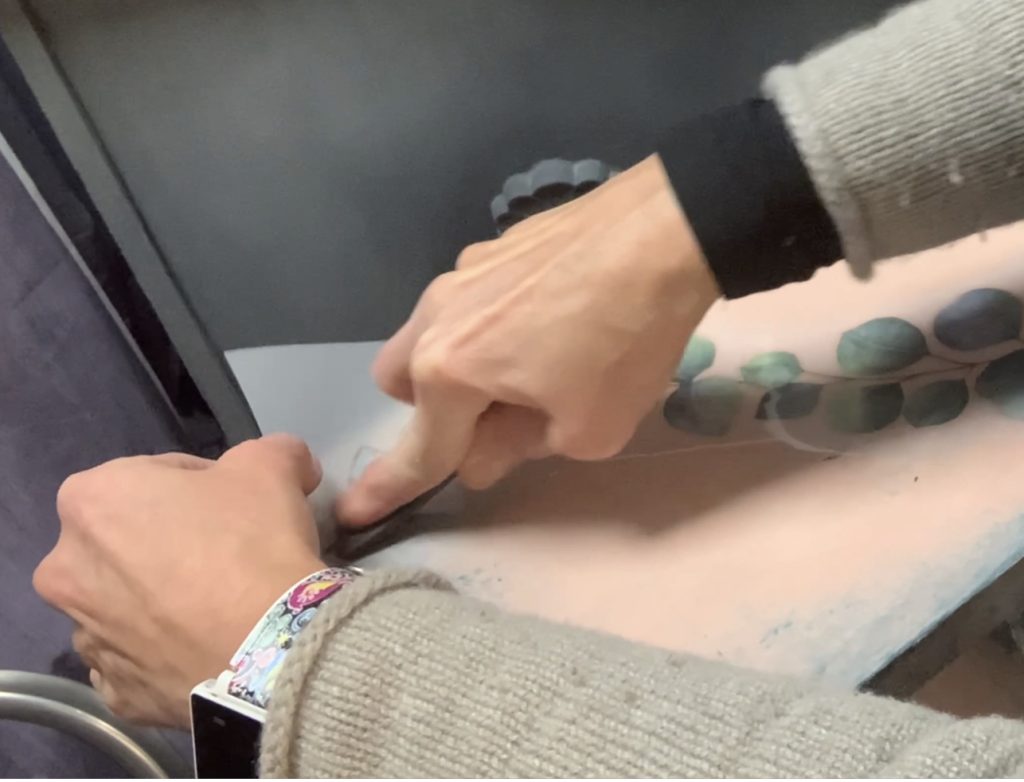
I work my way from one end to the other. Working from the center outward also works well for me. If you work from both outer edges toward the center, a crease can form more easily.
By the way, I only used a small portion of the transfer for this project—so there’s still plenty left over for future projects.
Once the transfer has completely peeled off the backing sheet and is lying on the project, I take the backing sheet and gently rub it over the design one more time. Of course, you can also do this with your hands. I usually avoid doing this because I often have hand cream on—and hand cream and painting projects aren’t exactly the best of friends. 😉

Finally, I use the Dixie Belle Finishing Pad to gently press the transparent edges of the transfer—in particular—against the surface once more.
In the end, I sealed the little bench with Terra Tuff. This protects the finish, and my old theater bench is now ready for its new role in my home.
I hope you enjoyed it and that it maybe even inspired you a little. If you have any questions, feel free to reach out to me.
For now, I’d just like to say thanks for reading, and see you in my next blog post. 👋
Your Master of Disaster
Angela
Products used (for reference):


Sign up for my newsletter and stay up to date.
I share new products, creative trends, helpful tutorials and exclusive offers with you.
You can easily unsubscribe at any time – via the link in the footer of every email or by sending me a message. You can find the relevant contact details in the imprint or directly in the newsletter.
Sign up for my newsletter and stay up to date.
I share new products, creative trends, helpful tutorials and exclusive offers with you.
You can easily unsubscribe at any time – via the link in the footer of every email or by sending me a message. You can find the relevant contact details in the imprint or directly in the newsletter.