

A small project that was a ton of fun.
Today I’m working on a little nightstand from the ’60s that’s still in really good shape, except for the missing glass top. It’s super cute with its curved front and those typical flared legs.
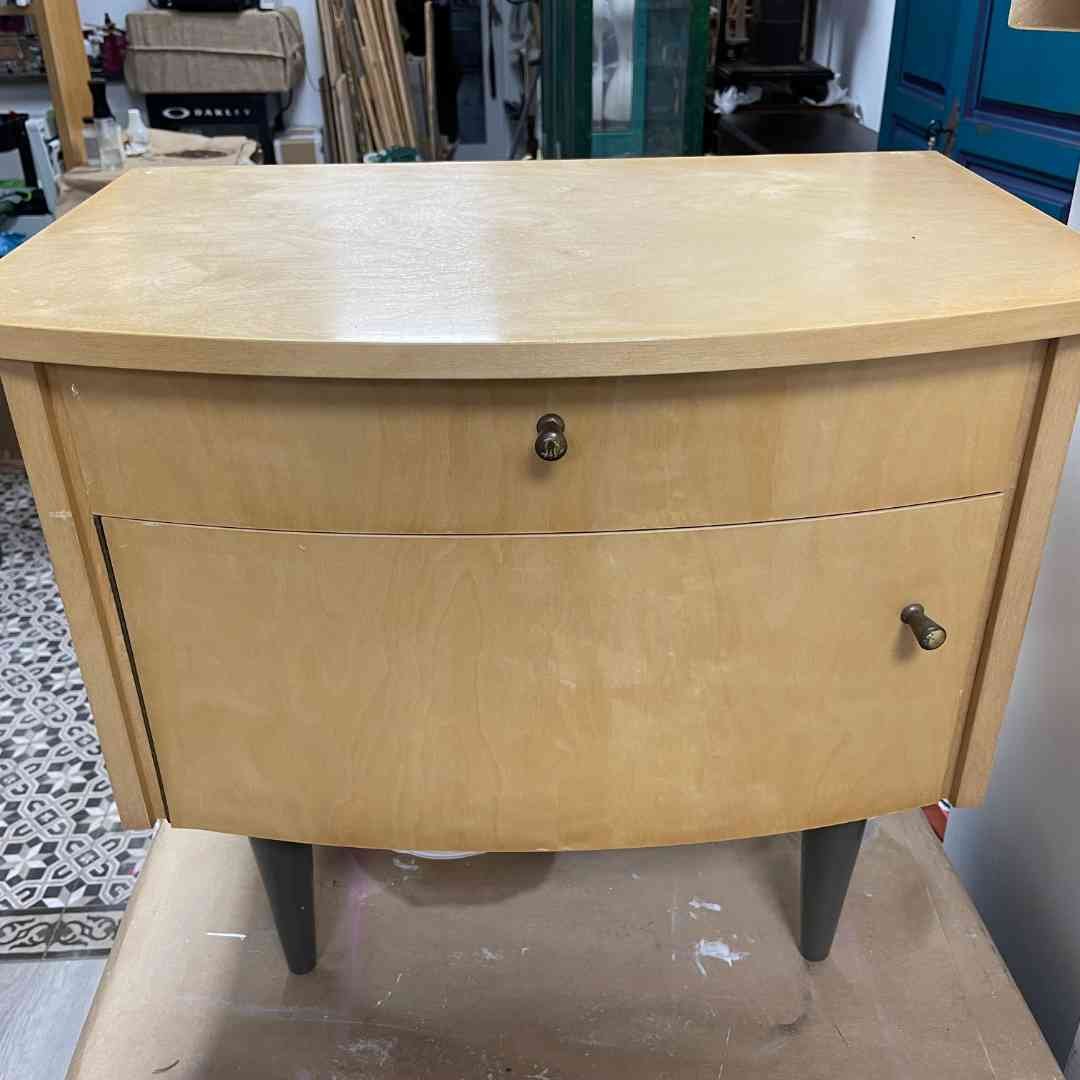

The full description can be found below the video and a list of the products used at the end of this article.
Of course, I never start a project without first giving it a thorough cleaning with Dixie Belle’s White Lightning.
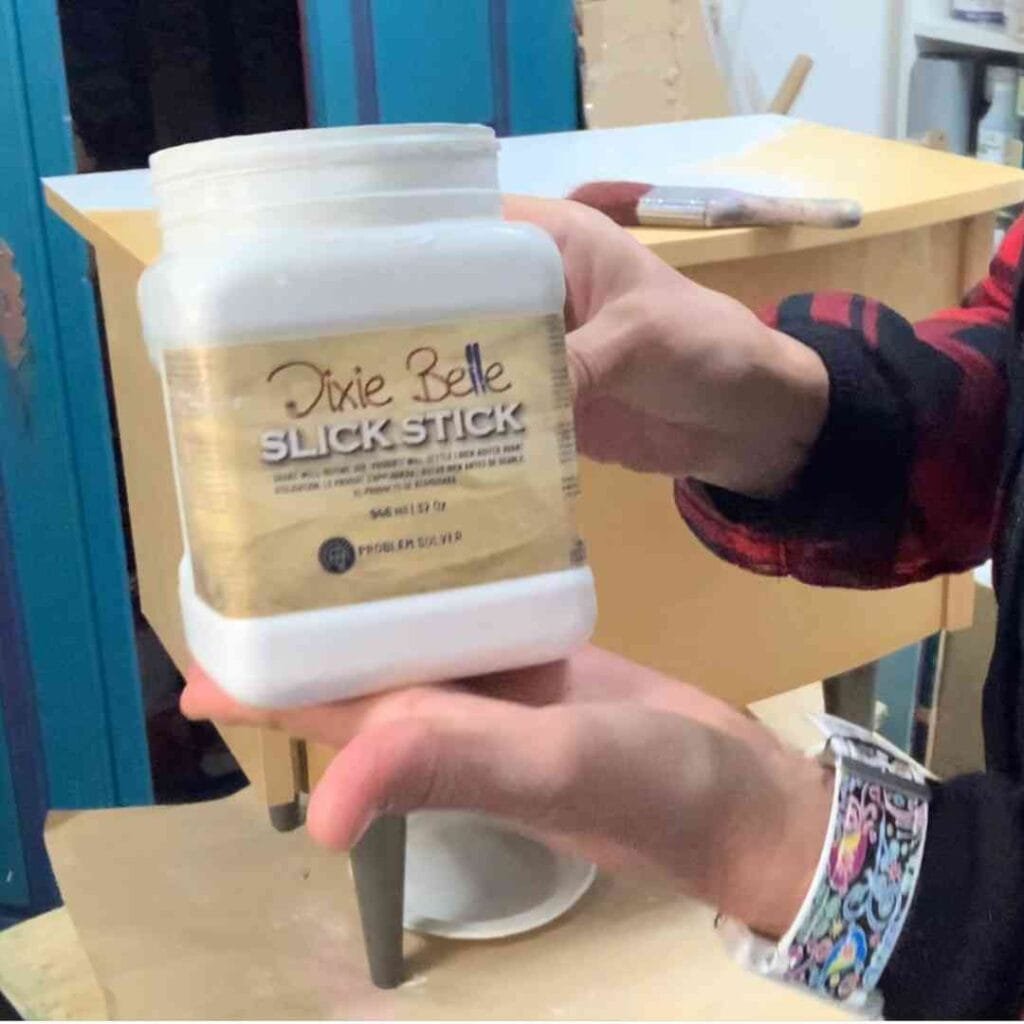
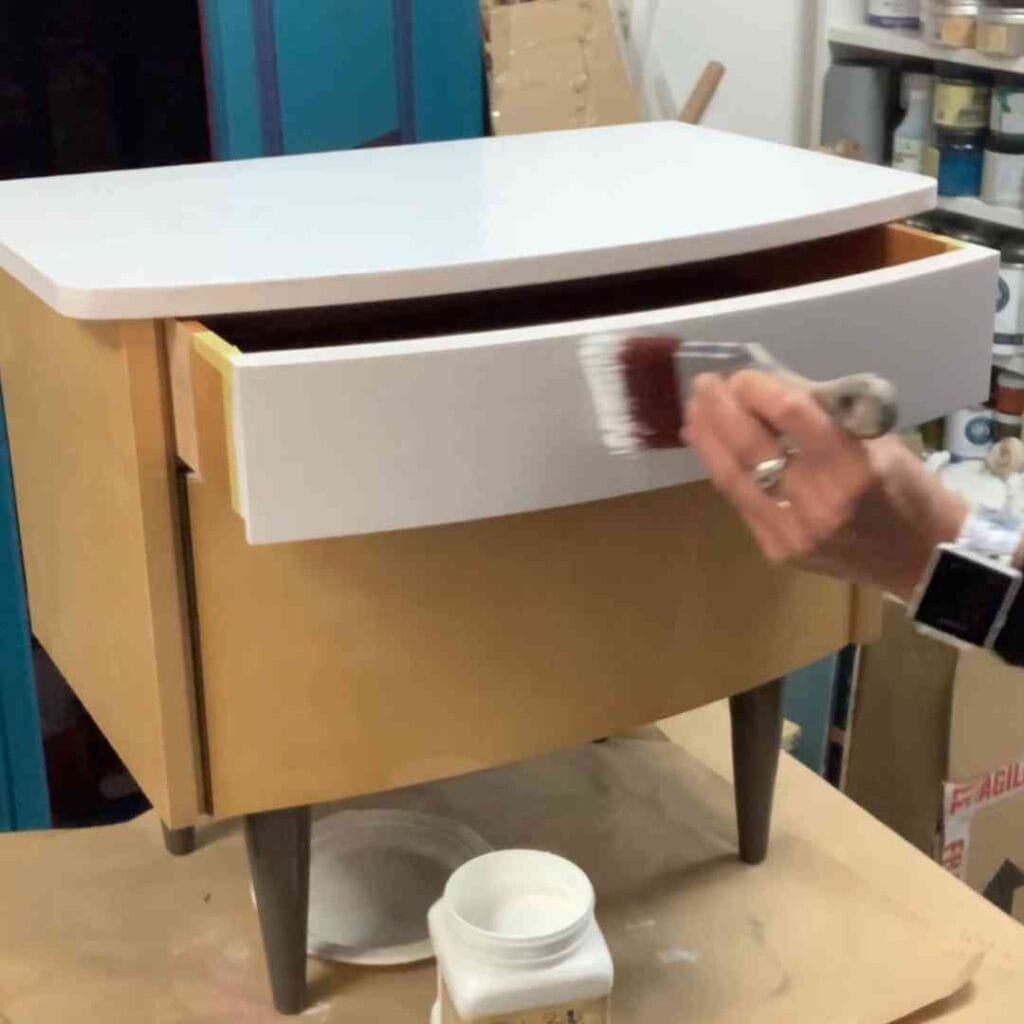
Since the surface of this small nightstand had a glossy finish that was nearly impossible to roughen up even with sandpaper, I started by applying a primer. Dixie Belle’s Slick Stick, which was available at the time, has since been replaced by Bonding BOSS. For application instructions, number of coats, and drying times, please follow the current manufacturer’s instructions for the respective product.
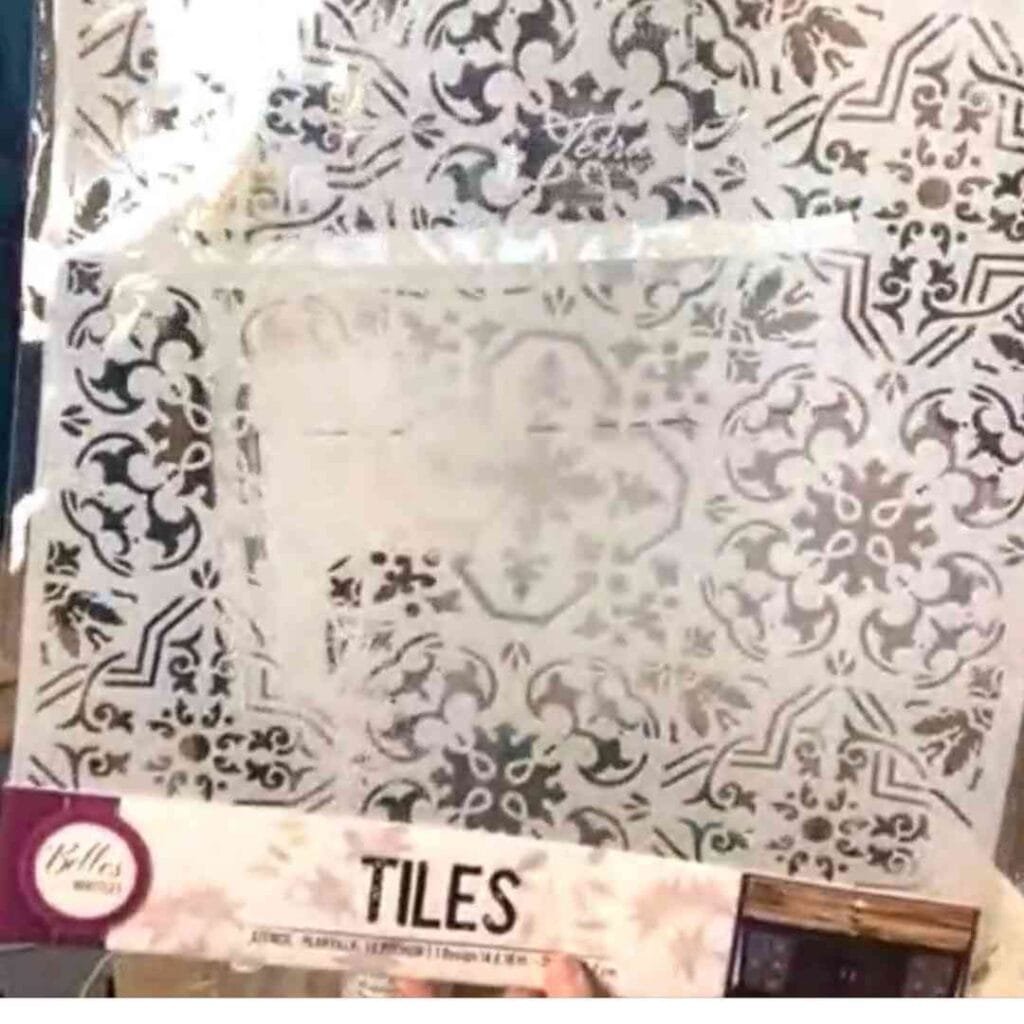
I created a 3D stencil effect on the sides using the “Tiles” stencil from Belles & Whistles and Dixie Mud. I applied it with the Mud Spatula. After it dried, I smoothed out any small imperfections from the application using a sanding sponge with a grit of about 220.


This time, I’m using Dixie Belle’s Terra Clay Artisan paints because I want to achieve a weathered look and build up some nice texture.
Using Malachite and Pistachio, each mixed with Marigold, I create two different, slightly muted shades of green.
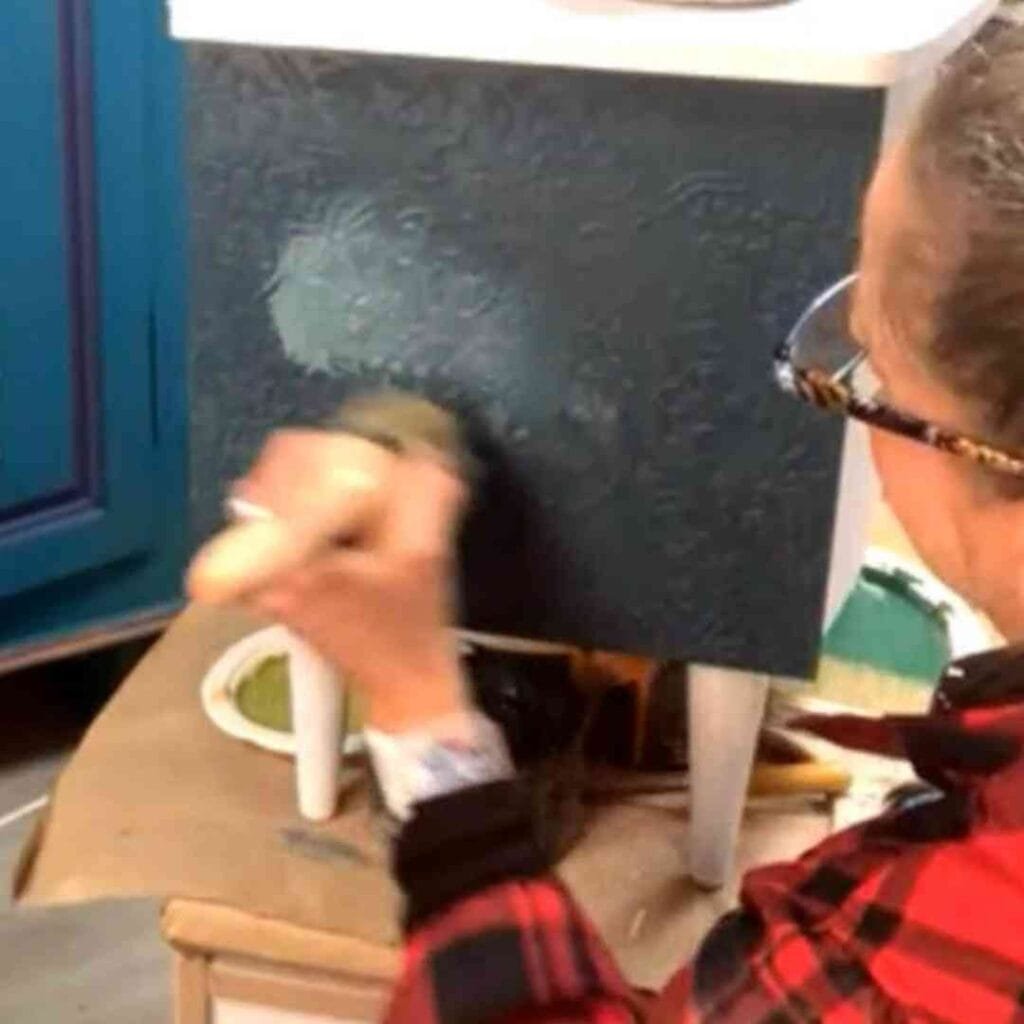
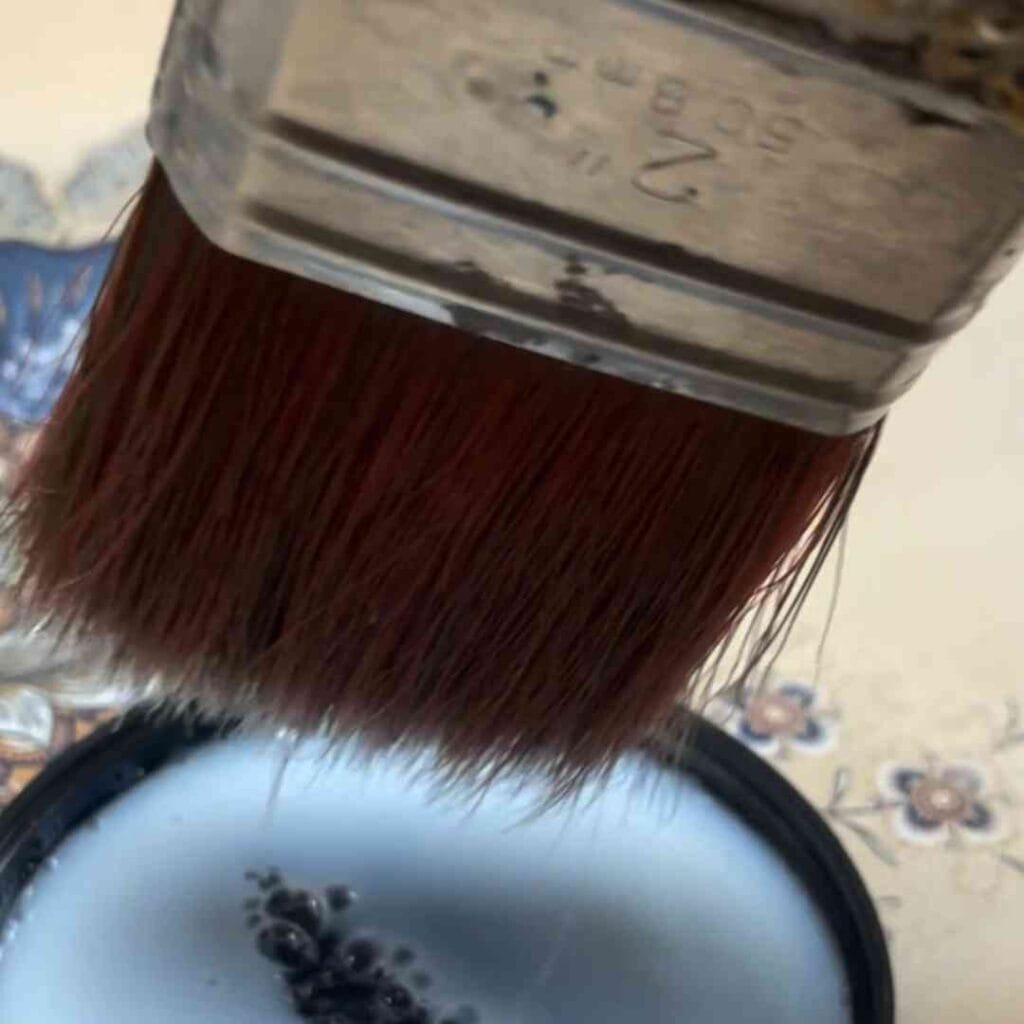
The giant brush is the Big Daddy Brush from Belles & Whistles. First, I dip it halfway into Marigold and halfway into my mixed Pistachio Green, then apply both colors together. I do the same with Malachite afterward. The base is done in no time.


On top of that, I first apply London Blue in circular motions with the Best Dang Brush and blend it with Blue Agave while the color is still wet.
Once everything has dried, I sand down the surface a little to bring out the underlying colors in some places.
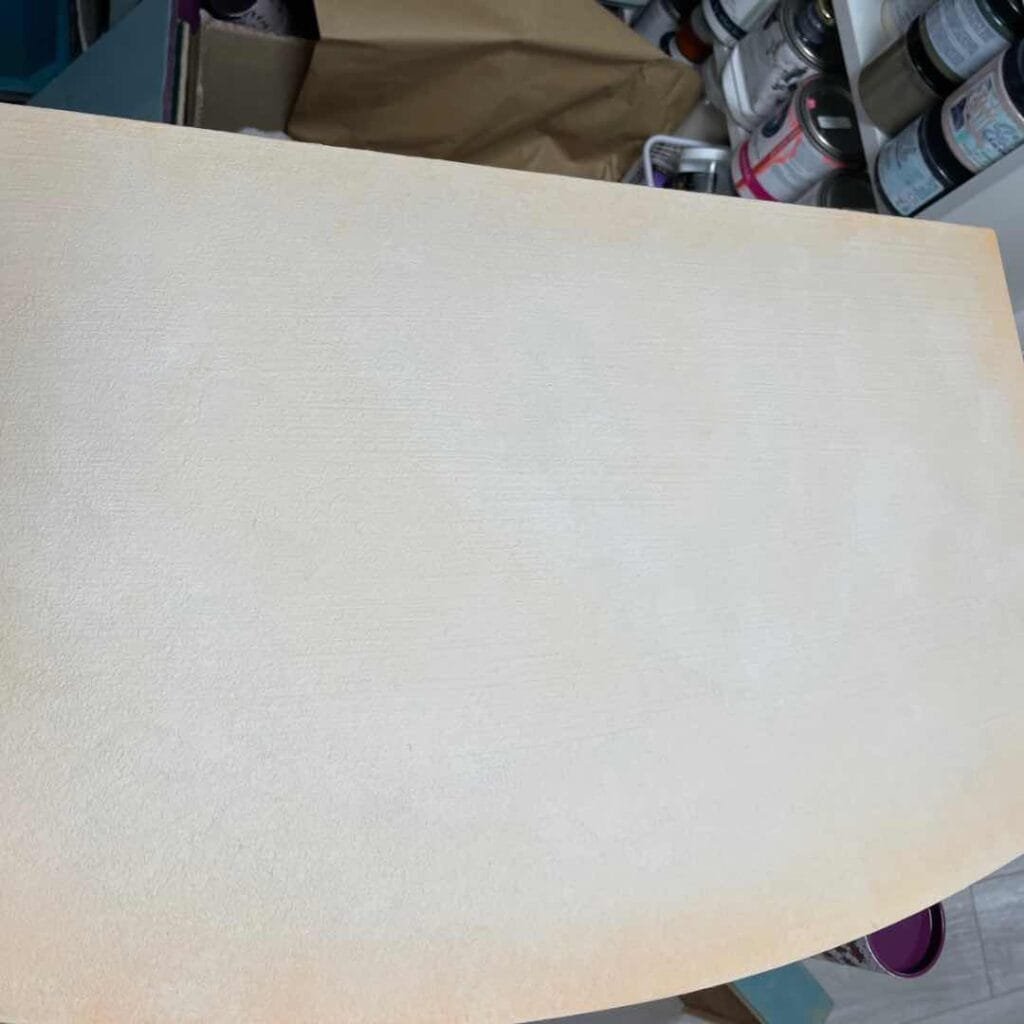
I painted the shelf with Desert Tan and blended it with Marigold towards the edges.
Since I want to work with a transfer on the surface, I first seal it with Terra Seal, a matte topcoat. Immediately after application, the surface looks a bit streaky at first. Terra Clay Artisan Paints dry to a lighter shade than when wet. When applying a water-based topcoat, the paint is re-moistened and initially appears more intense again. The final result is visible once it has dried.
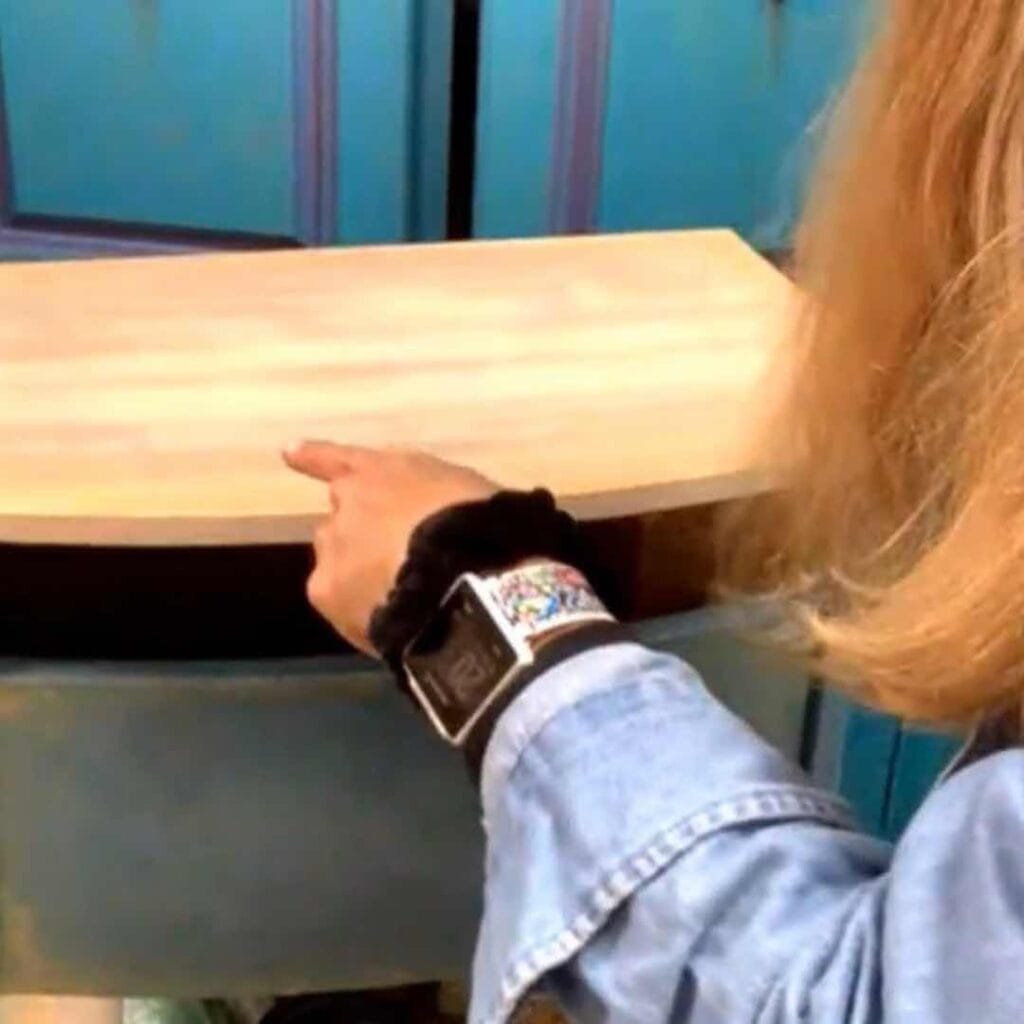


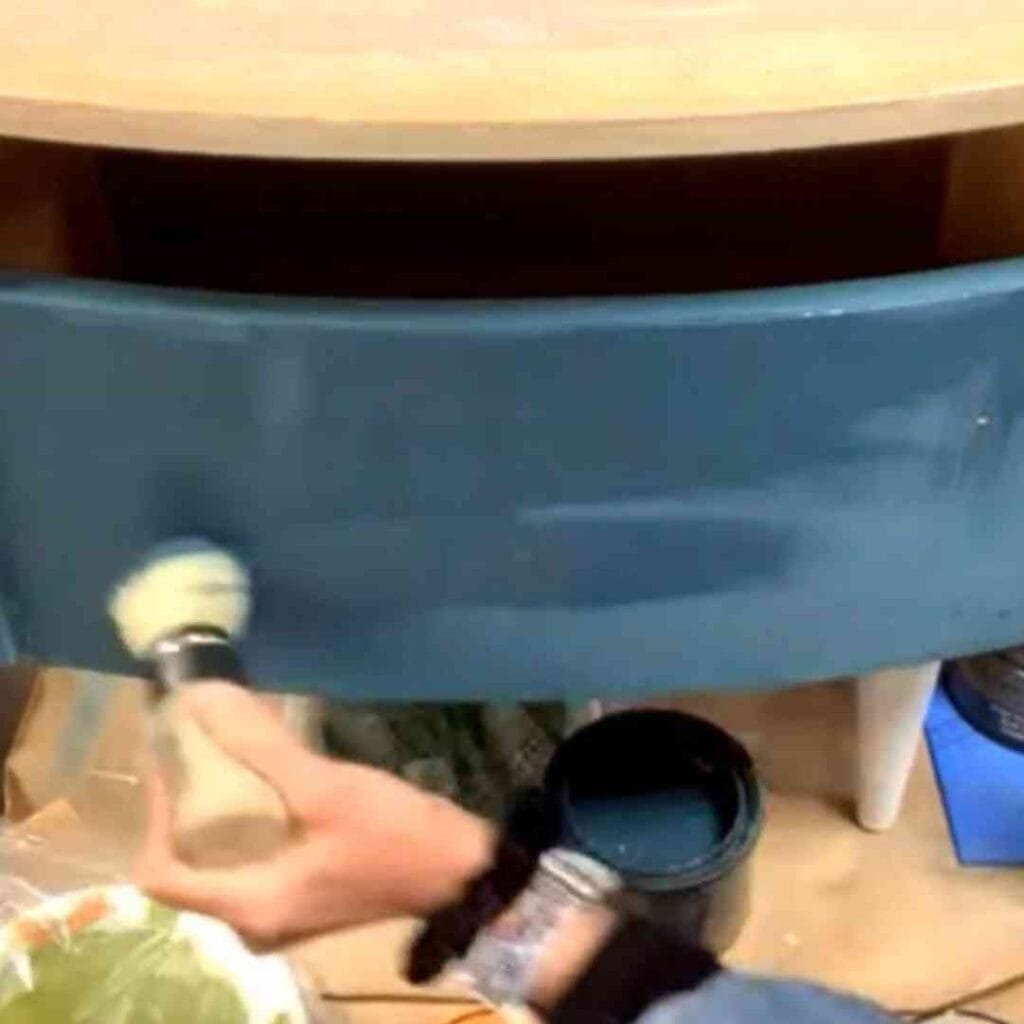
You can also see this light-dark effect very clearly in the second coat of London Blue on the front.
To create a bit of a patina effect, I dab “Marigold” into the damp “London Blue” starting from the edges, and use the same technique to incorporate “Desert Tan.”


On these pages, the drybrush technique is used to bring back some of the mixed shades of green and marigold.

Here you can clearly see how Terra Clay Artisan Paints can be used to create texture. The paints are not self-leveling, so the brush strokes remain visible and can be intentionally incorporated into the design.

Before transferring it, I’ll seal the shelf a second time with Terra Seal. By the way, I’ll also seal the entire nightstand with Terra Seal when I’m done.
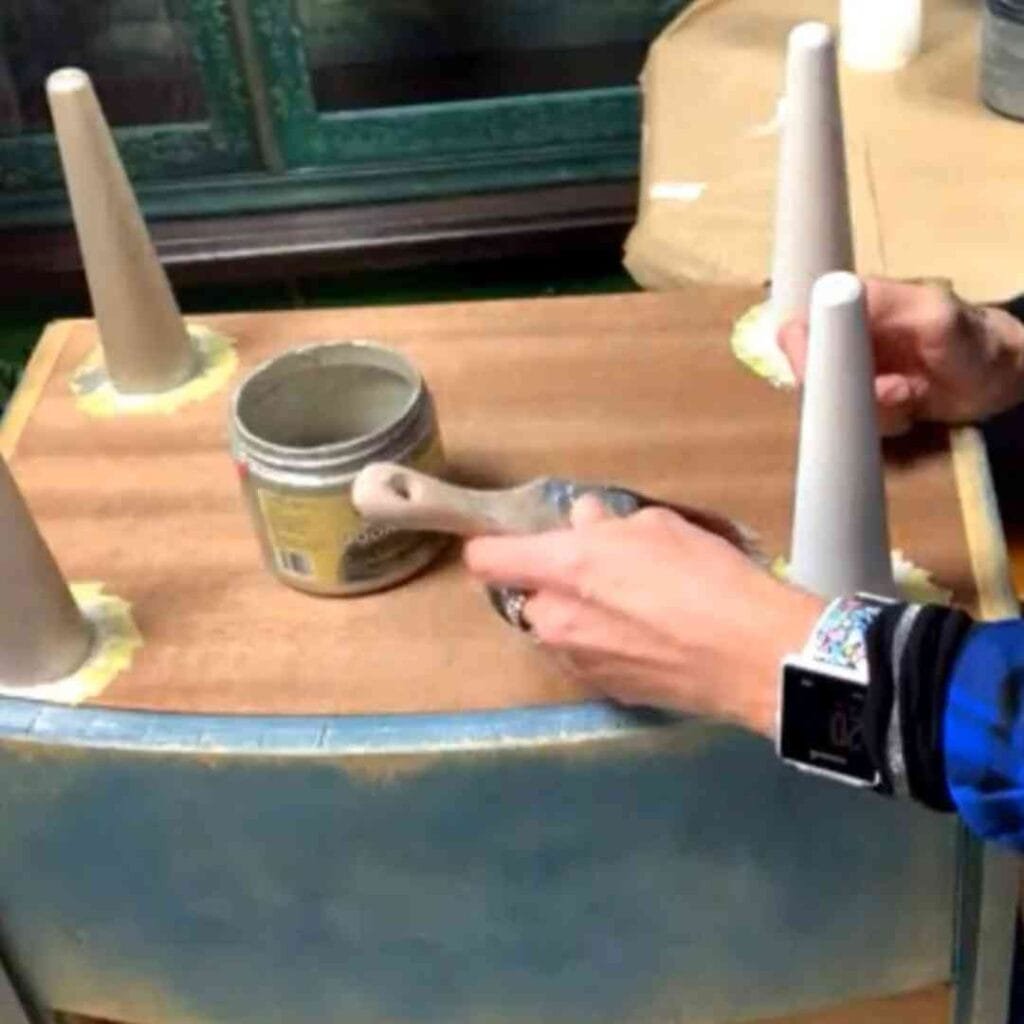
Of course, I can’t do without a little bling. I’m jazzing up my feet with Moonshine Metallics in Steel Magnolia. For this project, two coats give me the coverage I want.
The nice thing about such a handy piece of furniture is that you can easily turn it upside down and thus get to your legs comfortably.
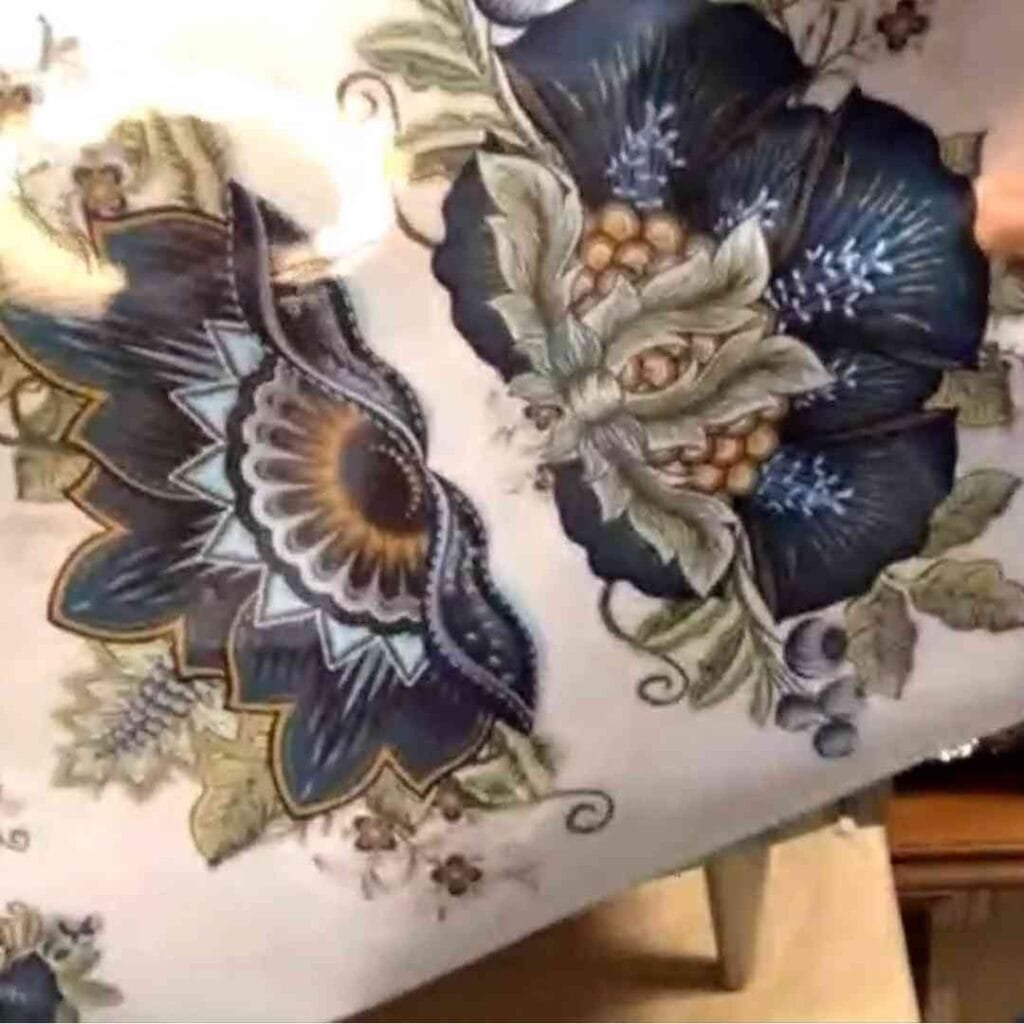
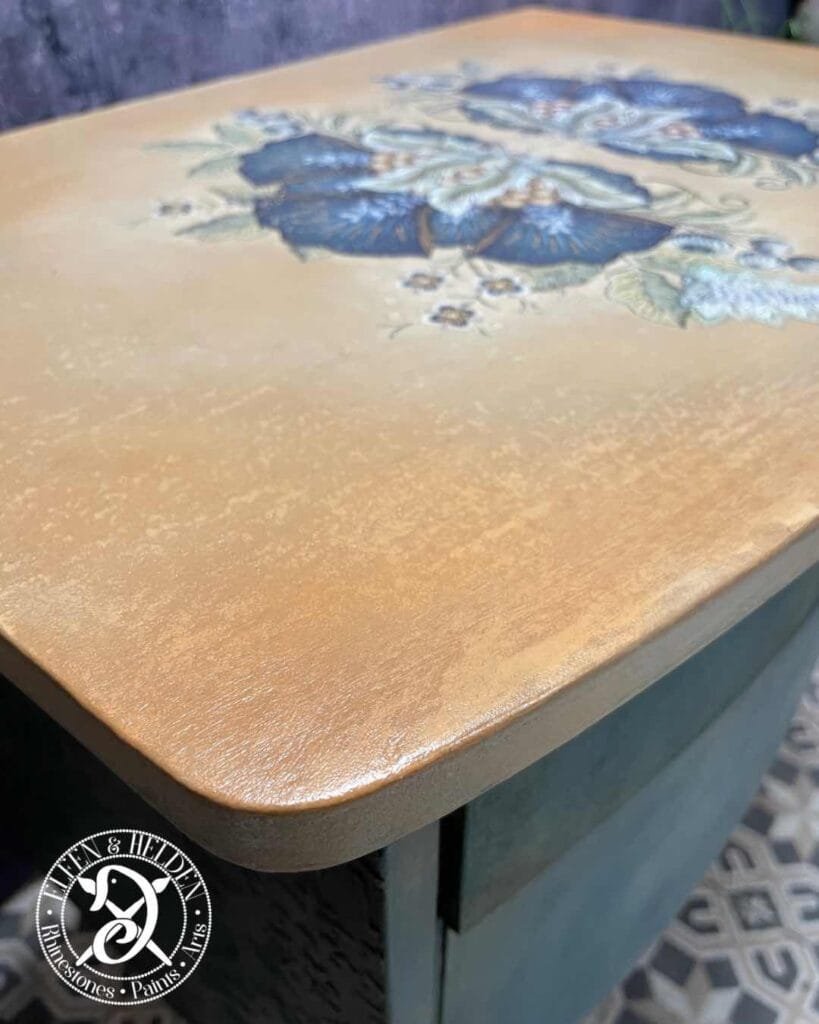
The transfer I chose for this project is called “Embroidered Lotus” and is by Belles & Whistles.
Once I’ve decided which parts I want to use, I cut them to size.
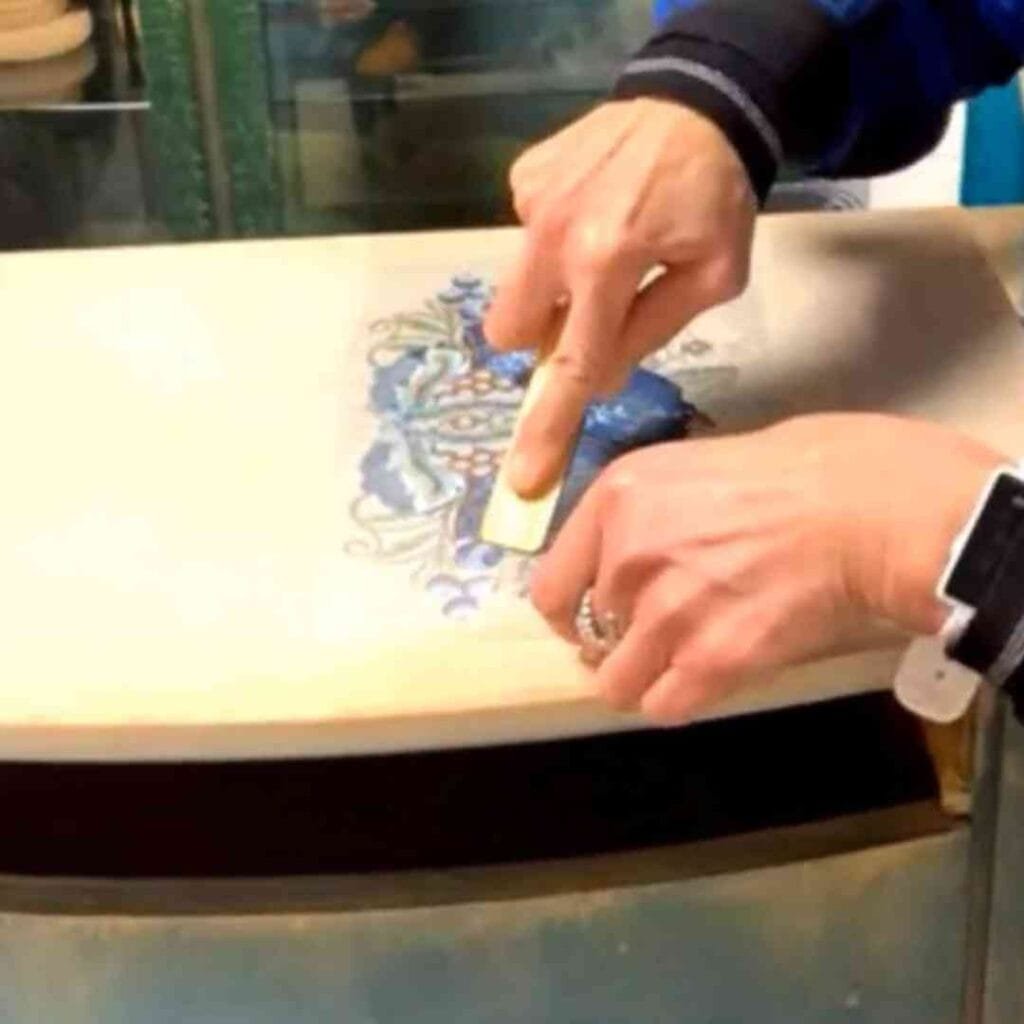


I actually measured the center. Using the scraper that comes with the transfer, I’m now transferring the design onto the surface. The transfers are paper-thin and lie very flat against the surface once applied. This creates a look that’s almost like it was hand-painted.
In particular, I use the finishing pad to rub in the edges at the end to make sure that all parts of the transfer adhere well to the surface. To protect the design afterward, I seal the transfer with Terra Tuff. The topcoat has a slightly glossy finish and makes the colors appear more vibrant.

I really like using the original handles. Before I decide whether or not to paint them, I use a very fine sanding sponge to see if there’s something even nicer hidden beneath the original paint. It doesn’t always work, but I’ve achieved some great effects this way. Not this time, though—so I’ll paint them, just like the legs, in Steel Magnolia.
Since the handles are made of metal, I prime them first as well. At the time of this project, I used Slick Stick for this; today, Dixie Belle’s Bonding BOSS is the equivalent product. Since I find the handles a bit too plain on their own, I’m using WoodUbend’s Keyholes 998 as a decorative background. These are also painted with Steel Magnolia.

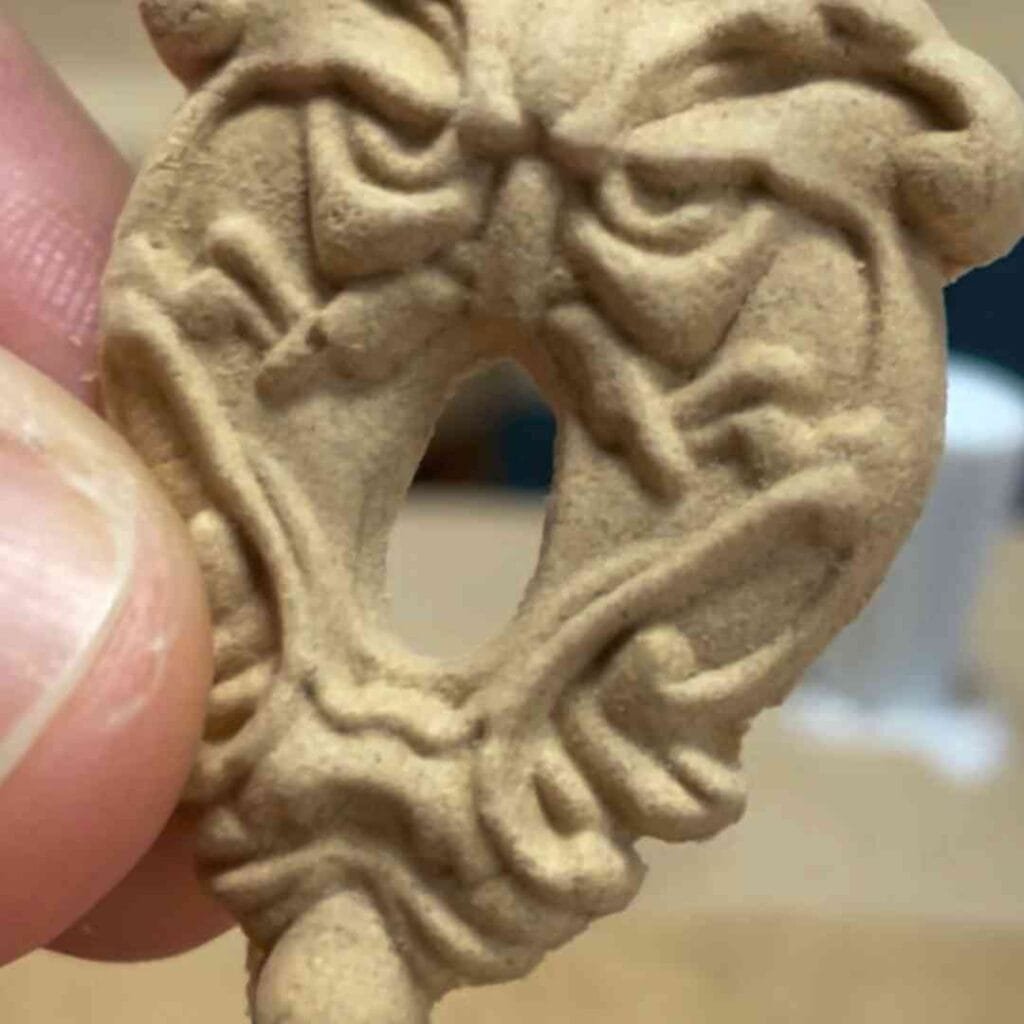

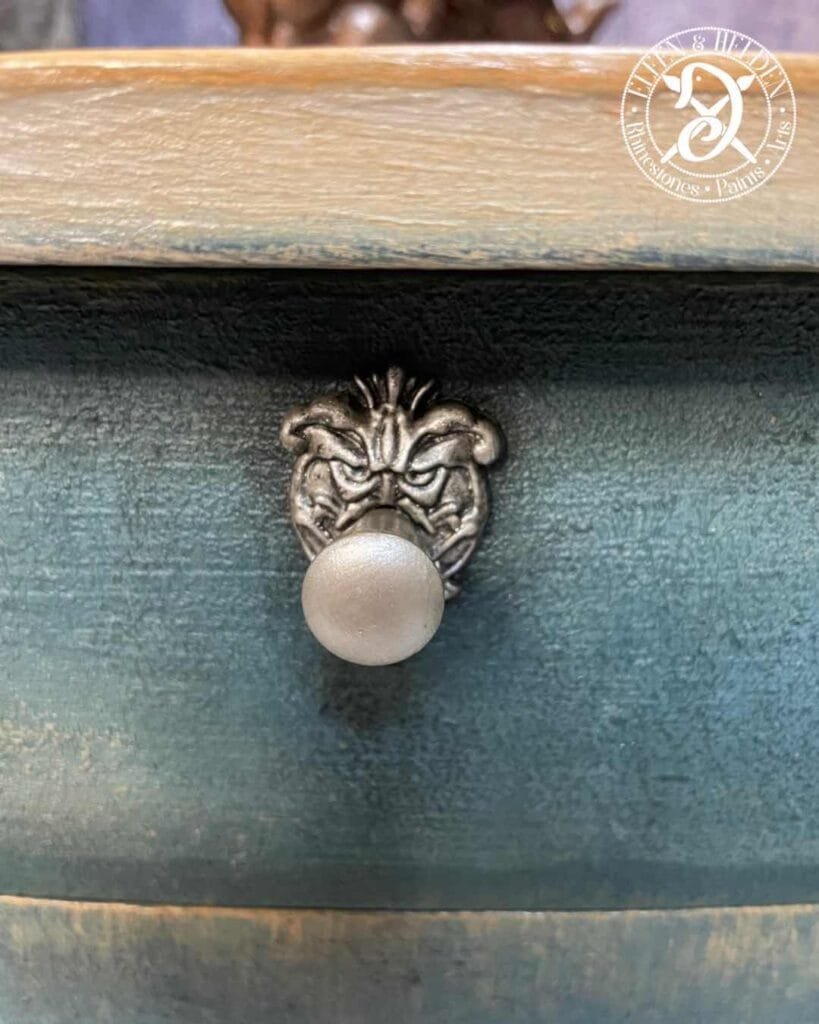
WoodUbends become flexible when heated, allowing you to cut them to size and shape them to fit your project. Since I didn’t want to get Steel Magnolia on the project itself, I painted the WoodUbends beforehand. They are attached using a suitable wood glue. My favorite is Quick & Thick by Titebond.
Last but not least, I treat the wood on the back with Big Mama’s Butta. You can see the before-and-after effect very clearly here.

I spruced up the interior with a decoupage from Grace on Design.
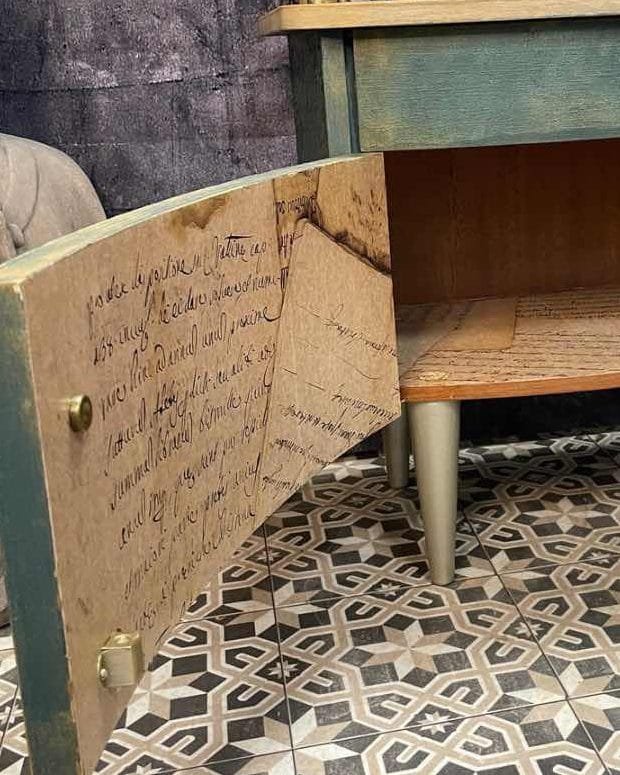
A little black wax to add a touch of grunge, and voilà: our little cabinet with a weathered look is ready. Do you like it?
Do you have any questions or suggestions? Then feel free to send me a message.
For now, I’d just like to say thank you for reading, and see you in the next blog post.
Your Master of Disaster
Angela
Products used:
Not all of my favorite products I carry myself in the shop. Nevertheless, I don’t want to withhold them from you and I’m happy about every cent in my coffee box so that I can continue to compile informative articles for you.
The links marked with an asterisk (*) are so-called affiliate links. If you click on such an affiliate link and buy via this link, I get a commission from the online shop or provider in question. But your price does not change!
Festool ROTEX RO 90 DX FEQ-Plus geared random orbital sander
Festool 497481 Interface Pad IP-STF-D90/6
Festool CTL SYS mobile dust extractor – 575279
Hot air gun Steinel HL 1920 E*


Sign up for my newsletter and stay up to date.
I share new products, creative trends, helpful tutorials and exclusive offers with you.
You can easily unsubscribe at any time – via the link in the footer of every email or by sending me a message. You can find the relevant contact details in the imprint or directly in the newsletter.