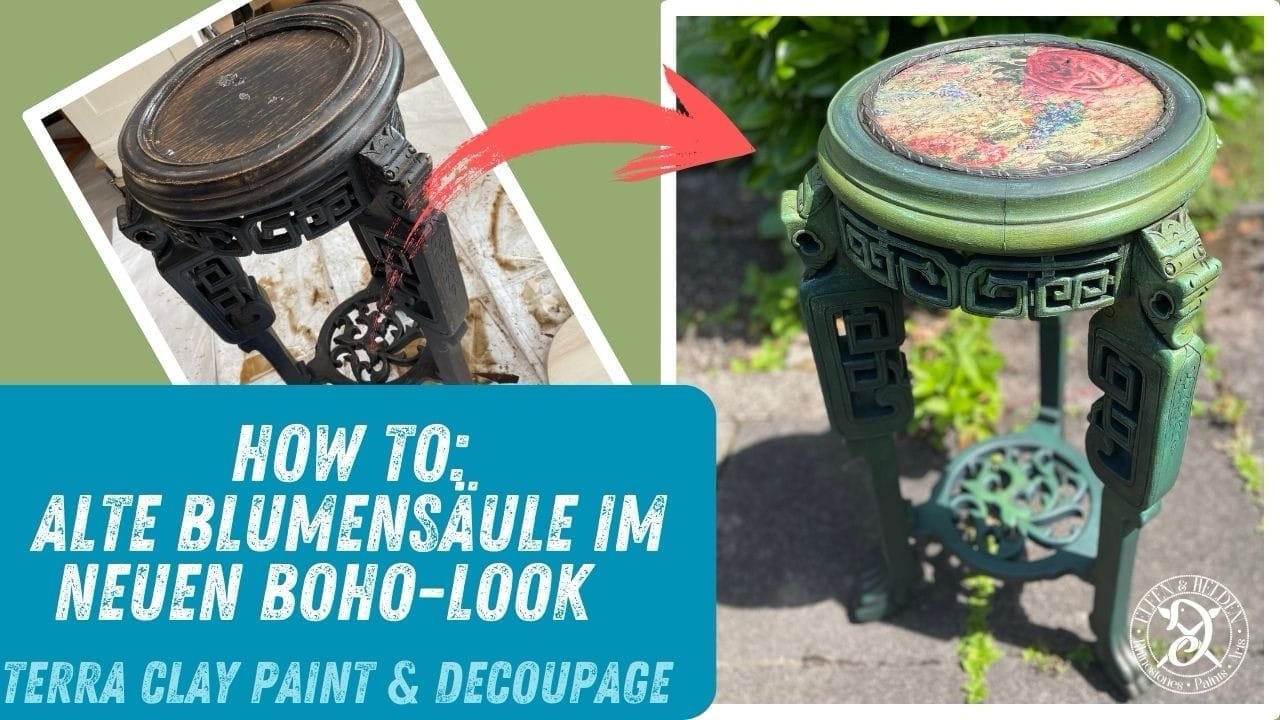
HOW TO: Transform an old flower stand into a chic boho look masterpiece
Today’s project is an extraordinary side table with beautiful paw feet, which can be used as a side table or flower column or similar. However, the piece is not in good condition. Quite gakelig and with a dilapidated shelf. But nothing that can’t be repaired. Let’s go ?

The full description can be found below the video and a list of the products used at the end of this article.
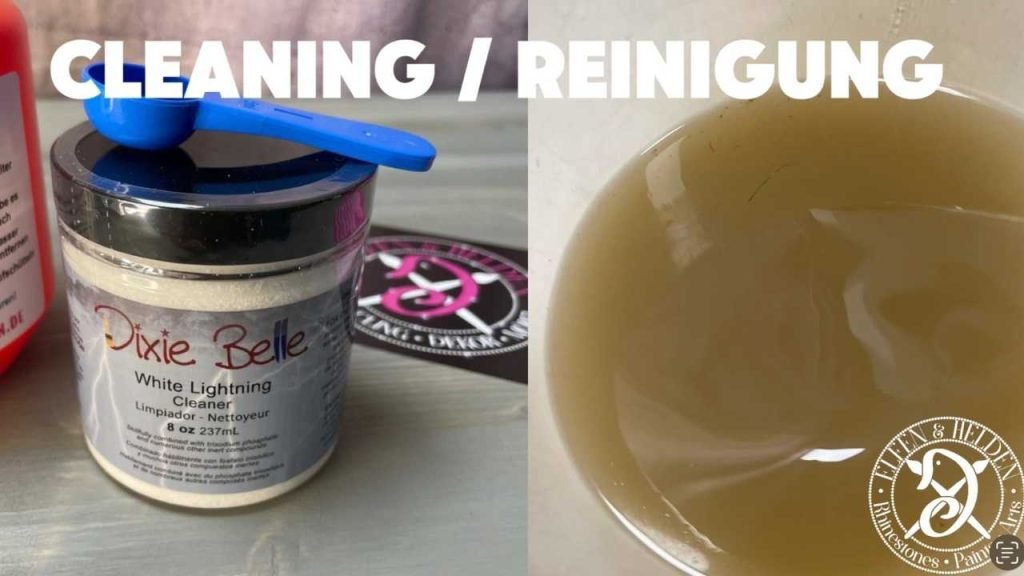
After cleaning it with White Lightning, I first stabilized it and tightened all the screws. I removed the old shelf and cut a new one out of chipboard. This is only used later.


Today I work with the Terra Clay Paints from Dixiebelle. These are perfect for the look I have in mind. Namely layers of color and texture.

I initially choose the colors Galaxy, Malachite and Pistachio. Later, however, Lani’s Lagoon, a bright turquoise, is also used. So stay tuned ?


From bottom to top, it will run from dark galaxy through malachite to bright pistachio. I work with the French Tip Brush from Dixie Belle and finer artist brushes for the inner details.

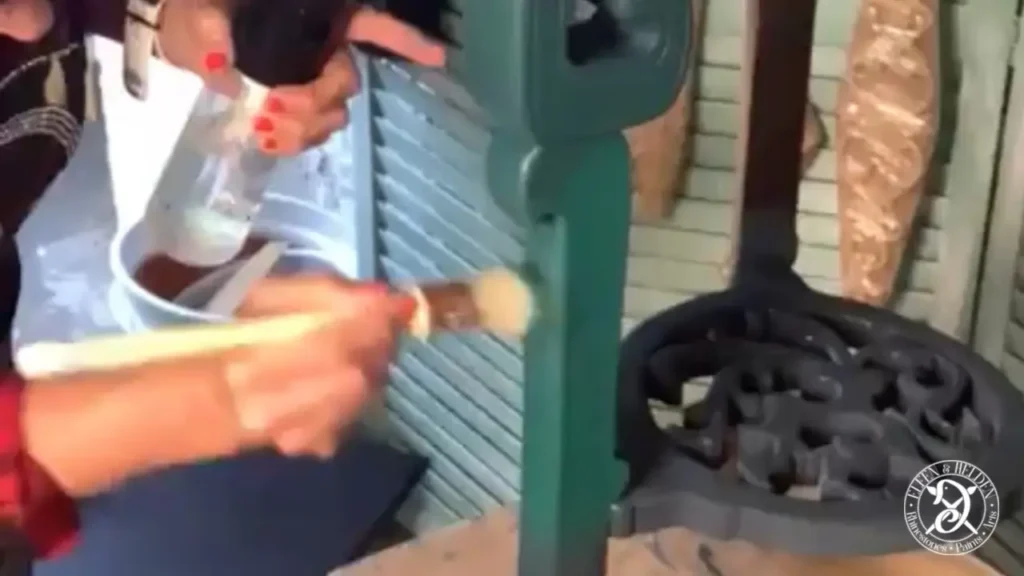

In the base layer, I work the colors into each other while they are still wet to achieve smoother transitions. As the table has a very different structure, I worked with a spread, stipple or swirl technique, depending on the situation, and also experimented a little. One leg at the bottom Galaxy to the top and the Malachite worked in above. Another leg at the bottom Galaxy, middle still without color and at the top Pistachio and then the Malachite worked in from the middle. The Malachite was too dominant for me here, so I muted it a little with Galaxy. So don’t be afraid to try something out. Especially in the first color layer. True to the motto: If you don’t like it, paint it over again.
If a piece of furniture allows it, I sometimes turn it upside down. This makes it easier to get to the hard-to-reach places and you don’t have to contort yourself so much.

I chose a decoupage paper from Belles & Whistles, Lovely Sunnet, for the new tray. This is a rice decoupage paper and super easy to use.


To make the colors of the paper come out brighter later, I first painted the base with a light color. I chose the Drop Cloth from Chalk Mineral Paints for this. I cut the paper to the appropriate size with the help of a scalpel. I use the Top Coat Satin from Dixie Belle to apply it. I love products that fulfill more than one purpose. I use a ball of cling film to massage out the wrinkles and bubbles from the inside out.


Finally, the whole thing is sealed with Top Coat Satin and the shelf is ready to be integrated into the flower table. To do this, I first use a wood glue from and also fix the shelf in place with my nail gun.


To make the transition at the edge more harmonious, I use the WUB722 trim from WoodUbend. After heating, it is nice and flexible, so I first cut it to length and paint it in Galaxy before attaching it around the new shelf with wood glue. I keep it warm with my hot air dryer to keep it flexible and press it firmly onto the surface for good adhesion. When it cools down later, it remains in the form in which it was brought.


Now we come to the previously mentioned turquoise. I work the following layers with an almost dry brush and very little paint to build up layers. The colors underneath still shine through. What initially looks quite wild is then subdued again using the same technique with the Pistachio.
I then alternate until I’m happy with the result. I do the same with Malachite and Galaxy in the lower area.


The whole thing is sealed with the Terra Seal top coat from Dixie Belle, which is a matt water-based top coat. So that I don’t accidentally reactivate the colors, I avoid brushing back and forth too often when applying and use a little more top coat than I would with the normal colors. The Terra colors absorb it well. 2 coats of top coat, whereby the 2nd coat no longer reactivates the color.


After drying, the finish is emphasized with the Best Dang Wax in brown. As the surface is already sealed, it is easy to control. I spread it especially in the recesses and beautiful details of the project and then take it back with a lint-free cloth.


The final highlight is a bit of Gilding Wax in copper over the WoodUbend Trim and the great feet of the table. Like me, you can apply it either with your finger or with a brush.


And another project is finished. I hope you like it ? You can find pictures of the finished project at the end of this article.
Do you have any questions or suggestions? Then feel free to write me in the comments or write me a message.
For today I say thank you for reading and goodbye until the next blog post
Your Master of Disaster
Angela
Products used:
Dixiebelle Chalk Mineral Paint Drop Cloth
Belles & Whistles Decoupage Lovely Sonnet
Dixiebelle Top Coat Satin & Terra Seal
Dixiebelle Best Dang Wax Brown
Not all of my favorite products I carry myself in the shop. Nevertheless, I don’t want to withhold them from you and I’m happy about every cent in my coffee box so that I can continue to compile informative articles for you.
The links marked with an asterisk (*) are so-called affiliate links. If you click on such an affiliate link and buy via this link, I get a commission from the online shop or provider in question. But your price does not change!
Festool ROTEX RO 90 DX FEQ-Plus geared random orbital sander
Festool 497481 Interface Pad IP-STF-D90/6
Festool CTL SYS Mobile Dust Extractor – 575279
Hot air gun Steinel HL 1920 E*


Sign up for my newsletter and stay up to date.
I share new products, creative trends, helpful tutorials and exclusive offers with you.
You can easily unsubscribe at any time – via the link in the footer of every email or by sending me a message. You can find the relevant contact details in the imprint or directly in the newsletter.