

In this IKEA hack, I’m taking a simple Hemnes dresser and transforming it into a truly one-of-a-kind piece. The centerpiece is a hand-painted great white shark, created using Dixie Belle’s Terra Clay Artisan Paints and accented with flexible wood ornaments from WoodUbend.
The full description can be found below the video and a list of the products used at the end of this article.
Also this project, although it is new, I first cleaned with White Lightning. In spite of everything, there may be residues from production or even from assembly on it.
This piece of furniture is made of lacquered wood, so I just gave the surface a quick once-over with a sanding sponge.
Also, this time I worked from the inside out, since I wanted to finish the inside of the rather boring drawers as well, and that’s easier to do before putting everything together.
I filled the existing holes for the handles with Dixie Mud. To keep the mud from seeping through the holes, I use tape as a plug.


This time, I’m working with Dixie Belle’s Terra Clay Artisan Paints. Since these paints aren’t self-leveling, you can use them to intentionally create visible brush strokes and textured surfaces.
I paint the inside of the drawers with Terra Bougainvillea. On the outside, I create a color gradient from the outside in using Bougainvillea, Marigold, and Daffodil.


Next, I’ll apply the Tea Towel stencil from Belles & Whistles on top. For this, I’ll use Dixie Mousse in Garnet and mix it with the Top Coat Gloss. To minimize bleeding, I first wipe off some of the color from the stencil brush, which also helps distribute it evenly throughout the brush. I then use the dotting technique to apply the stencil design to the sides.


The bottoms of the drawers are also painted. Since this is a smooth, coated surface, I primed it in preparation for further painting. At the time of this project, I was still using Slick Stick by Dixie Belle for this; today I use Bonding Boss. The base color here is Galaxy from the Terra series, which I apply twice. To create a woven effect, I apply the second coat at a 90° angle to the first. Terra Clay Artisan Paints are not self-leveling, and the brush strokes may remain visible as they dry. That’s exactly what I’m using here to create my effect. For stenciling, I use Pistachio and the Buffalo Check stencil from Belles & Whistles. With a nearly dry brush—meaning very little paint—and firm pressure, I apply the paint in circular motions.


The top trim of the dresser is decorated with the WUBTR720 trim.


When I work with trim, I apply the glue to my project and try to keep the trim coiled up for as long as possible. That way, I can control it better. To make the WoodUbends flexible, I warm them up with a hair dryer or heat gun. I use painter’s tape to help hold the trim in place until I can press it firmly into position. Since the WoodUbend cools down and hardens again while I’m working, I reheat it periodically to keep it flexible.
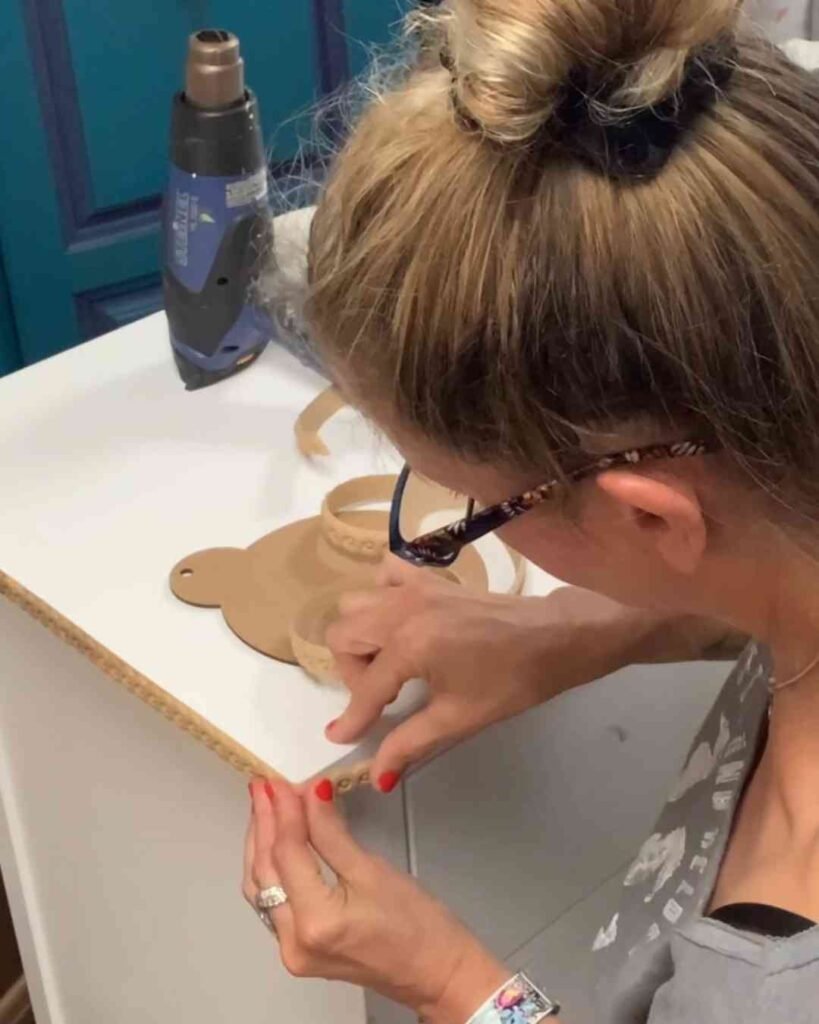


If it’s flexible, you can also cut it with a sharp knife. That’s what I do here at the end of the strip. Once it has cooled, I smooth out the cut edge with an abrasive sponge.


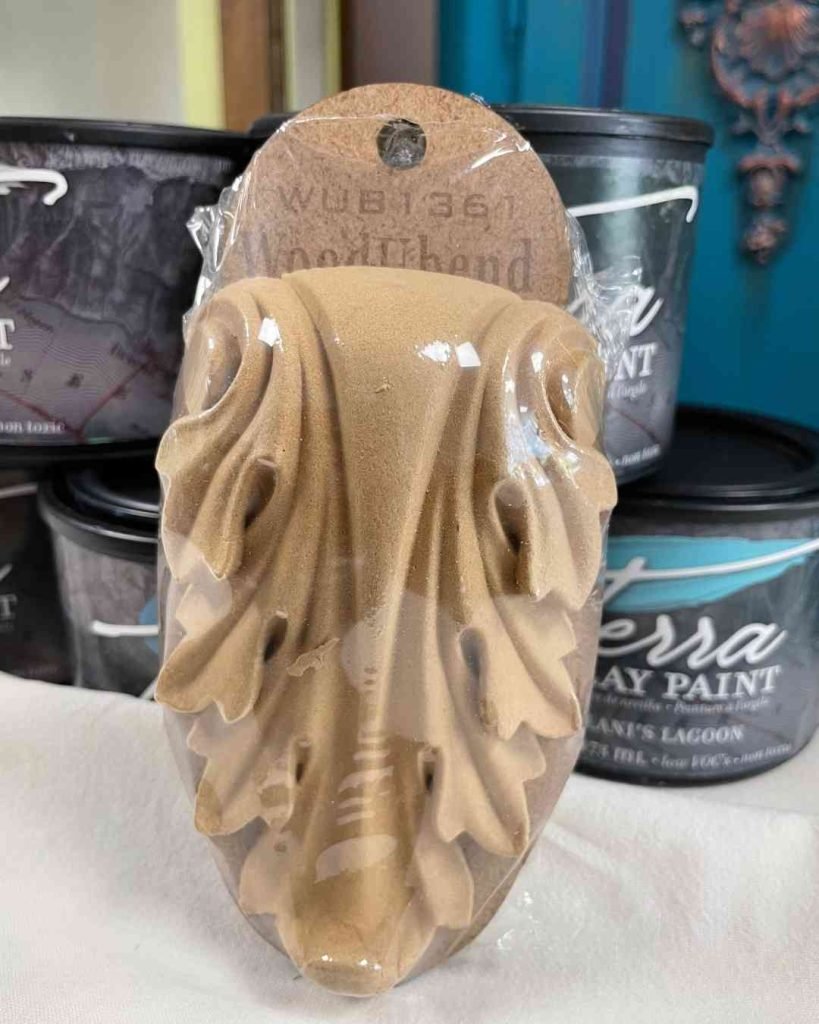
The top corners of the dresser are adorned with the WUB361 corbel. Since these are quite thick and I want to wrap them around the edge, I first cut out a small wedge from the back. That way, I don’t have to bend the entire solid ornament.


Anyone who knows me knows that, besides my sweetheart, my kittens, and motorcycles, my heart beats for the underwater world. My absolute favorites: the tiny seahorses and the huge sharks. And today, it’s going to be a great white shark.
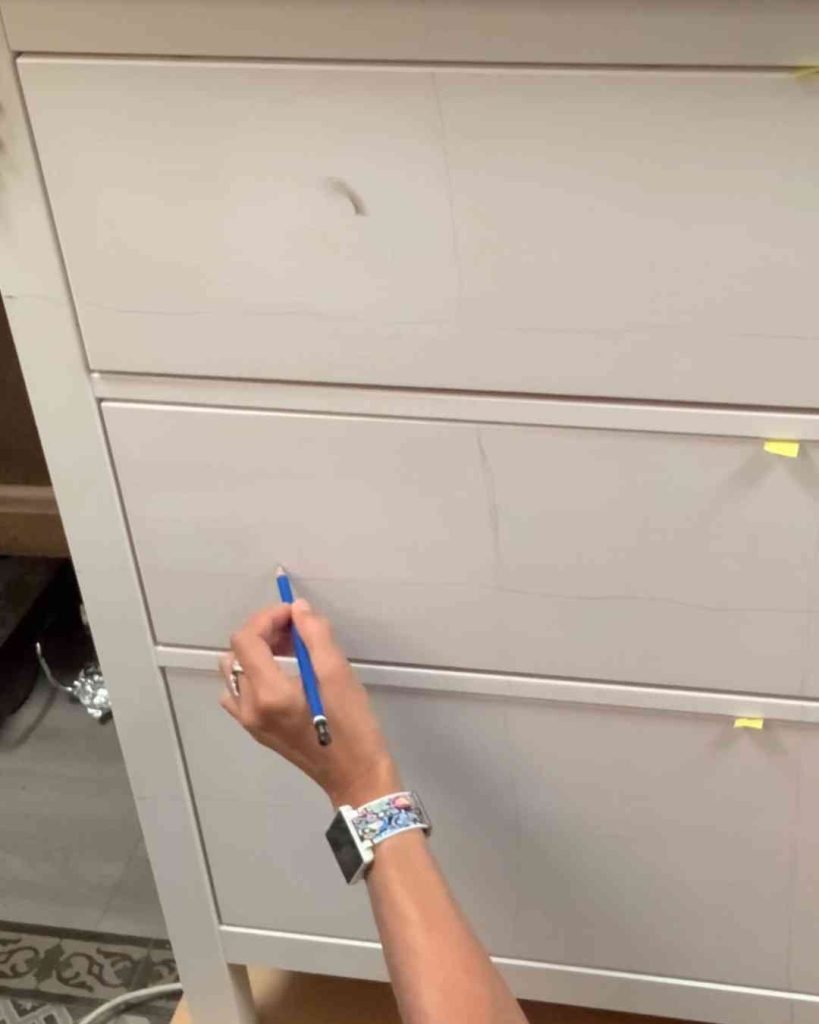
To make it easier for me to get the proportions right, I first sketch a rough grid and draw the outline of the shark.

First, I’ll start on the background. For that, I’ll use the Terra colors Galaxy, Blue Moon, Cerulean Blue, and Lani’s Lagoon. I’ll add Moon Beam and Onyx later when I paint the shark itself.
The colors get lighter from the bottom up. In the upper part, I paint a semicircle to simulate a view toward the water’s surface later on. I repeat the whole process a second time. To keep the paint wet and blend the shades together, I use a spray bottle filled with water.


For the waves on the water’s surface, I’m using Blue Moon, Cerulean Blue, and Lani’s Lagoon.


For the sides of the dresser, I tend to go with darker shades of blue. Since I want to build up texture here as well, I like to work with natural-bristle brushes or brushes that behave similarly, such as the Premium Chip Brush.
Elderberry, Malachite, and Pistachio now come into play as an intermediate layer and part of the color overlay. I always let the colors dry between layers. Finally, I apply another thin layer of the blue tones on top so that the underlying layers of color can still show through.


First, I trace the outline of the shark itself with Cerulean Blue. The blue will blend well with the surroundings later on.

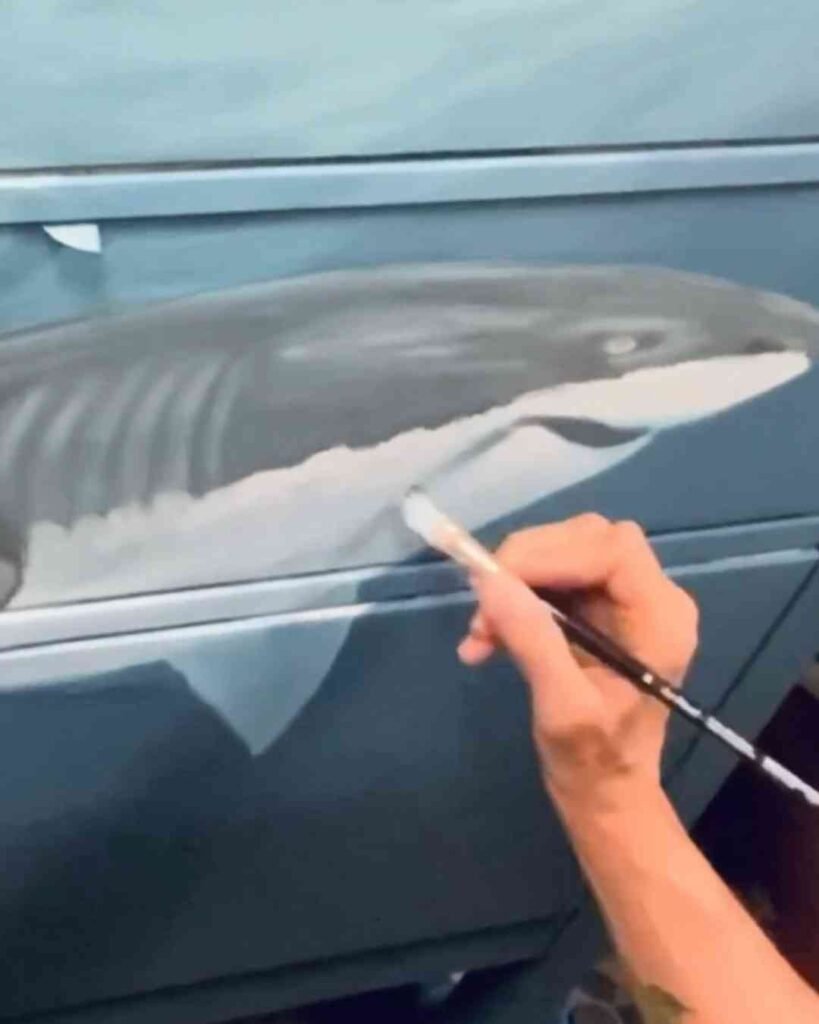
After mixing various shades of gray—from dark to light—using Onyx, Moon Beam, and Blue Moon, I start with the darkest shade. It’s a play of light and shadow, and I keep adding a little more blue as I go.
This also allows me to capture the effects of light and color underwater. Depending on the water depth and visibility, certain wavelengths of light are absorbed to varying degrees—red, for example, disappears much sooner than blue.


Great white sharks are gray on top and significantly lighter on the underside. This so-called counter-shading makes their silhouette less distinct, depending on the viewing angle.
In the great white shark, the transition between the darker upper side and the lighter underside is clearly defined and runs irregularly. Great white sharks also have a powerful, stocky build.
For the white part of the shark, too, I start with the darkest shades and work my way up to the lighter ones, then use darker shades to add further highlights and make the body of this impressive animal appear more three-dimensional.




Once, I was lucky enough to encounter a great white shark underwater. They are beautiful, awe-inspiring animals. Encounters with them naturally demand respect—and at the same time, sharks themselves have come under severe pressure due to human activity.
I’m quickly adding a few seaweed tendrils to the legs of the dresser using WoodUbend. For this, I’m using pieces of WoodUbend WUB1413. I cut off the roses; they’ll be used in another project. Here, I’ve used only a few of the leafy tendrils, wrapped them around the legs, and then painted them with Galaxy.


I’m giving the dresser top a dark marble effect. For this, I’m using Dixie Belle’s Chalk Mineral Paints. Since I’ll be working with a lot of water here, and the unsealed Terra Clay Artisan Paints can be reactivated with water, I prefer to use the Chalk Mineral Paints for this technique.
Midnight Sky, In the Navy, and Dixie Belle Blue—blended together using the Best Dang Brush—create a deliberately irregular, cloudy look as a base. I repeat the entire process a second time to achieve the desired coverage. In between and afterward, I sand the surface with a fine-grit sanding sponge to achieve the smoothest possible finish. I thoroughly remove the sanding dust each time before continuing.
I start by sealing the surface with Easy Peasy Spray Wax before I begin the marbling process. This allows me to better control the subsequent layers of paint when using this technique.
I was inspired to create the marbled effect by Jonathon Marc Mendes’s “Painted Love.” Although mine doesn’t turn out as refined and elegant as his—it’s actually a bit more organic, though that was kind of unintentional. But it suits me better, doesn’t it?
For the marbling effect, I use “Cotton” from the Chalk Mineral Paint series and “Steel Magnolia” from the Moonshine Metallic series. Using an artist’s brush, I apply the “Cotton” paint—diluted with water—in vein-like strokes and add irregular drips. Using the spray bottle, I let it spread even more and then partially wipe it off with a damp microfiber cloth. I also add Steel Magnolia here and there to create a subtle sheen. In the areas where it’s too light for my liking, I repeat the process with Midnight Sky to darken it again—until I’m satisfied.


The entire project will ultimately be sealed with Terra Tuff. The topcoat dries to a satin finish, which also changes the visual appearance of the Terra colors.

Right at the end, the WoodUbends are given a finishing touch with Dixie Belle Chameleon Waxes. Unlike opaque gilding waxes, these waxes look different depending on the color of the underlying surface and create an iridescent mother-of-pearl effect.


And with that, Sharky is all set and ready for his new home. 🦈
Do you have any questions or suggestions? Then feel free to write me in the comments or write me a message.
For now, I’d just like to say thanks for reading, and see you in my next blog post. 👋
Your Master of Disaster
Angela
Products used:
Not all of my favorite products I carry myself in the shop. Nevertheless, I don’t want to withhold them from you and I’m happy about every cent in my coffee box so that I can continue to compile informative articles for you.
The links marked with an asterisk (*) are so-called affiliate links. If you click on such an affiliate link and buy via this link, I get a commission from the online shop or provider in question. But your price does not change!
Festool ROTEX RO 90 DX FEQ-Plus geared random orbital sander
Festool 497481 Interface Pad IP-STF-D90/6
Festool CTL SYS mobile dust extractor – 575279
Hot air gun Steinel HL 1920 E*


Sign up for my newsletter and stay up to date.
I share new products, creative trends, helpful tutorials and exclusive offers with you.
You can easily unsubscribe at any time – via the link in the footer of every email or by sending me a message. You can find the relevant contact details in the imprint or directly in the newsletter.
Sign up for my newsletter and stay up to date.
I share new products, creative trends, helpful tutorials and exclusive offers with you.
You can easily unsubscribe at any time – via the link in the footer of every email or by sending me a message. You can find the relevant contact details in the imprint or directly in the newsletter.
