

Today’s project is a large, rather worn-out garden table with a plastic top that’s about to undergo a truly magical transformation. Using Posh Chalk decoupage paper, Dixie Belle chalk mineral paints, and ArtResin casting resin, we’ll create a vibrant, lush rose garden.


The full description can be found below the video and a list of the products used at the end of this article.
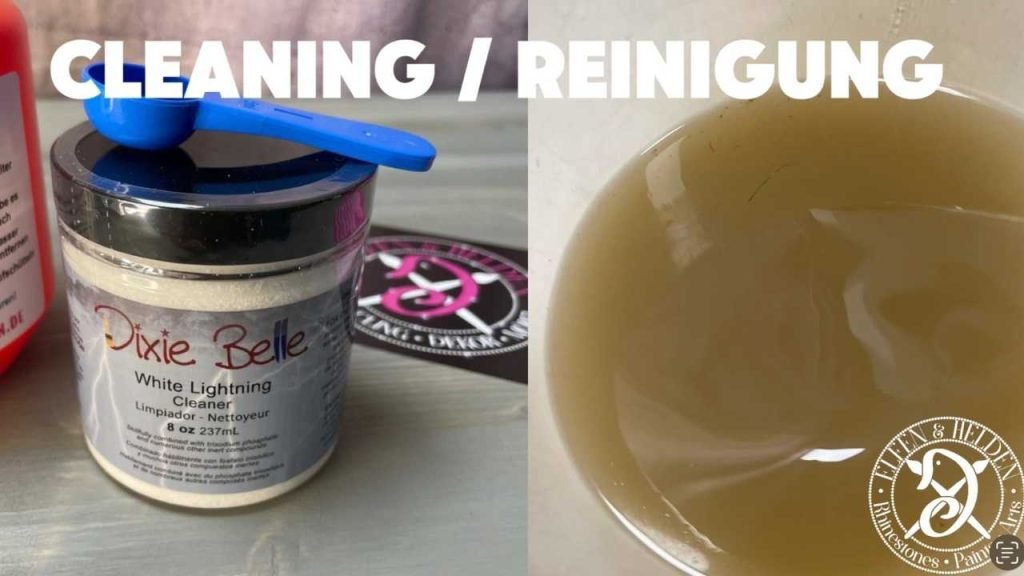
First, I thoroughly cleaned it with White Lightning by Dixie Belle. It had always been kept outside and had developed quite a bit of patina. The metal base itself was still in very good condition, but the top was anything but presentable.
To ensure better adhesion for the subsequent coats, I also primed the panel. For this, I used Bonding BOSS in white by Dixie Belle—a primer that combines a bonding primer and a sealer in one product.

The base color for my crackle effect is Dixie Belle’s chalk mineral paint in Midnight Sky. Since it’s only for the crackle effect, one coat is enough for me here. I’m usually a brush person and do everything with a brush, but for this surface, I used a roller for a change. I let the paint dry thoroughly.

Now it’s time for Dixie Belle’s Crackle Medium. As you can see, I’m not exactly gentle with it. I just poured it on and spread it with the roller, since the table is pretty big.


For the next coat, I’m also using the color “Drop Cloth” from Dixie Belle. Since I’ll be working with decoupage, I’ve chosen a white shade so that the colors of the paper will really stand out later. I’m careful not to apply too many layers of paint so that the cracks—which form very quickly—aren’t covered up by paint again.
Diluting the paint with water is usually not necessary if you want complete coverage. Since I’m working on a large surface, I chose this technique because it allows me to spread the paint more quickly. I also used a wide-bristled brush, the Big Daddy Brush from Belles & Whistles.


The decoupage paper is “Basket of Roses” by Posh Chalk. For this project, I need two DIN A1-sized sheets.

I dampen the edges with water and then peel them away. That way, the seams won’t be as noticeable later. I trim off the excess with a sharp knife.


I use Posh Chalk Infusor as my decoupage glue. You can also use it to mix pigments, apply decoupage paper, and seal your projects.


When I work on large-scale decoupage projects, I start by “throwing down an anchor,” so to speak, and securing one end with the medium. That keeps the paper in place so it can’t slip.

Then I work my way through it bit by bit so that I have enough time to massage out the wrinkles and bubbles. To do this, I simply use a crumpled piece of plastic wrap that I’ve formed into a ball.


I’m going to add a little accent to the edge of the table. For this, I’m using WoodUbend’s Trim TR716, which is 2.15 m long.

I trim the ends so that I can fit them together and the seams will be as inconspicuous as possible later on.

This time, I’m using Titebond’s waterproof wood glue to attach the trim. Here, too, I work in sections for better control: heat the trim, apply wood glue to the project, position the trim, and press it firmly into place. I continue working this way until everything is attached and the trim has hugged the curves of the edge. Finally, I sanded the edges of the trim a little so that they blend smoothly and evenly into the project.


Now comes the fun part. Since the decoupage paper doesn’t cover the entire surface of the table, we’ll now work on the edges. For this, I chose Dixie Belle’s chalk mineral paints in the colors Putty, Coffee Bean, and Chocolate. A quick tip: Seal the decoupage before you start painting it. That way, you can easily remove the paint if you’re not happy with a spot. I used the stippling technique to achieve a soft color transition. Since more layers are coming, I sealed this layer as well.


Once it’s dry, I work with the “Dainty Trellis” stencil from Posh Chalk and use the pigments Red Magenta, Byzantine Gold, and Diamond Gold—also from Posh Chalk. I mix these using the Posh Chalk Infusor.


When stenciling, I use all three colors and let them blend into one another. Since I only want to apply the stencil around the roses, I lift it up every now and then to see how far I can go. To keep it from slipping, I hold it in place with my other hand.


For the trim, I choose the Dark Green Metallic Paste to match the base of the Posh Chalk table. I thin it with a little water so it’s less paste-like when applying. Once dry, I highlight the entire piece with the remaining pigment mixtures using the dry-brushing technique.


This is actually the first time I’ve worked with casting resin. And to start with such a large surface area right away… that’s what I thought afterward, too. But you know me: I don’t like to take the easy way out. I’m using ArtResin and am following the manufacturer’s and safety guidelines for mixing, application, and personal protective equipment.

First, I leveled the table using a spirit level. Then I mixed the casting resin according to the manufacturer’s instructions and spread it evenly over the table. I also follow the manufacturer’s current processing instructions regarding the removal of air bubbles and the drying and curing times.


And the project is ready. What do you think of the result?
You’ll find more pictures below, after the list of products used. 🫶
Do you have any questions or suggestions? Then feel free to write me in the comments or write me a message.
For now, I’d just like to say thank you for reading, and see you in the next blog post.
Your Master of Disaster
Angela
Products used:
Dixie Belle White Lightning
Dixie Belle Bonding Boss White
Dixie Belle Crackle
Dixie Belle Chalk Mineral Paint:
Midnight Sky
Drop Cloth
Coffee Bean
Putty
Chocolate
Posh Chalk Deluxe Decoupage Paper Basket of Roses A1
Posh Chalk Infusor
Titebond Wood Glue
WoodUbend Trim TR716
Posh Chalk Pigments:
Red Magenta
Byzantine Gold
Diamond Gold
Posh Chalk Smooth Metallic Paste Dark Green
Posh Chalk Stencil Dainty Trellis
Pinsel Posh Chalk Large Blending Brush
Posh Chalk Premium Stencil Brush
Not all of my favorite products I carry myself in the shop. Nevertheless, I don’t want to withhold them from you and I’m happy about every cent in my coffee box so that I can continue to compile informative articles for you.
The links marked with an asterisk (*) are so-called affiliate links. If you click on such an affiliate link and buy via this link, I get a commission from the online shop or provider in question. But your price does not change!
Festool ROTEX RO 90 DX FEQ-Plus geared random orbital sander
Festool 497481 Interface Pad IP-STF-D90/6
Festool CTL SYS mobile dust extractor – 575279
Hot air gun Steinel HL 1920 E*


Sign up for my newsletter and stay up to date.
I share new products, creative trends, helpful tutorials and exclusive offers with you.
You can easily unsubscribe at any time – via the link in the footer of every email or by sending me a message. You can find the relevant contact details in the imprint or directly in the newsletter.