

45,95 €
In stock
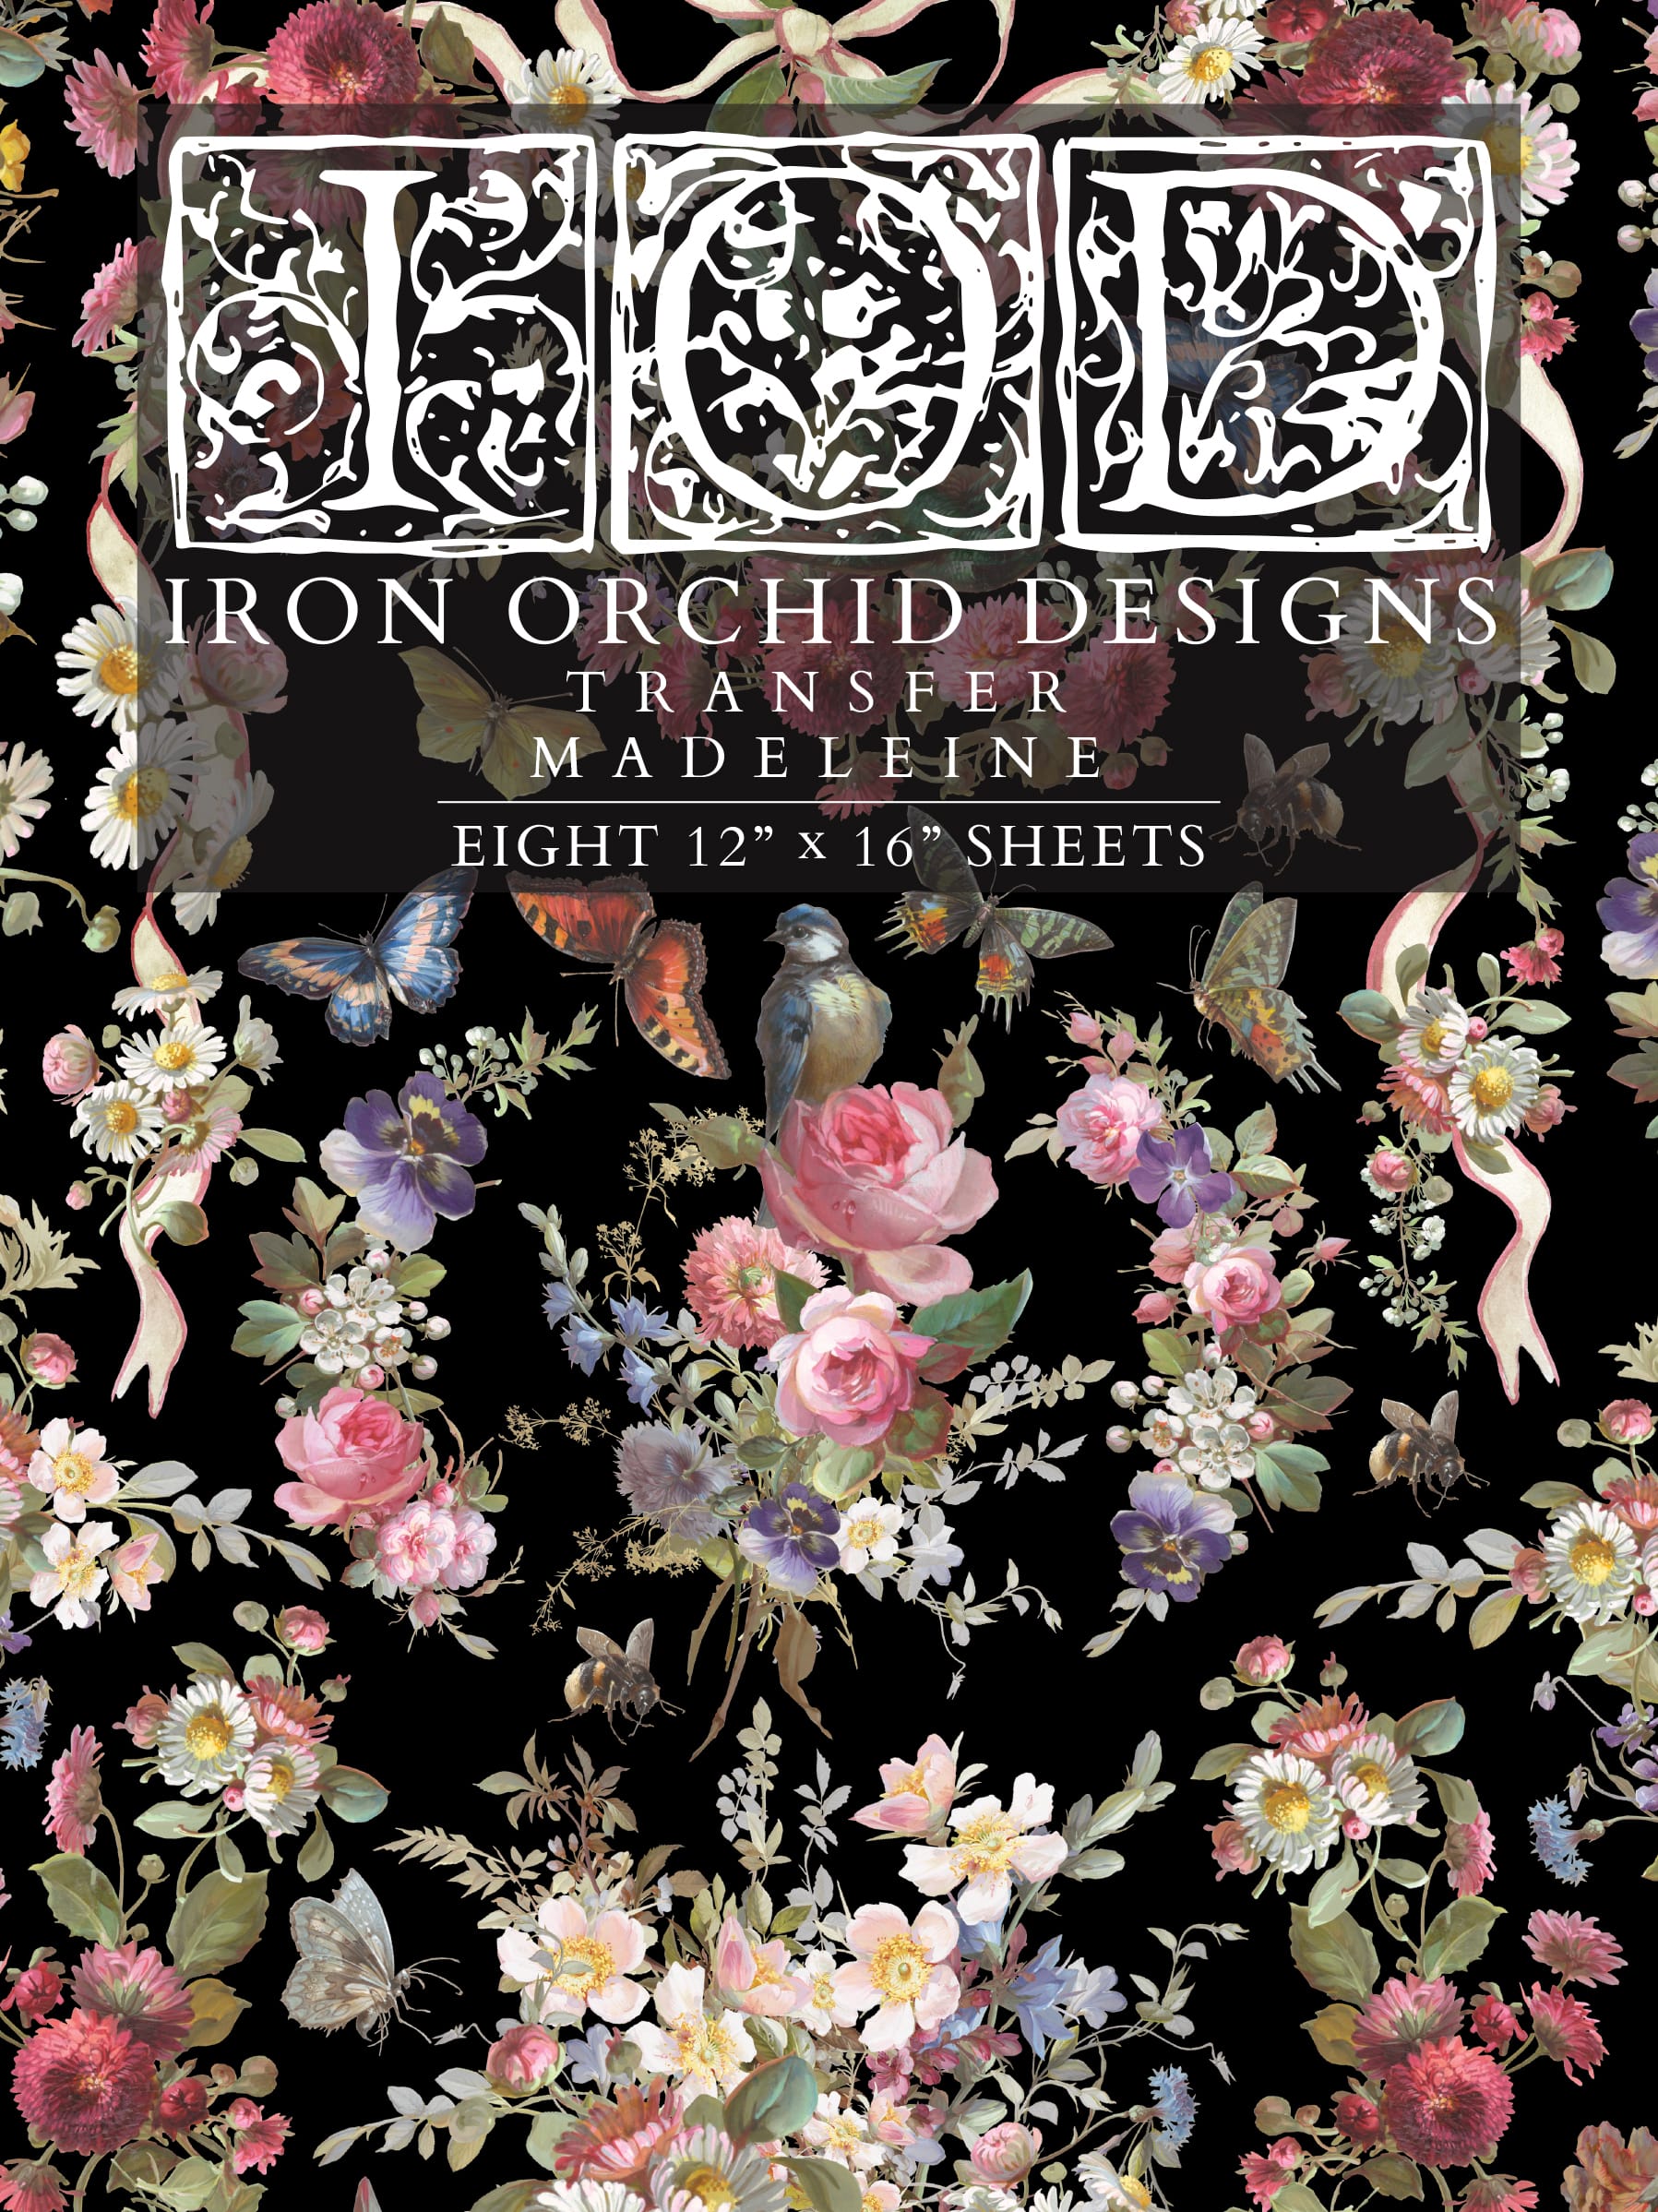
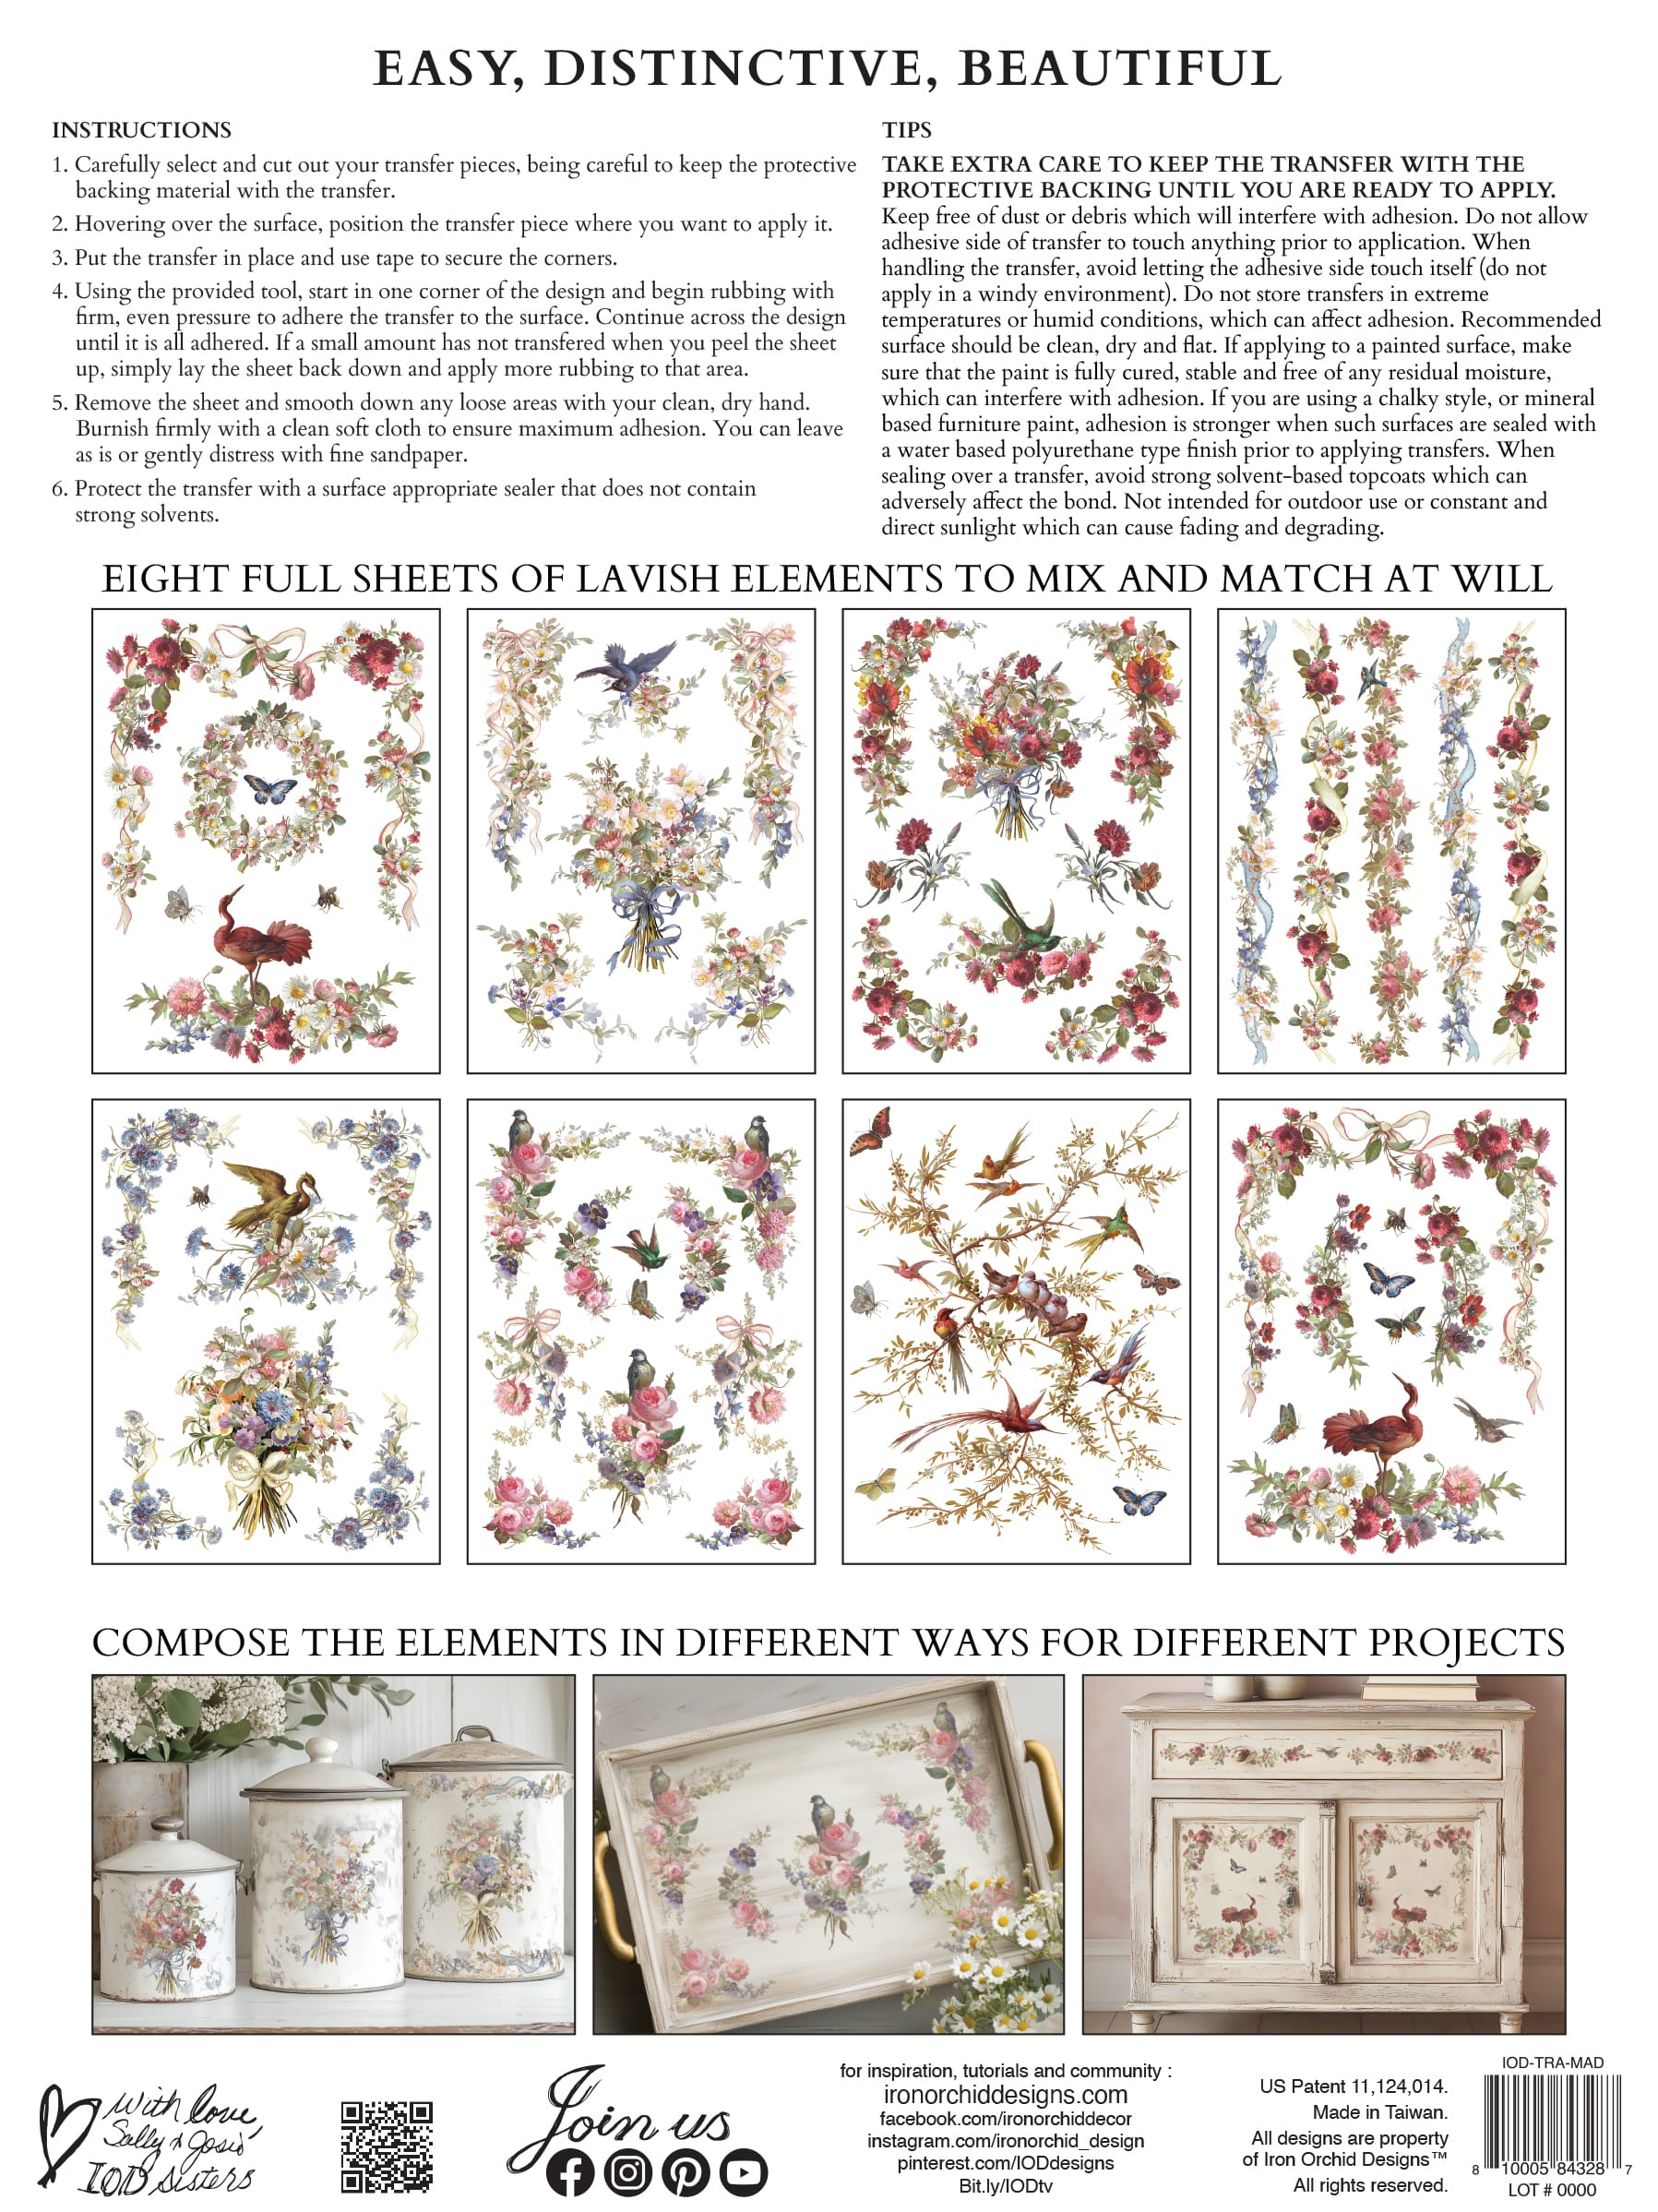
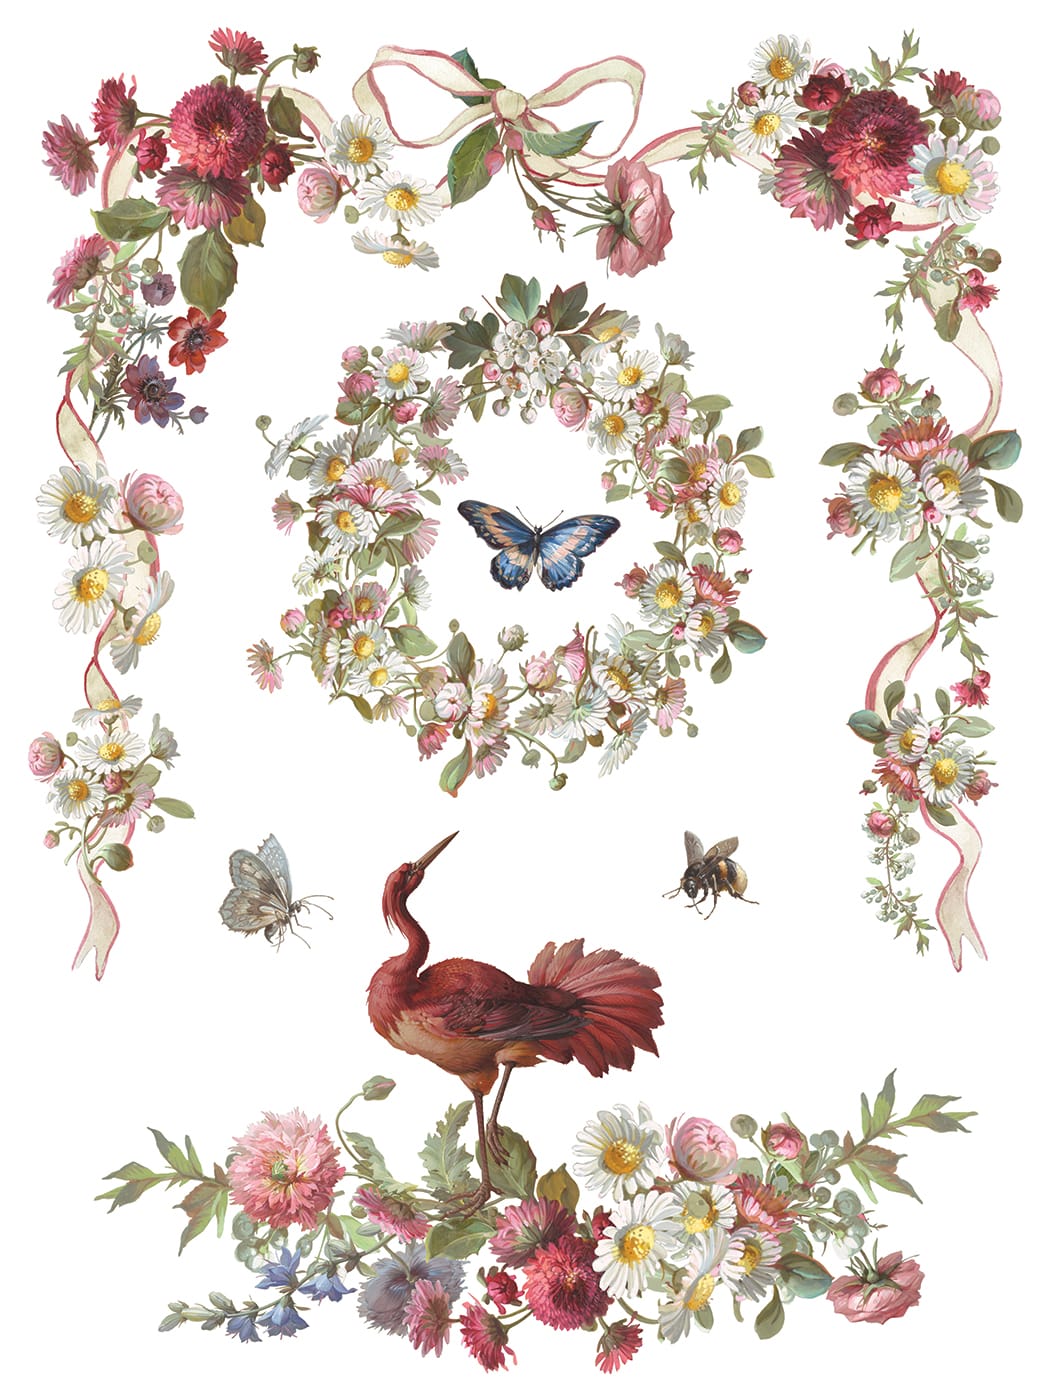
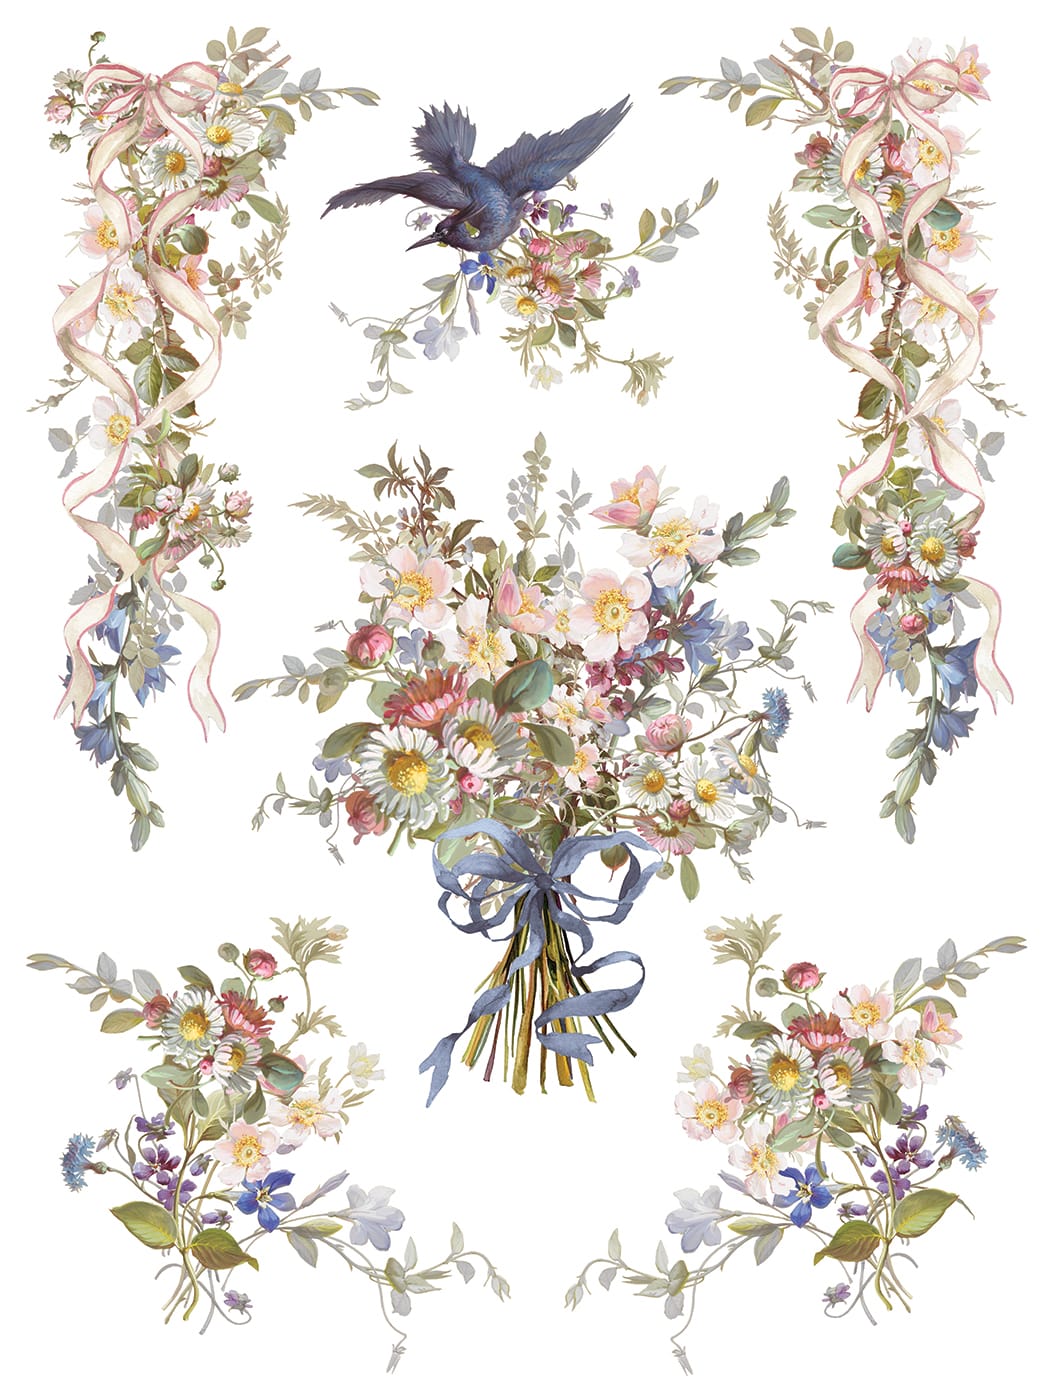
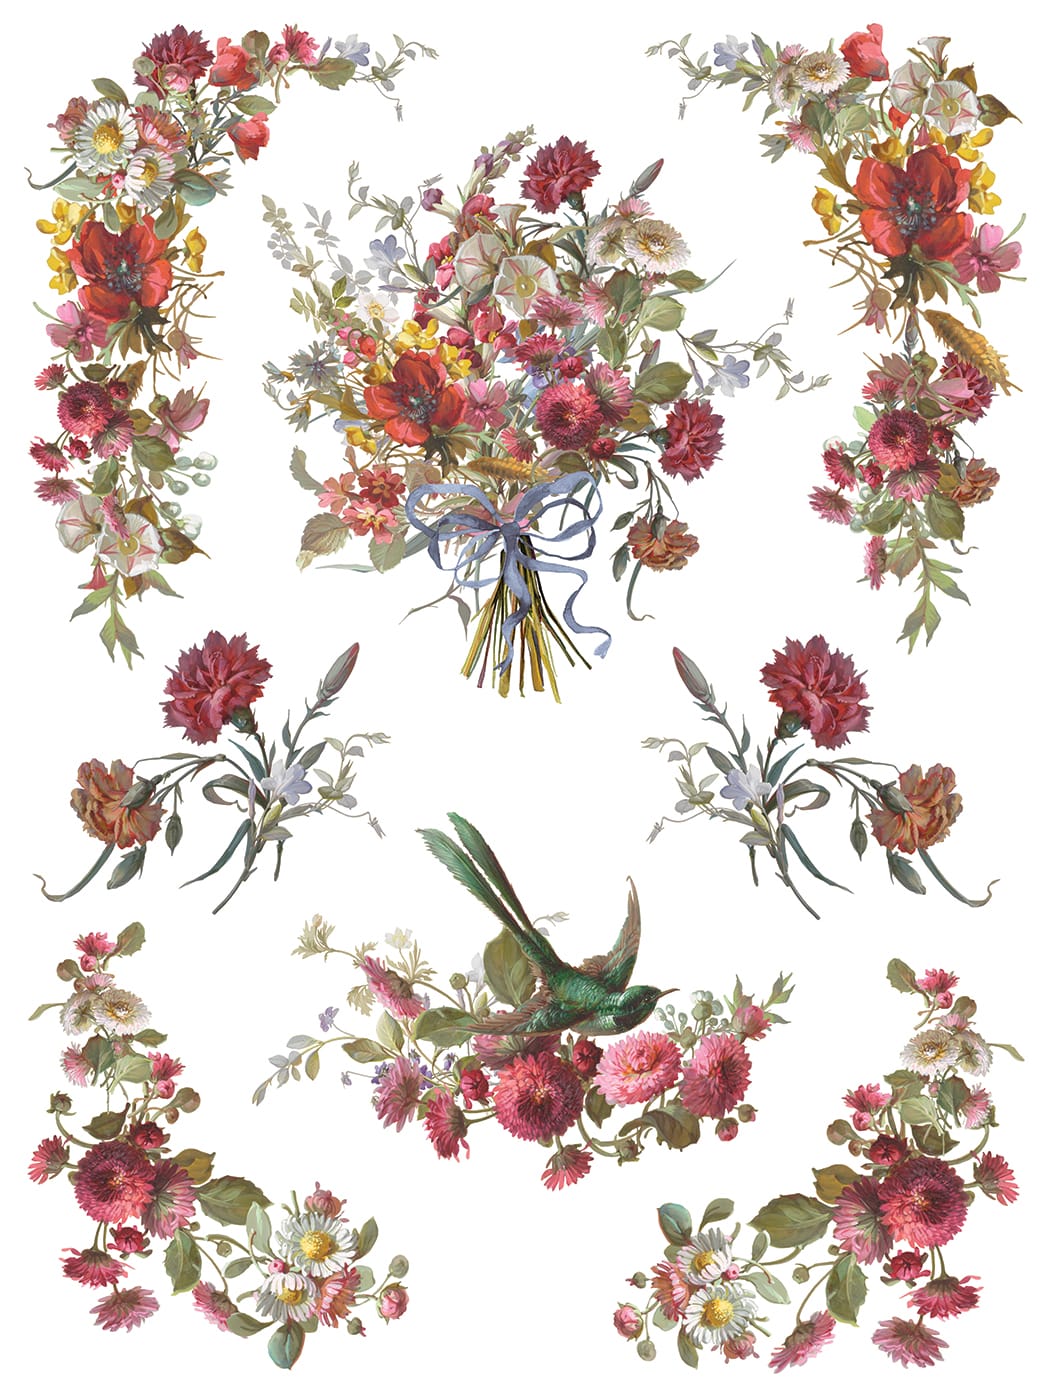
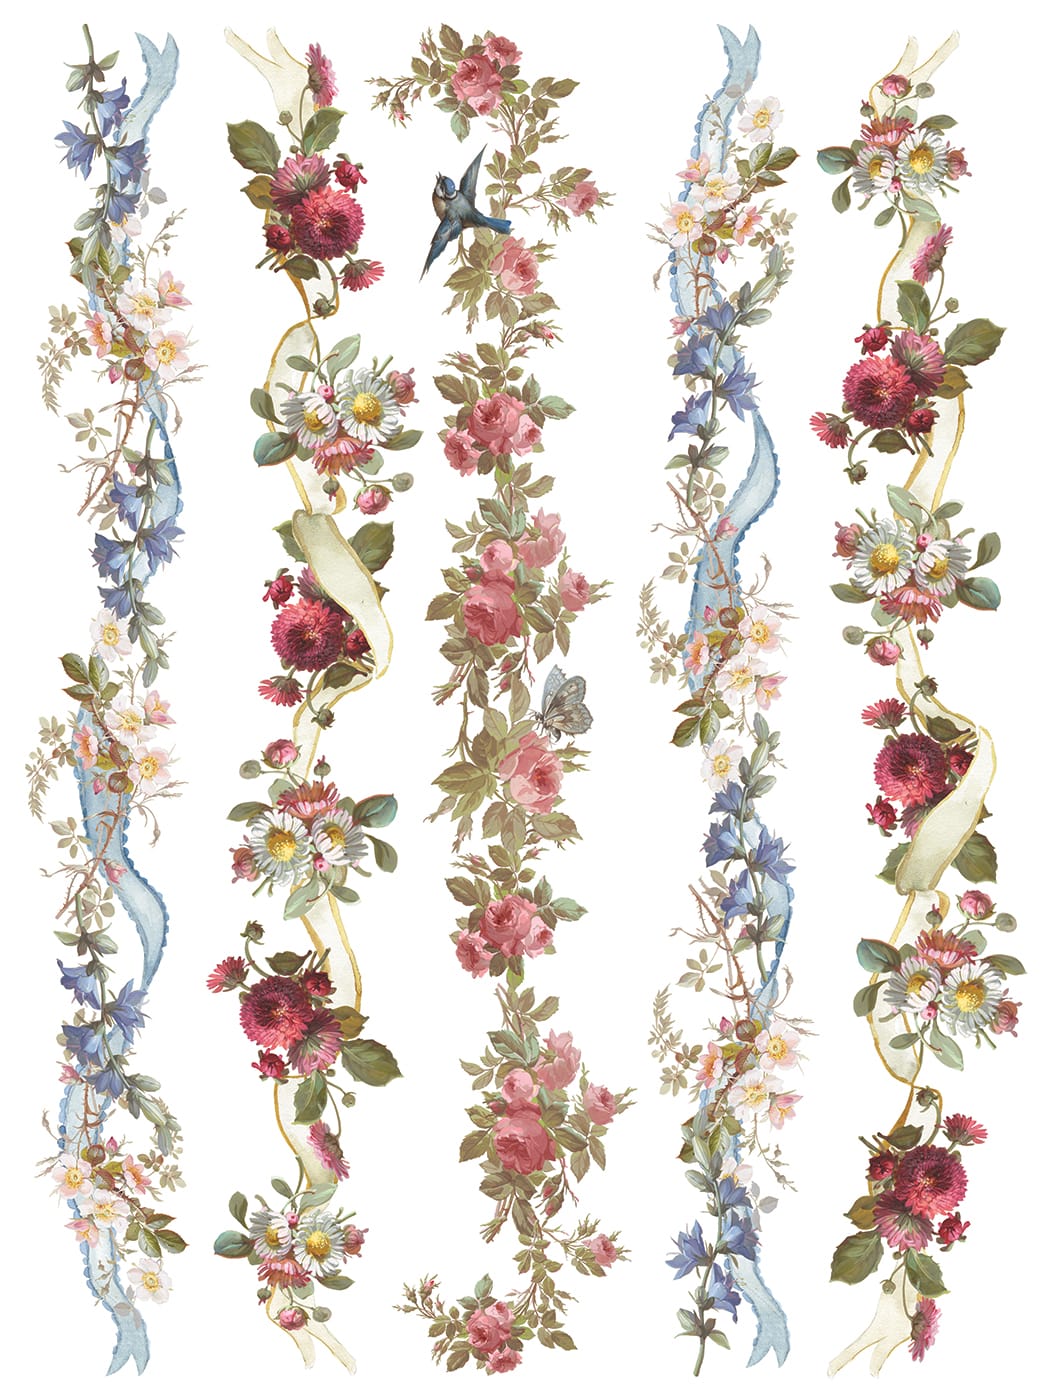
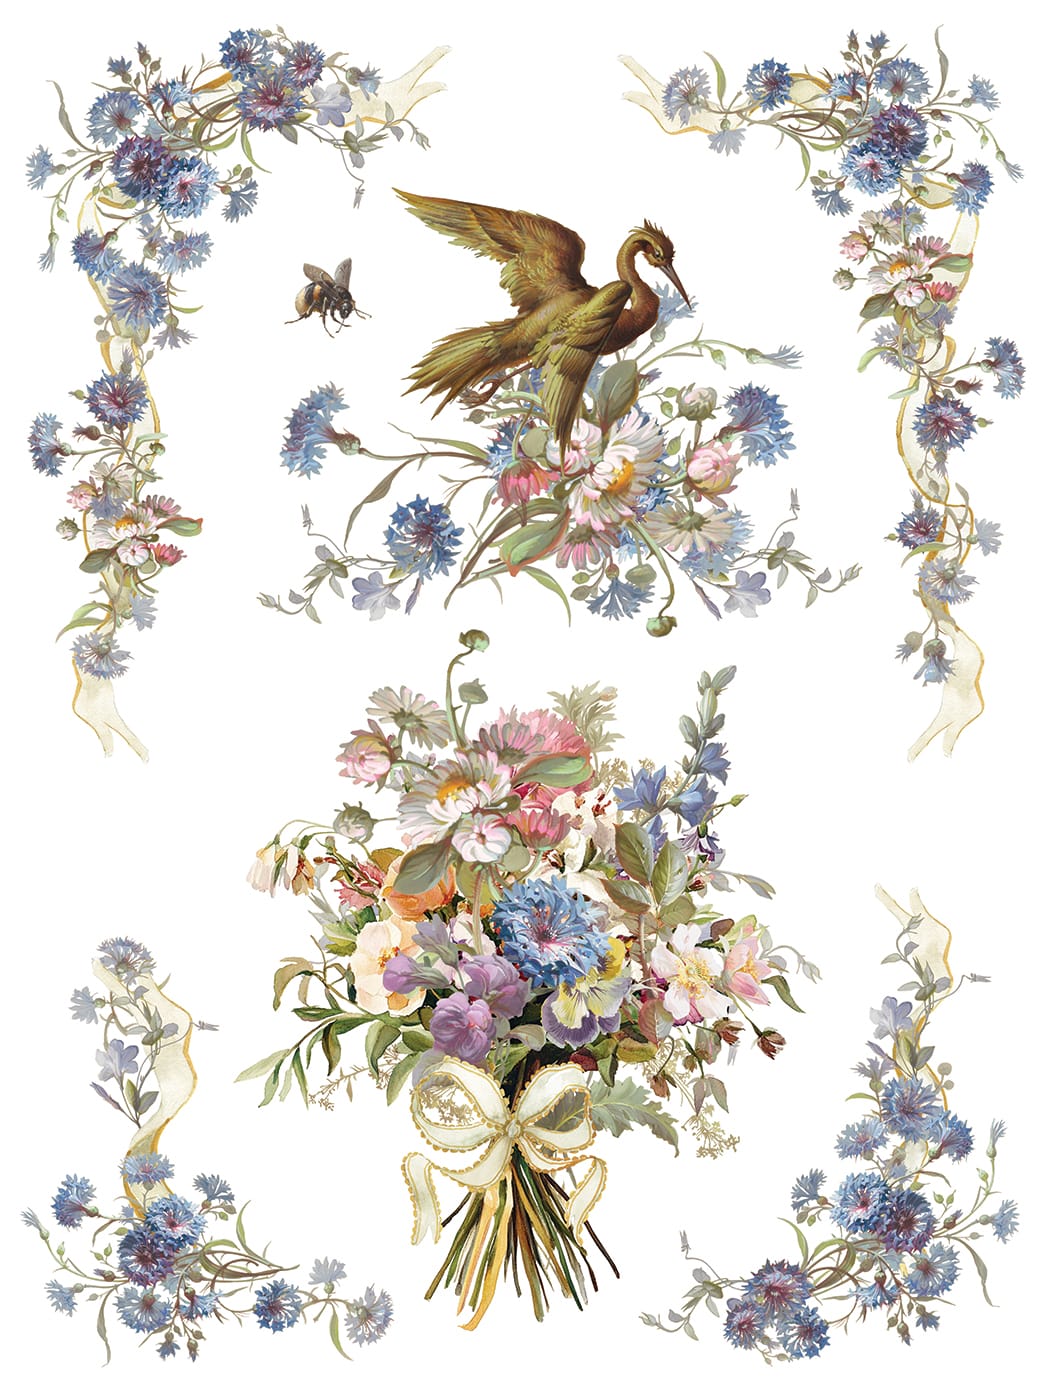
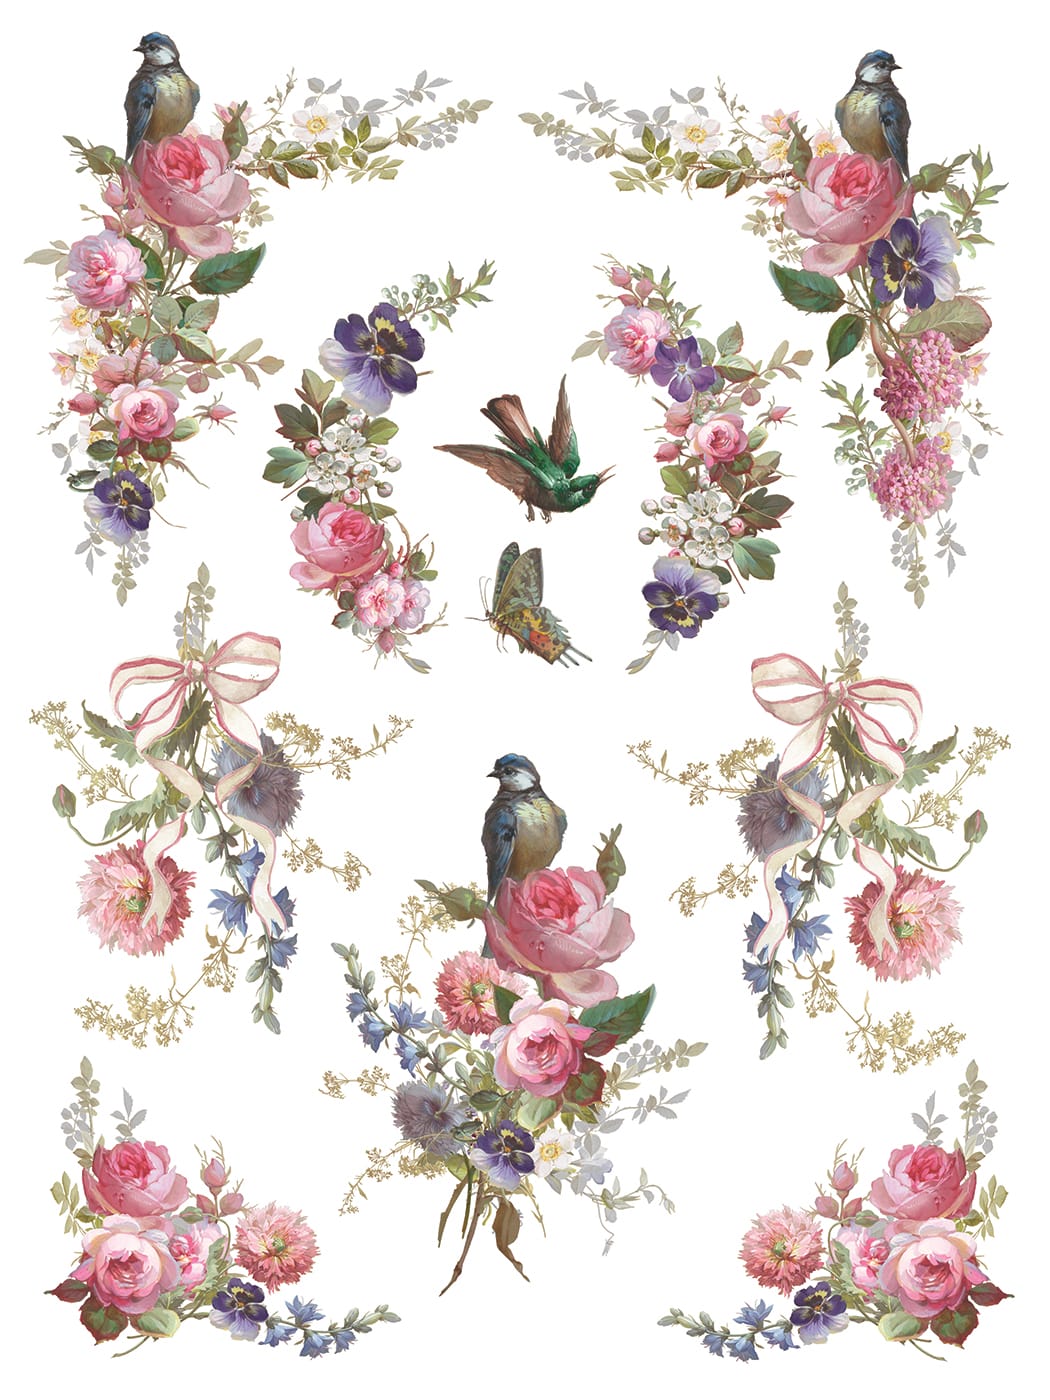
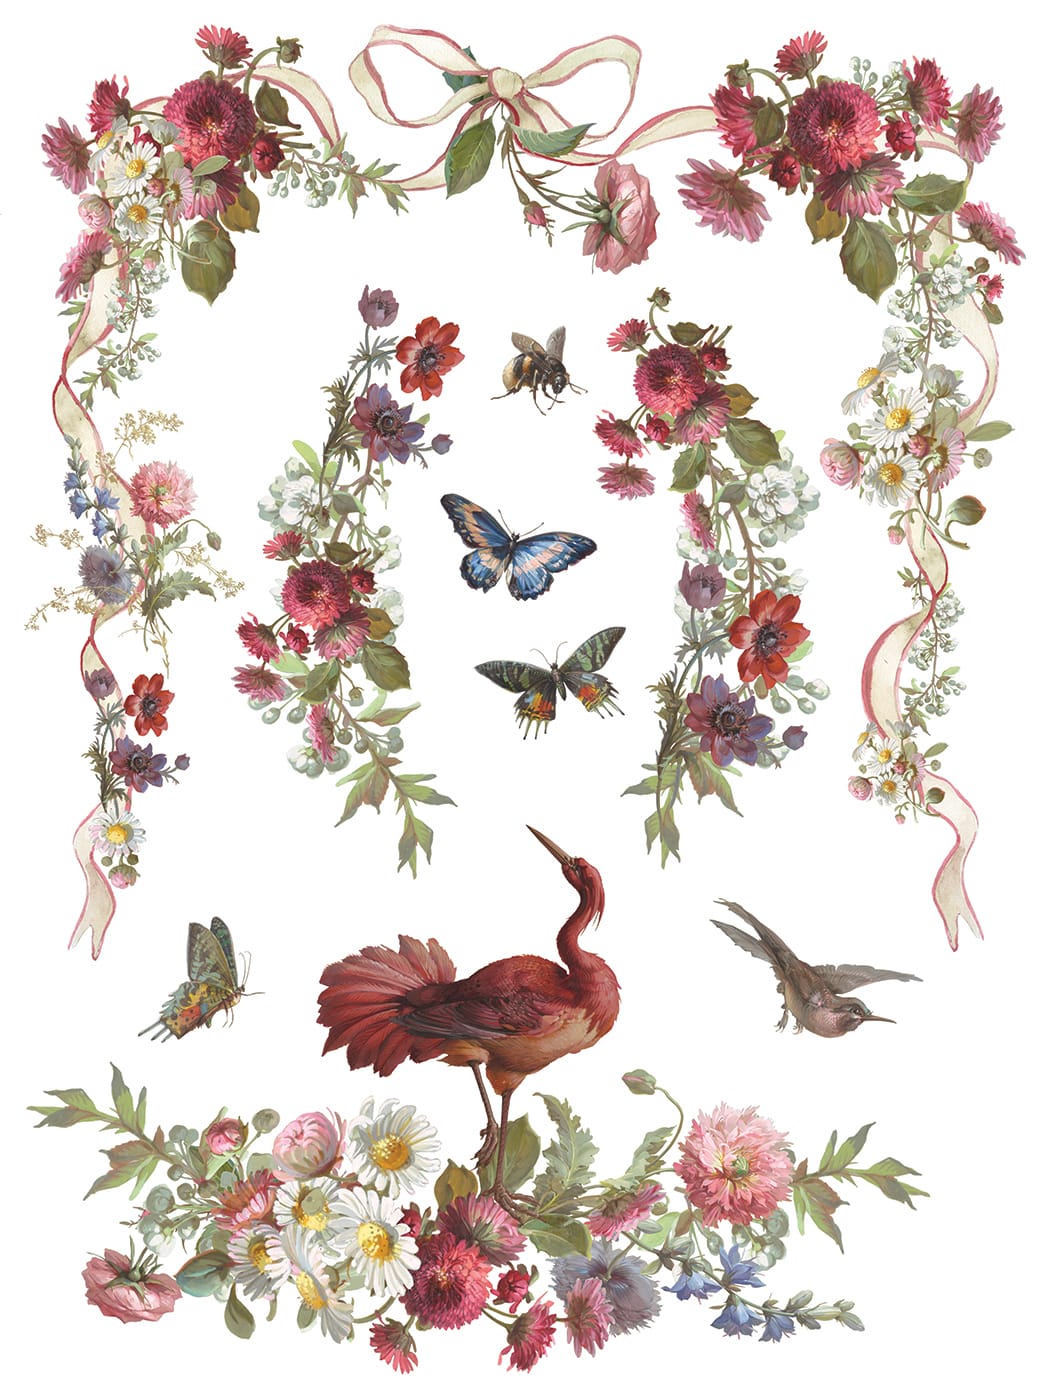
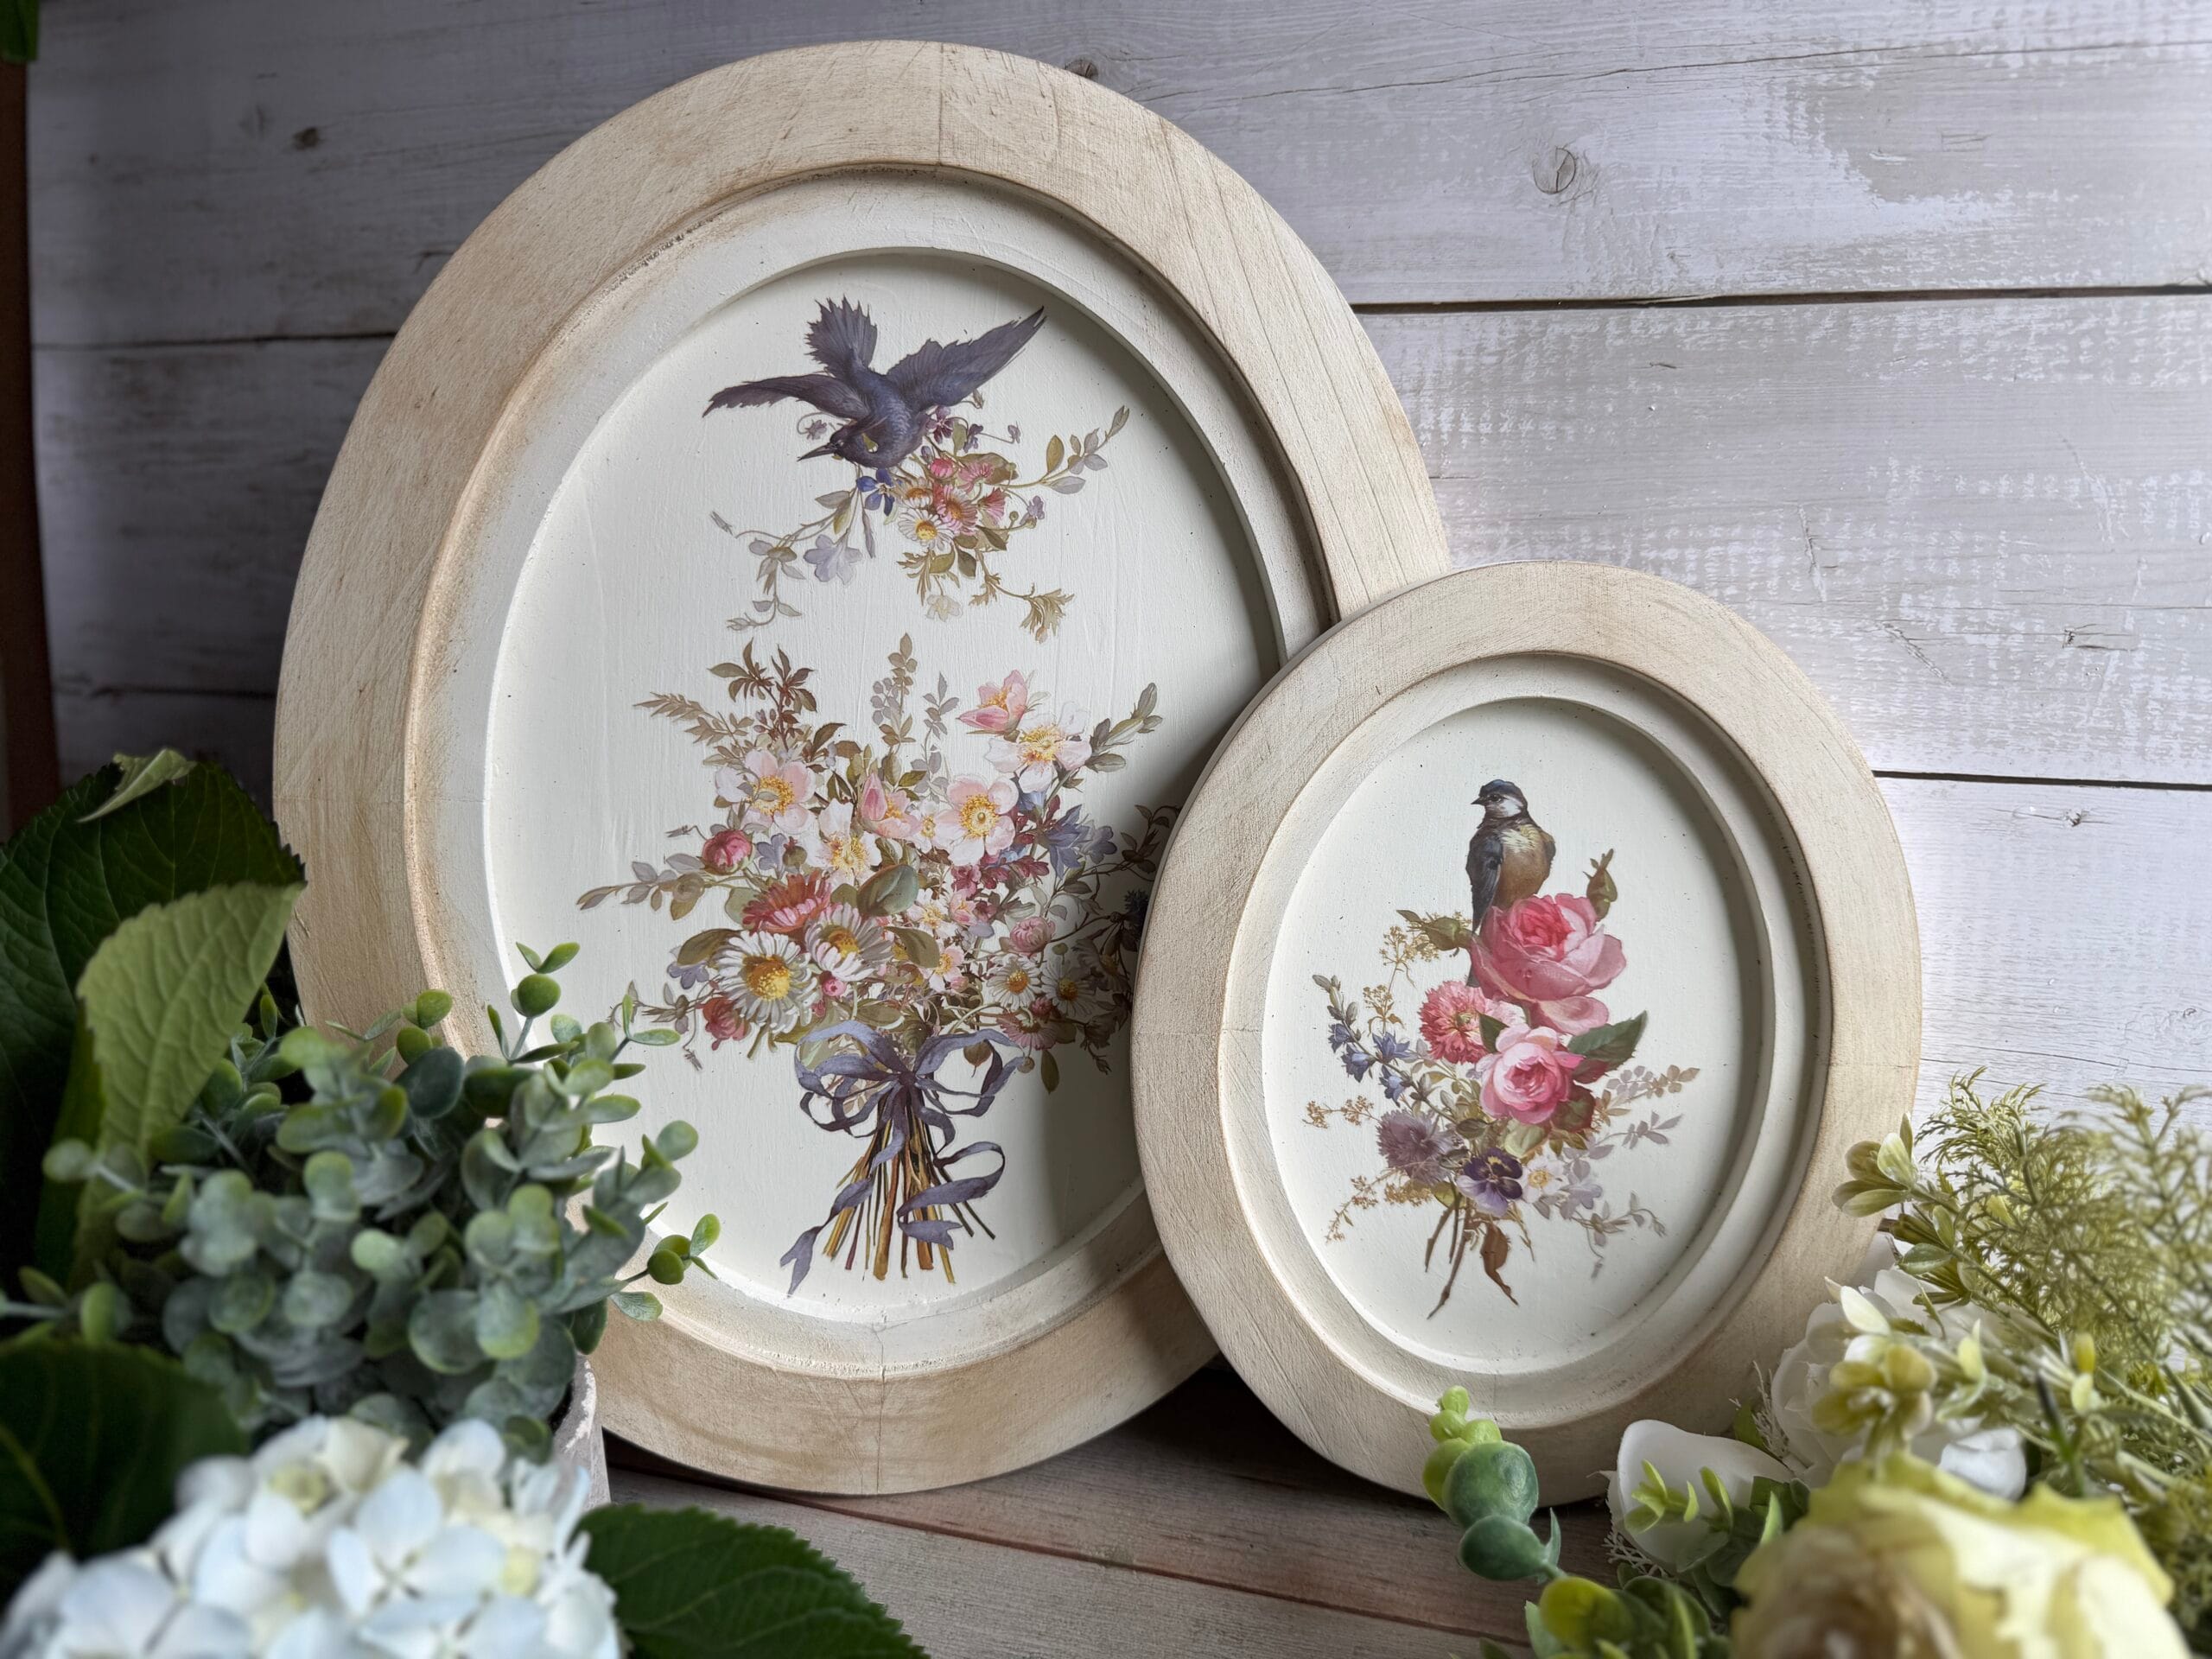
IOD Decor Transfer Madeleine draws inspiration from the aesthetics of opulent French interiors and floral painting. Roses, bows, garlands, large-scale bouquets, and decorative elements come together to form opulent compositions. Product dimensions: 8 sheets, each approx. 30.5 × 40.6 cm.
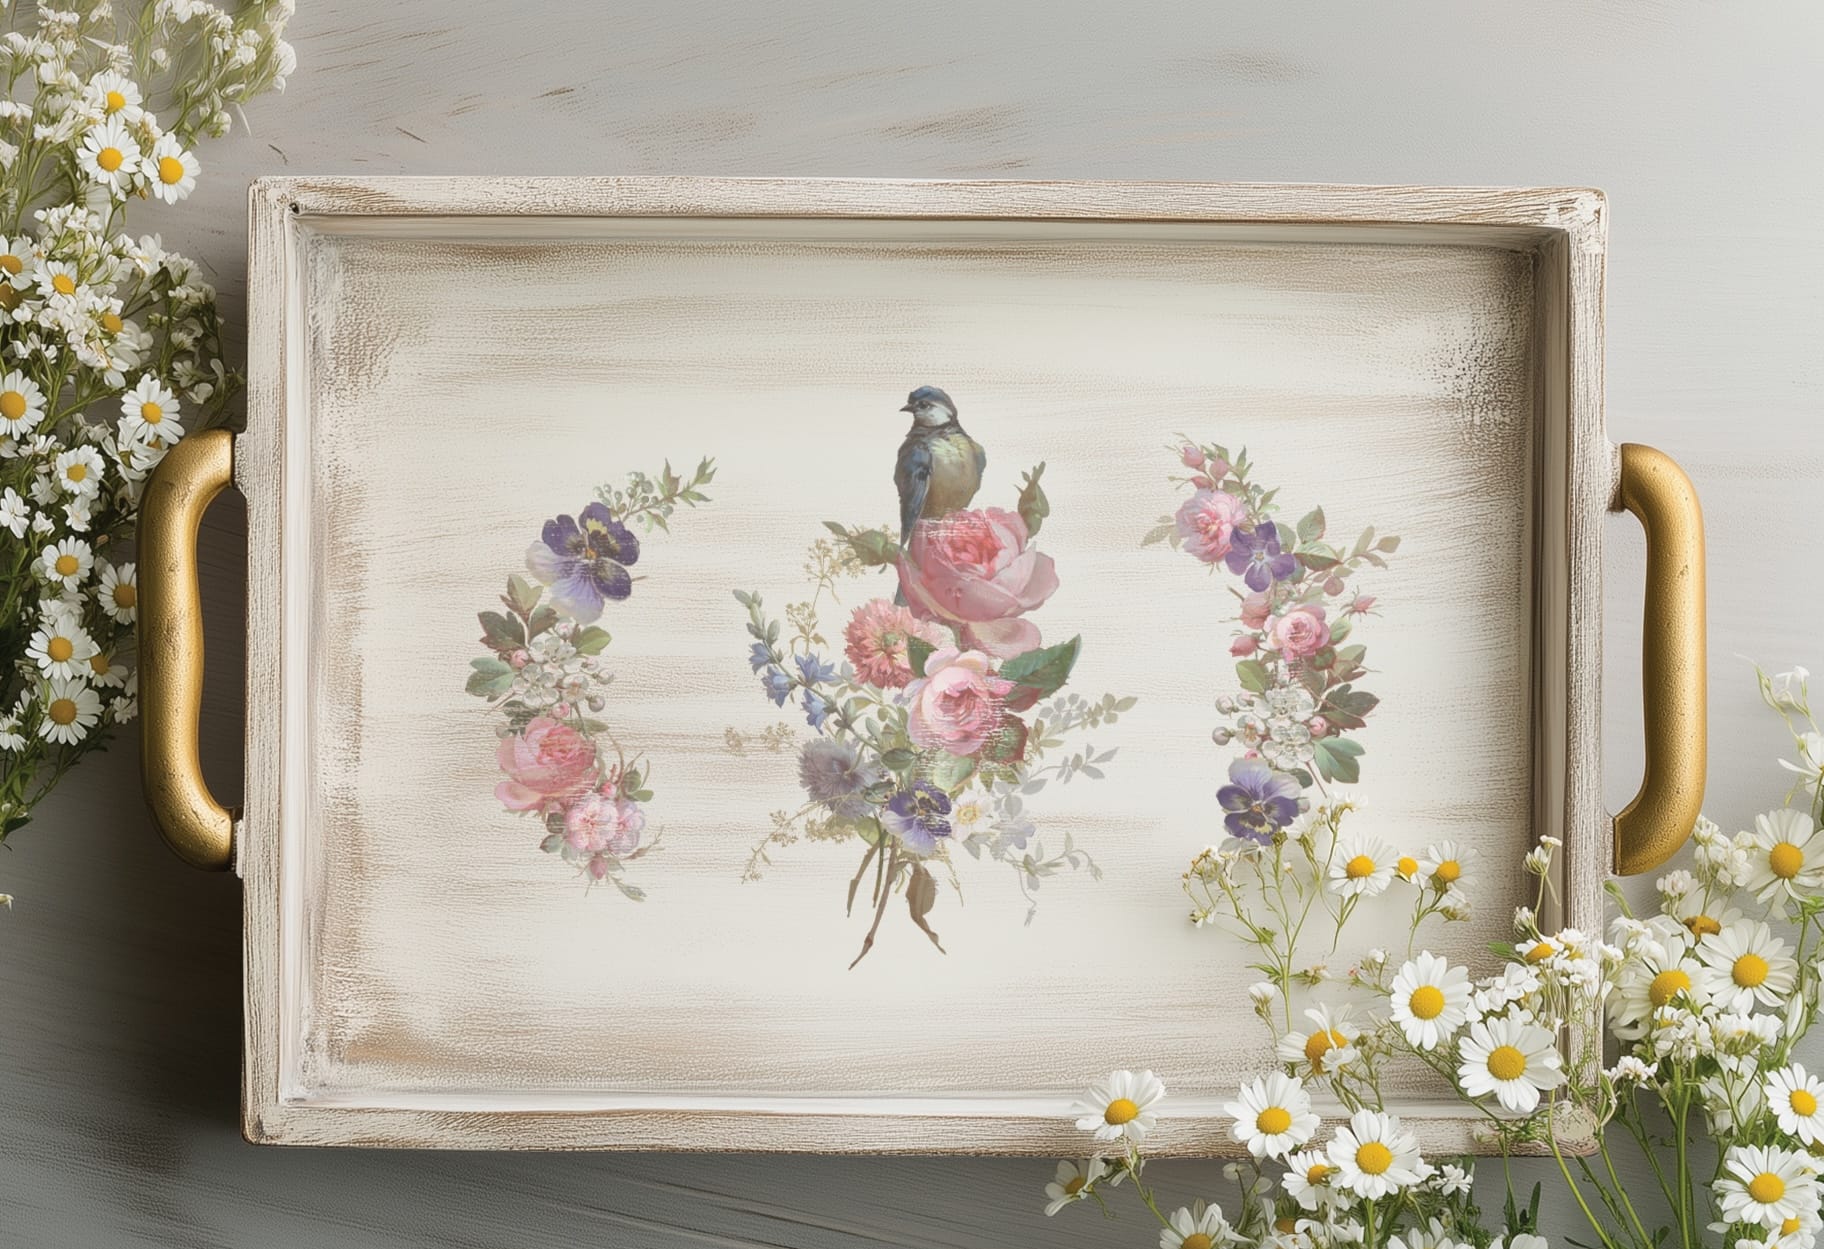
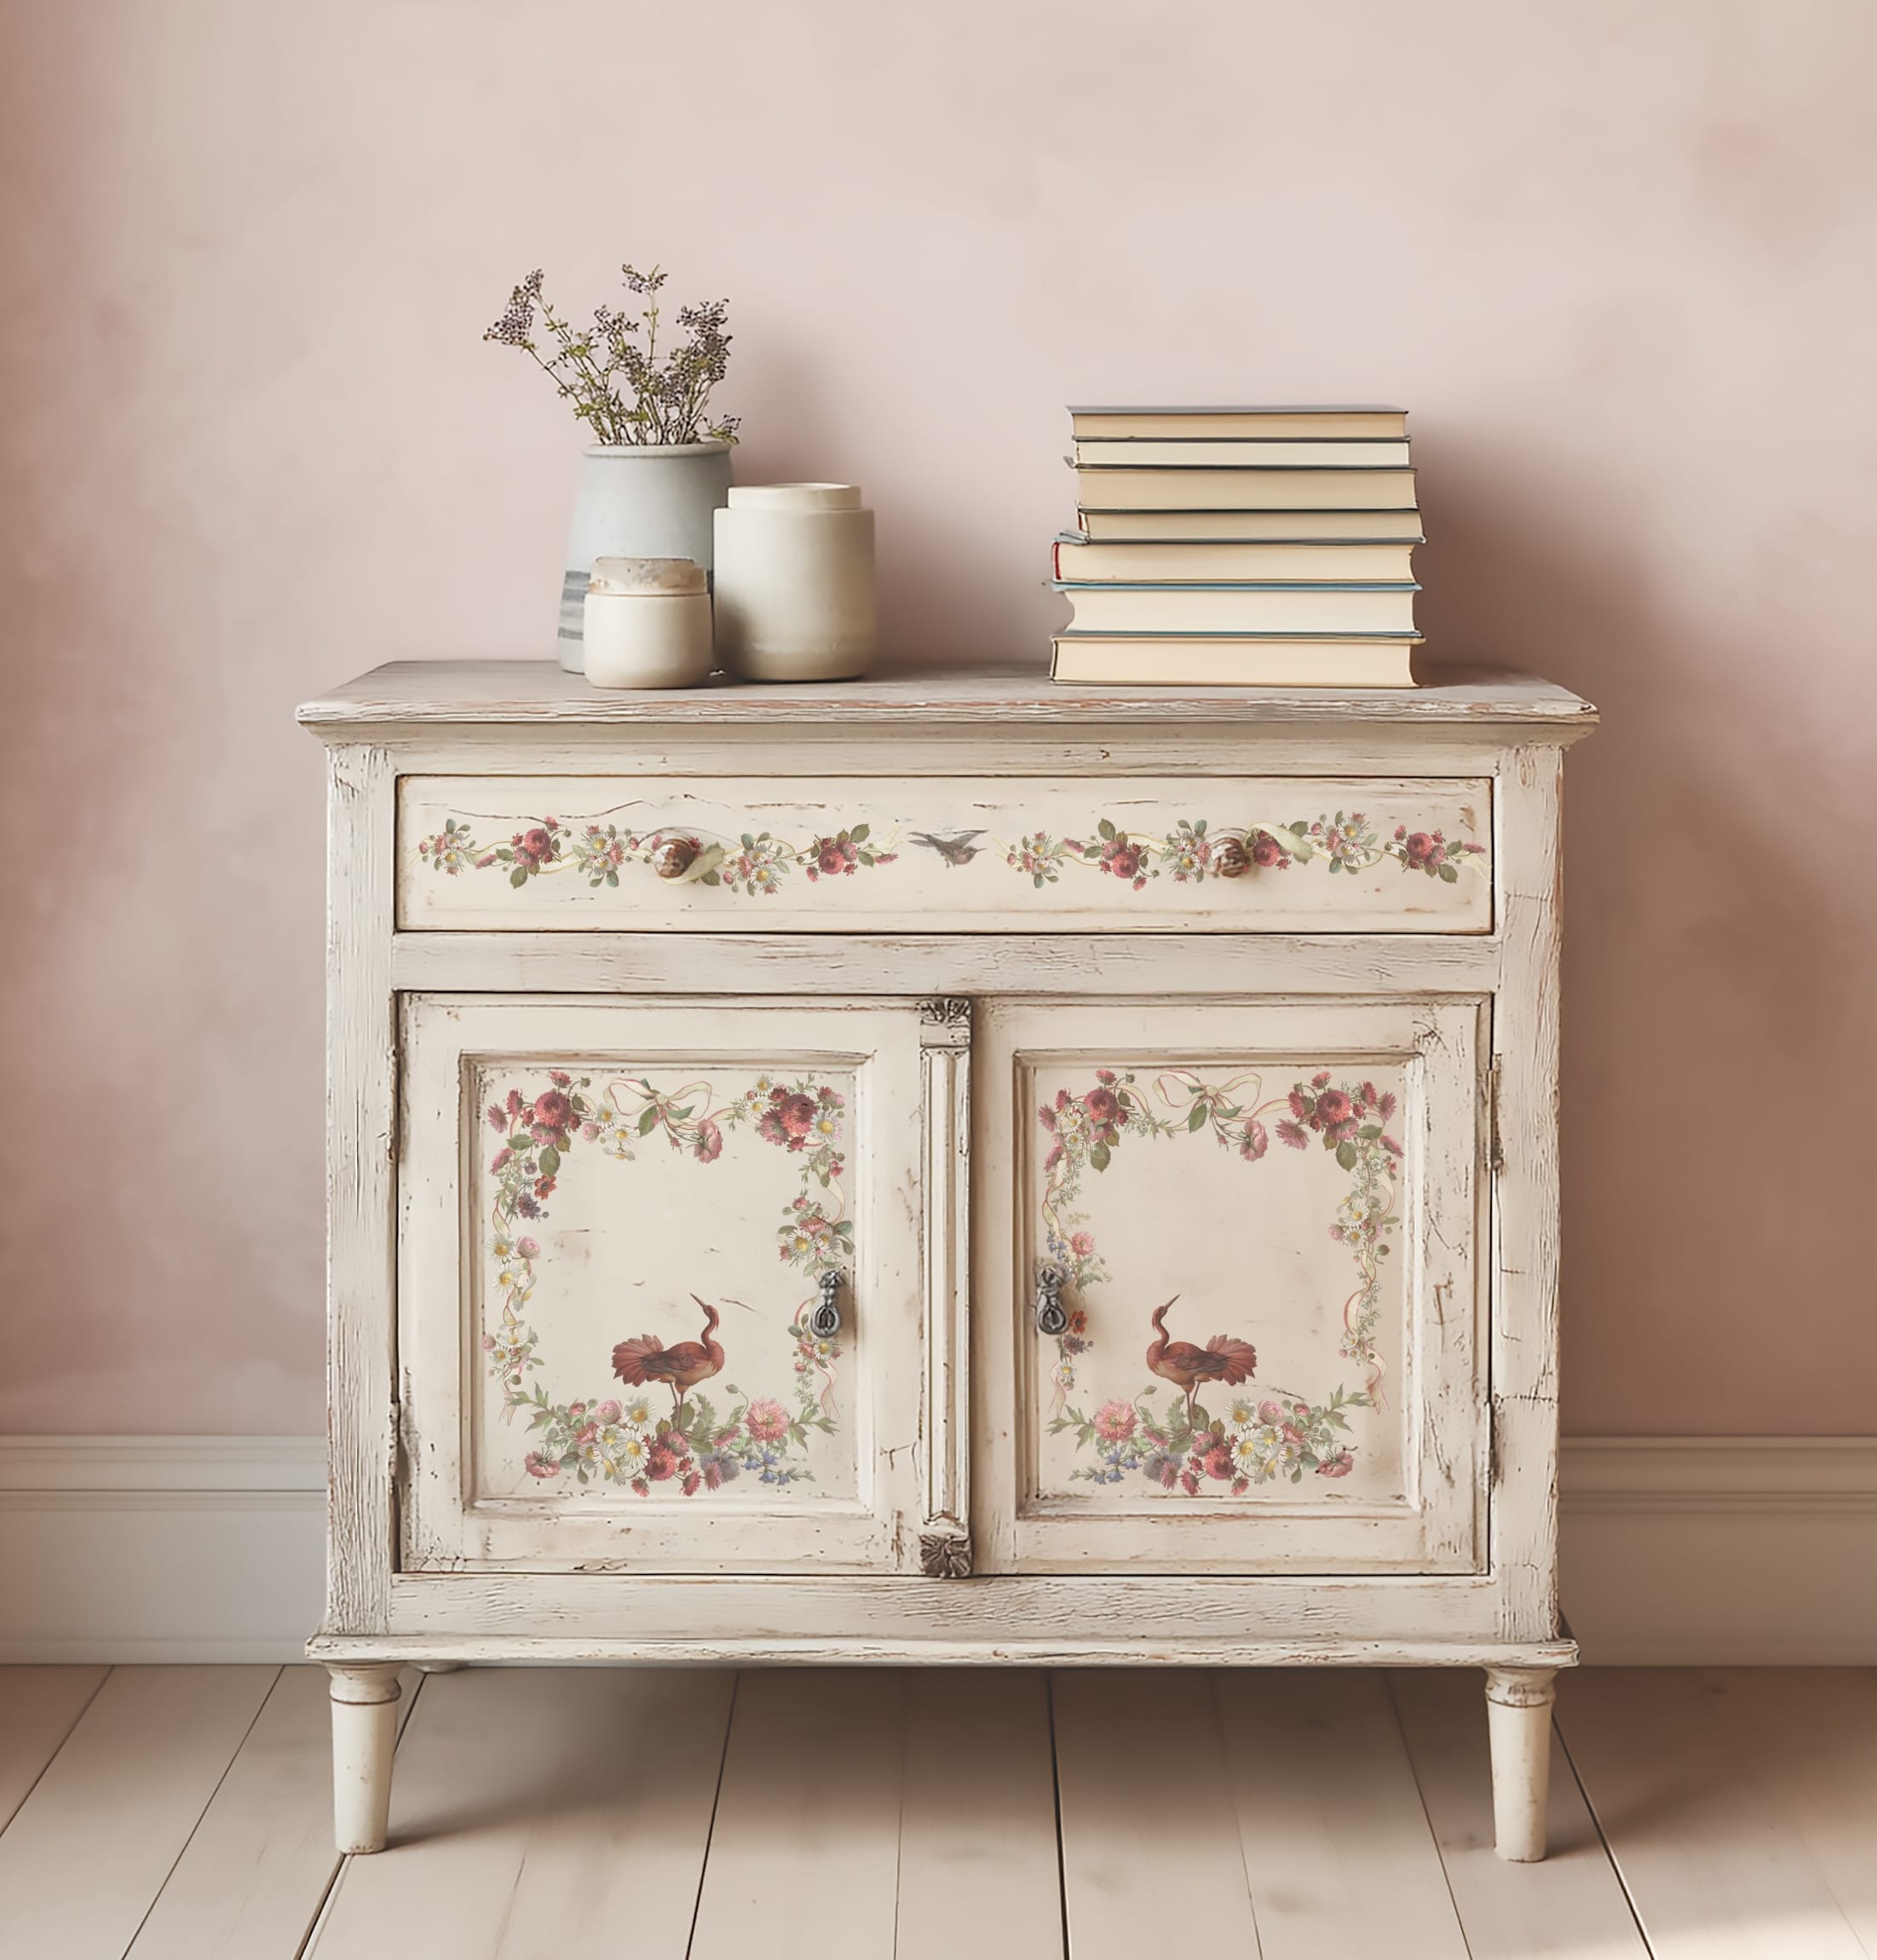
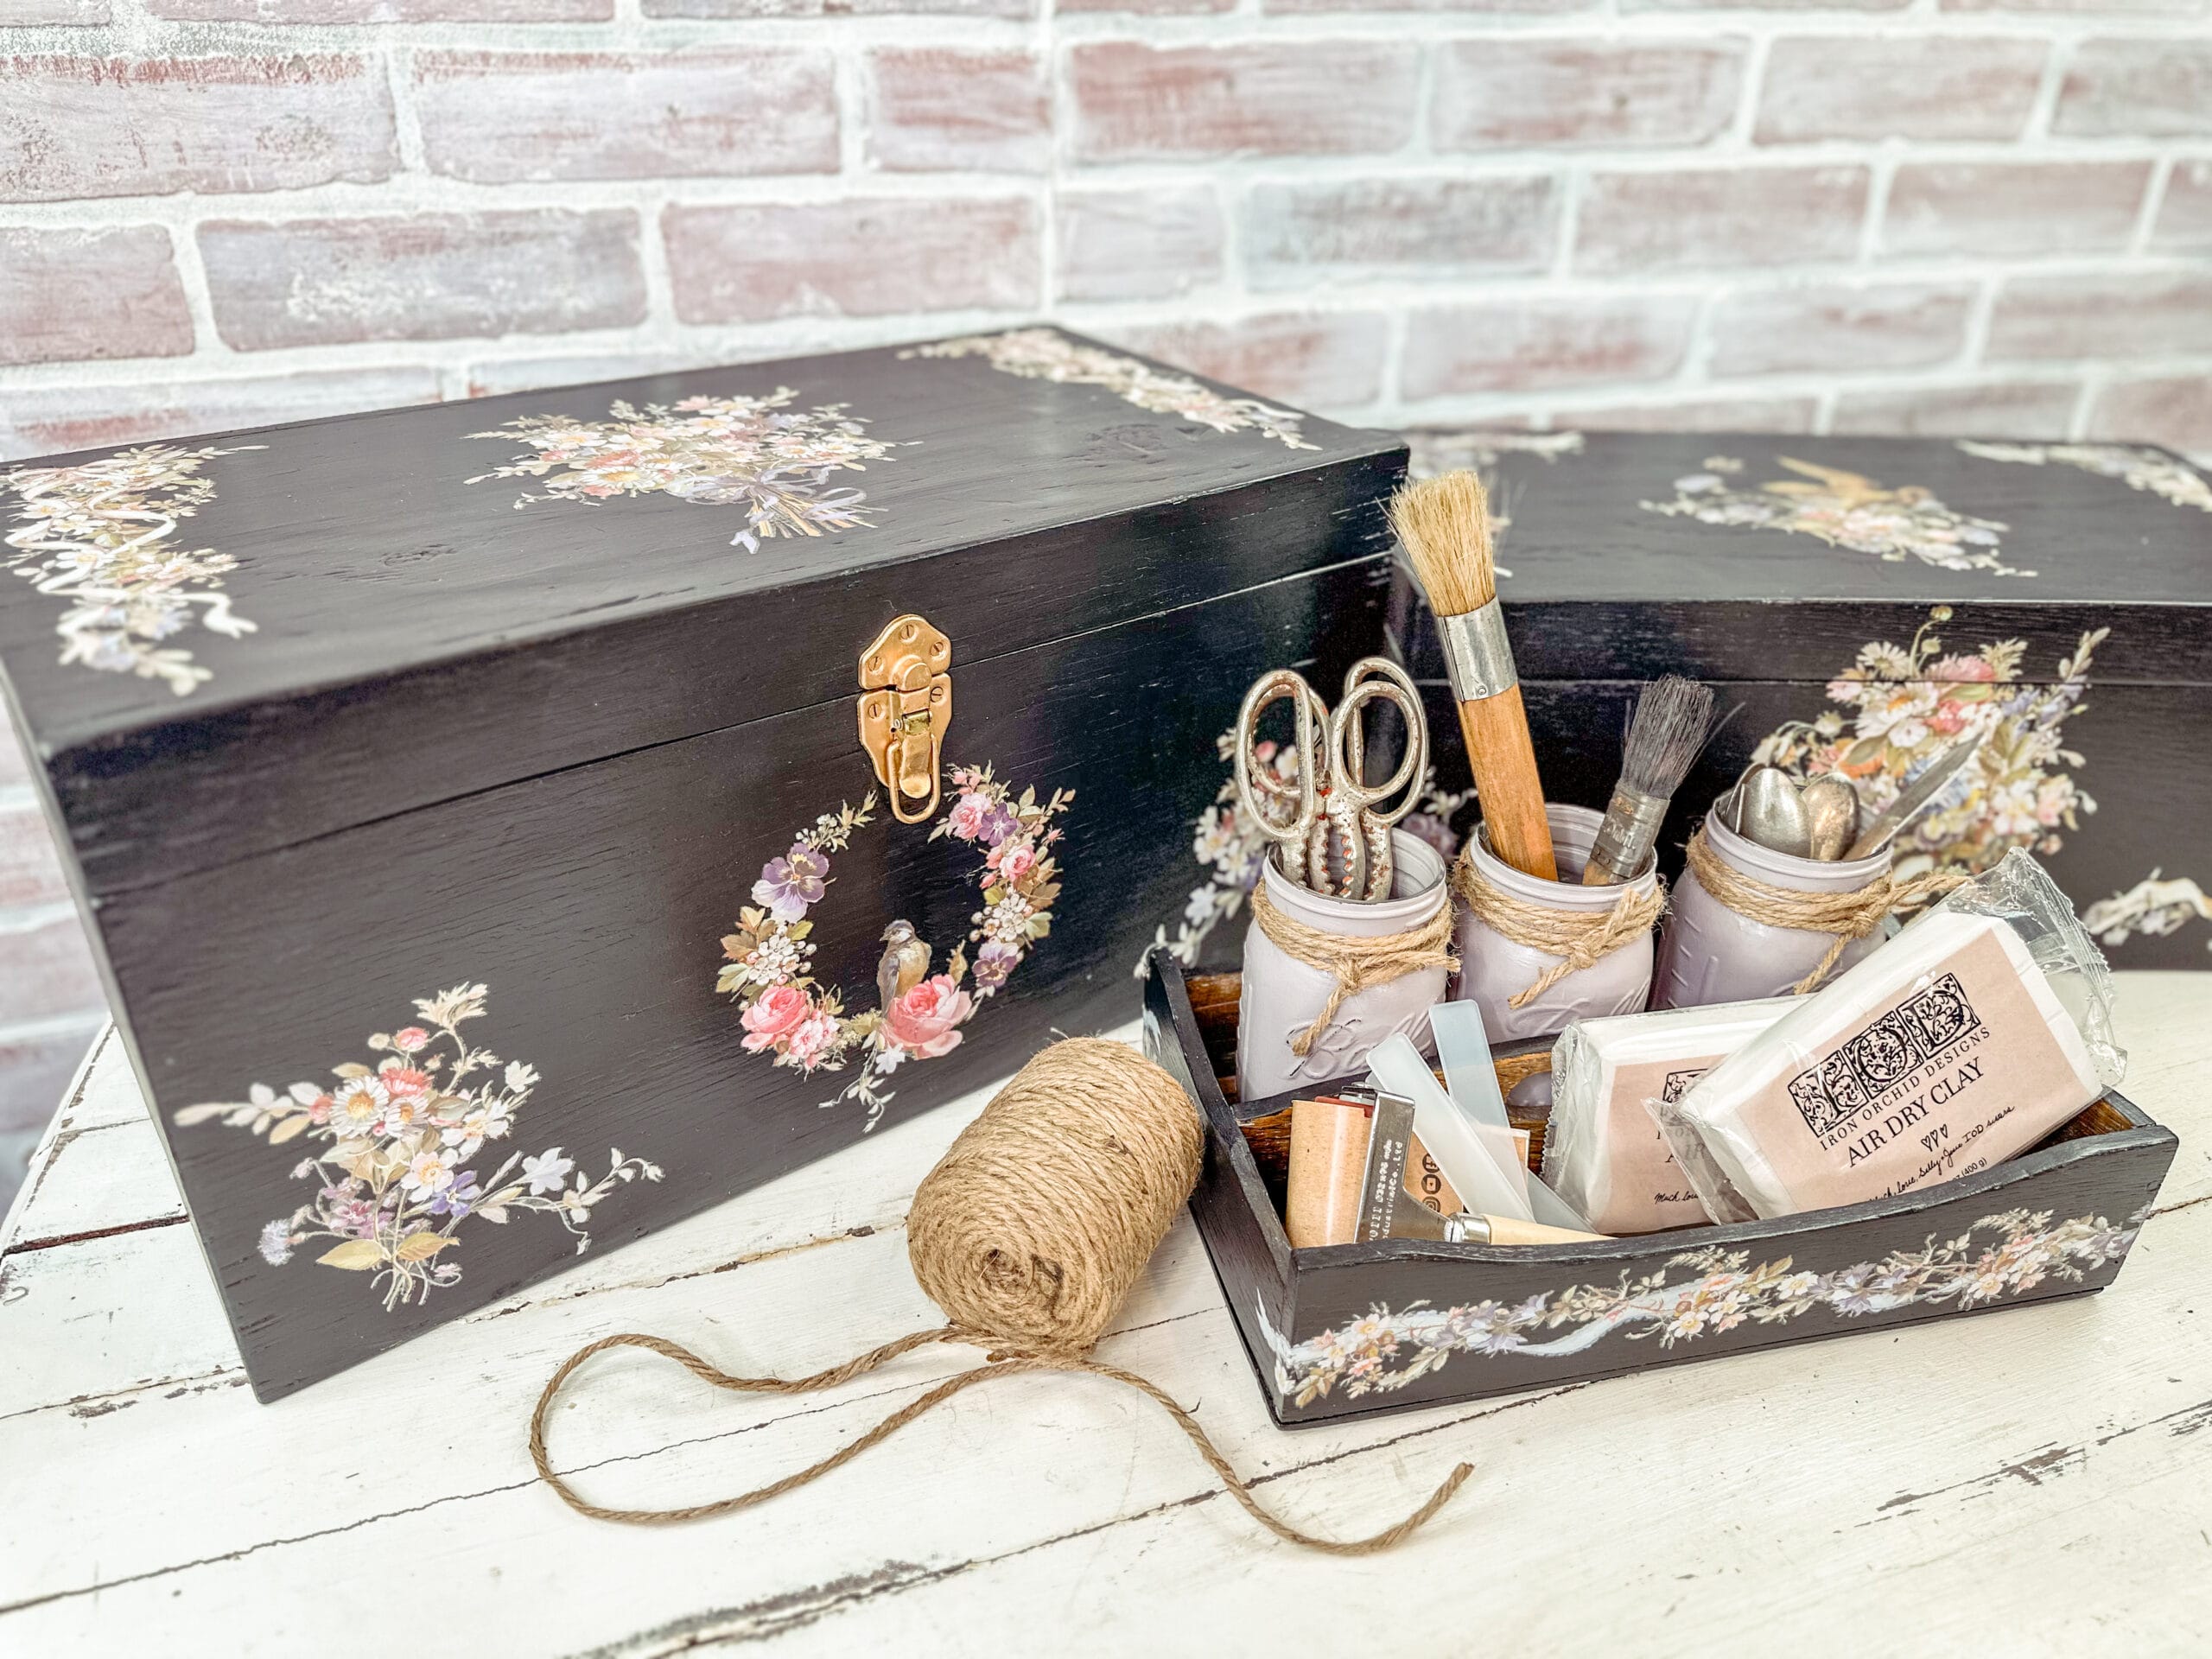
With IOD transfers, you can decorate furniture, walls, and accessories with intricate motifs and decorative designs. The thin rub-on transfers are applied directly to the prepared surface and, depending on the product and substrate, can be used on materials such as wood, glass, ceramic, or metal.
From romantic flowers and botanical motifs to nostalgic illustrations and graphic designs, the IOD Transfer Collection offers a wide range of possibilities for furniture upcycling, home decor, and creative DIY projects. Combine individual motifs, arrange them to suit your project, or add decorative accents—for your own unique designs with Iron Orchid Designs.
Please note that the colors displayed on your screen may vary depending on the screen resolution and color reproduction. It can therefore not be guaranteed that the shades of the colors appear exactly as shown online.
IOD Decor Transfer Madeleine combines lush roses, bows, garlands, and decorative elements into an opulent, French-inspired design. Large-format bouquets, borders, and other individual motifs can be arranged in a variety of ways on furniture and decorative objects. The set includes 8 sheets, each measuring approximately 30.5 x 40.6 cm.
Surface preparation for transfers (furniture transfers, scratch-off transfers, self-adhesive films):
Step-by-step instructions for using IOP transfers:
Tips:
After the final step, you’ll need to be patient:
Let your project dry thoroughly before continuing. Depending on the product you’re using and the environmental conditions, it may be best to let it dry for 24 hours or overnight. Please also refer to the manufacturer’s instructions for the transfer material used and the underlying coating.
Depending on the transfer, the substrate, and the subsequent wear and tear, a final sealant application may be advisable or recommended by the manufacturer. Use a sealant that is compatible with the transfer and the underlying products.
You can choose the finish that best suits your project:
For projects subject to heavier use or surfaces exposed to moisture, additional protection may be advisable, depending on the application. For this purpose, options include, for example, Extra Coat or Gator Hide . Be sure to follow the respective manufacturer’s instructions and check that the product is suitable for your project.
Important: Highly durable sealants such as Gator Hide or Extra Coat may react with the transfer surface or the adhesive, depending on the transfer and the product system used. If you want to use such an additional protective layer, first seal the transfer with a compatible top coat. Let it dry according to the manufacturer’s instructions, and then apply Gator Hide or Extra Coat.
The choice of sealant depends on the transfer used, the substrate, the level of wear and tear, and the desired finish.
Maintaining Your Transfer Project:
With the right care, you can gently maintain the designed and sealed surface of your transfer project in everyday use. Always be sure to follow the care instructions for the transfer and the sealant you used.
1. gentle cleaning
2. Dealing with Moisture
3. Reduce mechanical stress
4. Touch up the surface as needed
5. Direct sunlight
Use these care tips to maintain your custom transfer project in a way that suits its intended use and the sealant applied. You can find more inspiration, transfers, and materials for your furniture upcycling and creative projects in our Elfen & Helden online shop.
| Suitable Surfaces | Wood, metal, glass, ceramic, walls, fabric, leather, faux leather, plastic, and cardboard—depending on the surface and preparation |
| Application | Primarily for indoor use; for outdoor projects, follow the manufacturer’s instructions for the respective transfer and use a sealant suitable for the intended application |
| Application Temperature | 12–28 °C, according to the manufacturer’s specifications |
| Self-adhesive | Yes |
| Sealing | Depending on the project and expected wear and tear, the use of a suitable water-based sealant may be possible or recommended; follow the manufacturer’s instructions |
| Size | See product description |
Iron Orchid Designs
Attn: Privacy Officer
1311 Crystal Hollow Court
Lincoln CA 95648
USA
Email: sally@ironorchiddesigns.com
Phone: +1 (855) 463-9325
MAGIC TOOLS SRLS
PIAZZA DELLA LIBERTA’ 25
64021 – Giulianova (TE)
IT
Telephone: 3246999001
magictoolssrls@yahoo.com
| Weight | 0,35 kg |
|---|---|
| Dimensions | 40,64 × 30,48 × 0,3 cm |

incl. 19% VAT
zzgl. Versandkosten
Lieferzeit: 3-5 Werktage
Produkt enthält: 1 Stück
Add to cart
incl. 19% VAT
zzgl. Versandkosten
Lieferzeit: 3-5 Werktage
Produkt enthält: 1 Stück
Add to cart
84,23 € / l
incl. VAT
zzgl. Versandkosten
Lieferzeit: 3-5 Werktage
Select options This product has multiple variants. The options may be chosen on the product page
incl. VAT
zzgl. Versandkosten
Lieferzeit: 3-5 Werktage
Produkt enthält: 1 Set
Select options This product has multiple variants. The options may be chosen on the product pageThat's why I rely on high-quality, tried-and-tested materials that give you the best results
Sign up for my newsletter and stay up to date.
I share new products, creative trends, helpful tutorials and exclusive offers with you.
You can easily unsubscribe at any time – via the link in the footer of every email or by sending me a message. You can find the relevant contact details in the imprint or directly in the newsletter.


&url=https://elfen-und-helden.de/en/produkt/posh-chalk-crackling-enamel-2-components/&media=https://elfen-und-helden.de/wp-content/uploads/2025/02/posh-chalk-crackling-enamel-2-components-x-200ml-pcc013-4-1024x1024.jpg)