
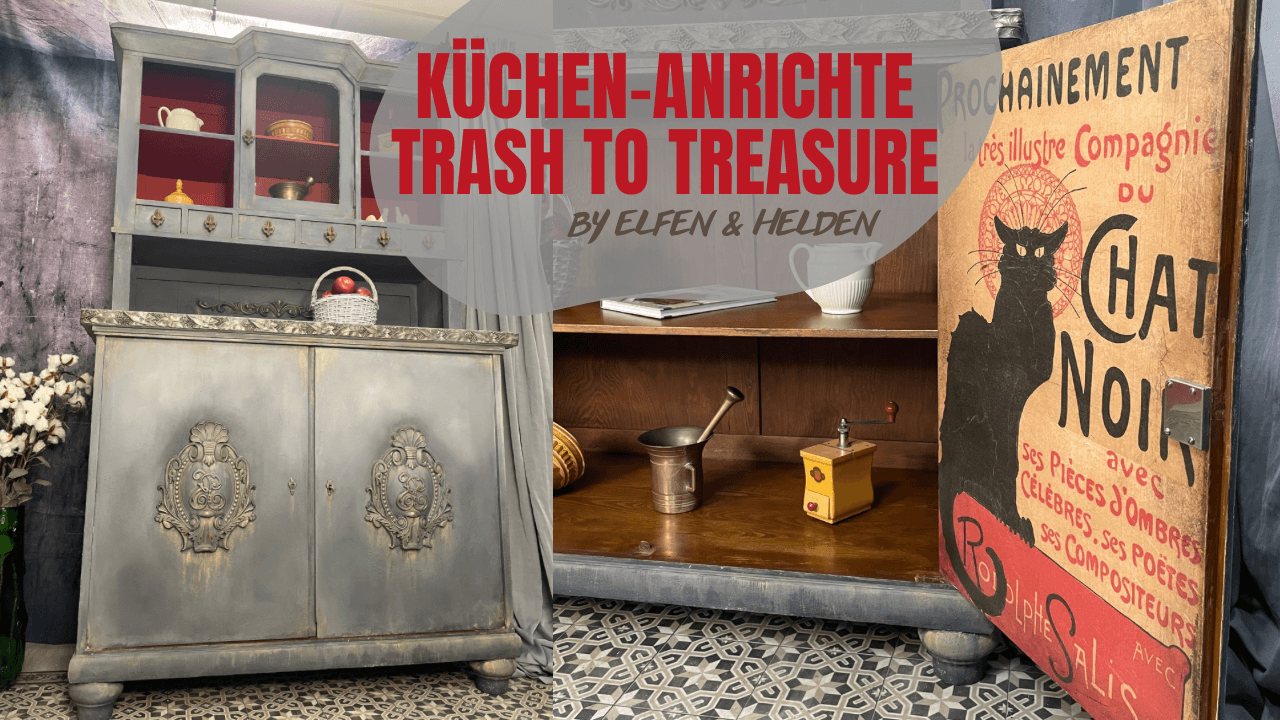
There are some projects that turn out to be a bottomless pit once you get started. This kitchen sideboard was exactly that kind of project. Throughout the entire project, something new kept cropping up that needed to be fixed or just wouldn’t turn out the way I wanted. 😉
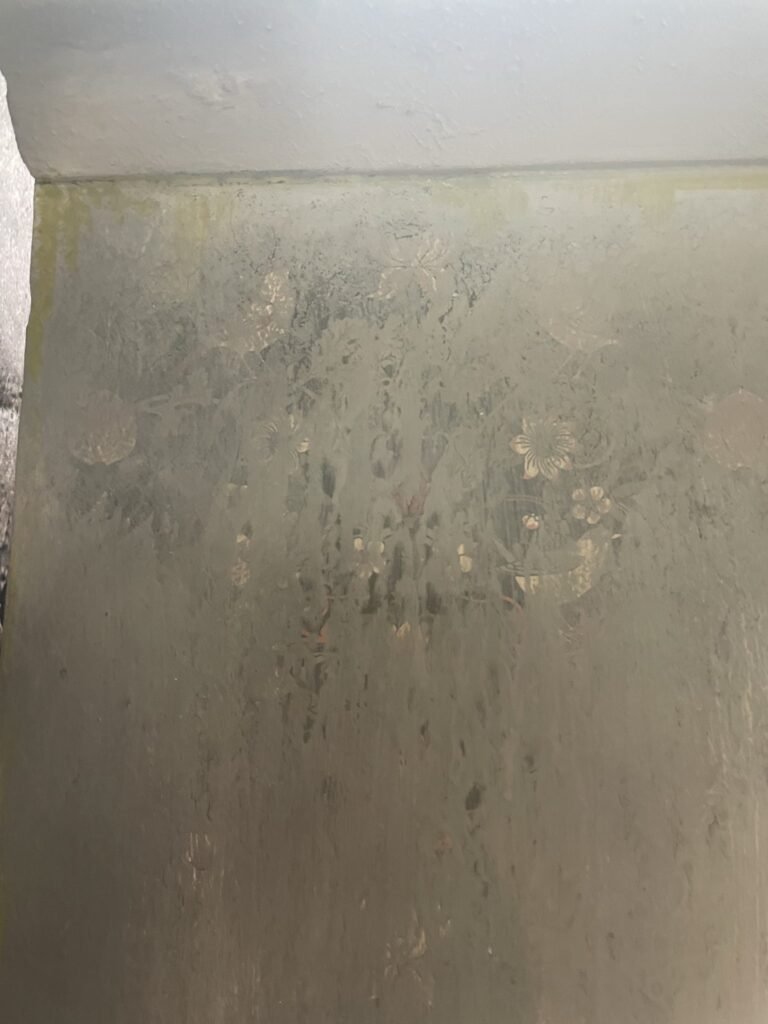
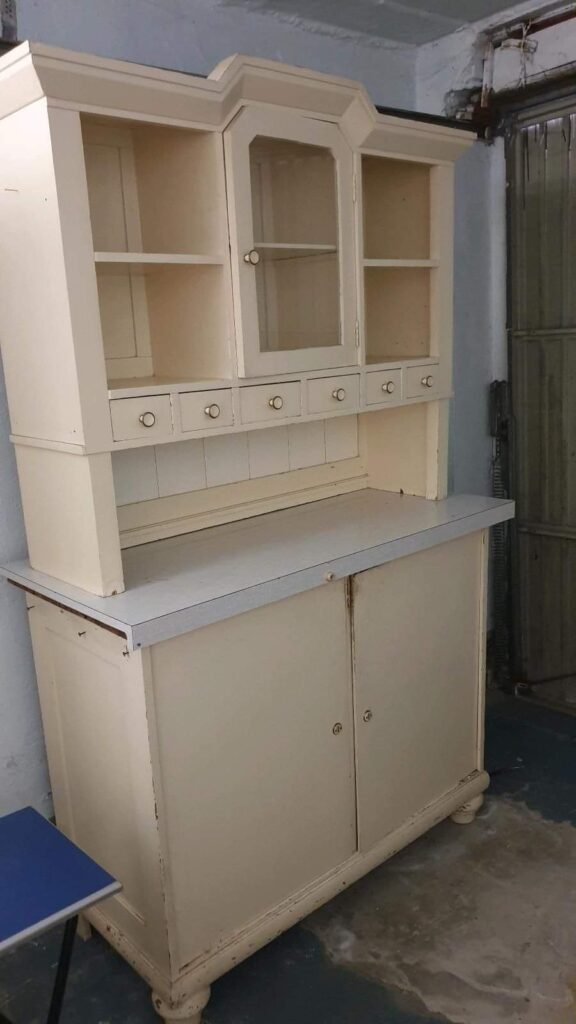
Judging by its condition, this item must either have never been properly cleaned or must have been used in a very busy kitchen. To make matters worse, it also seems to have suffered water damage at some point.
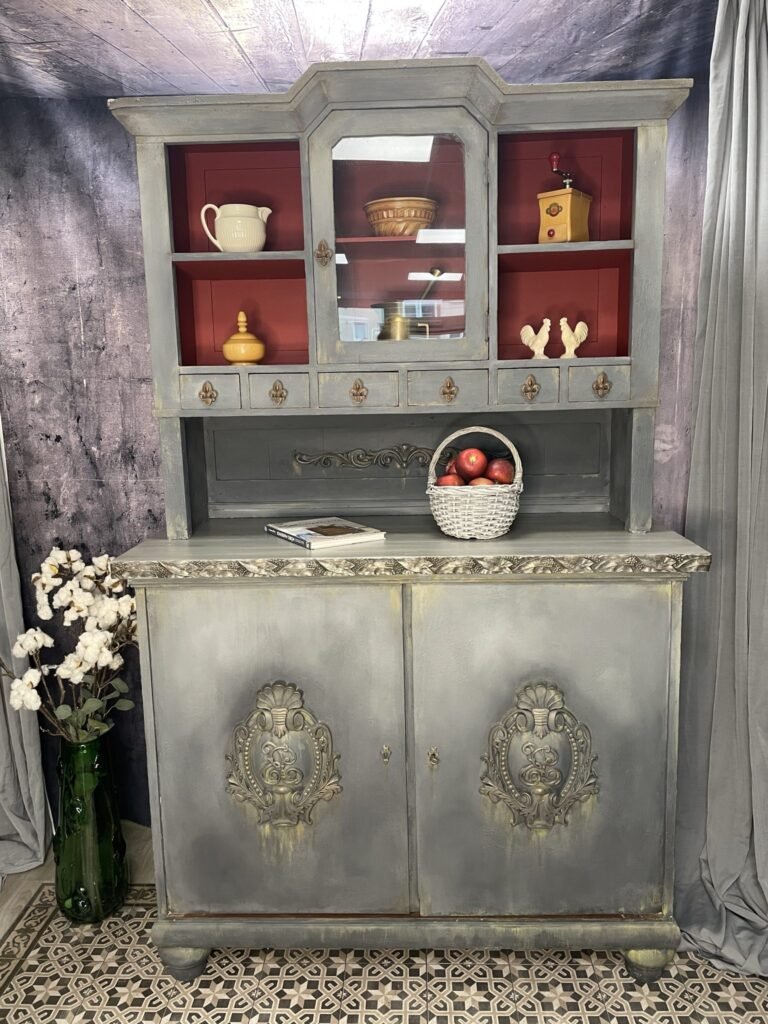
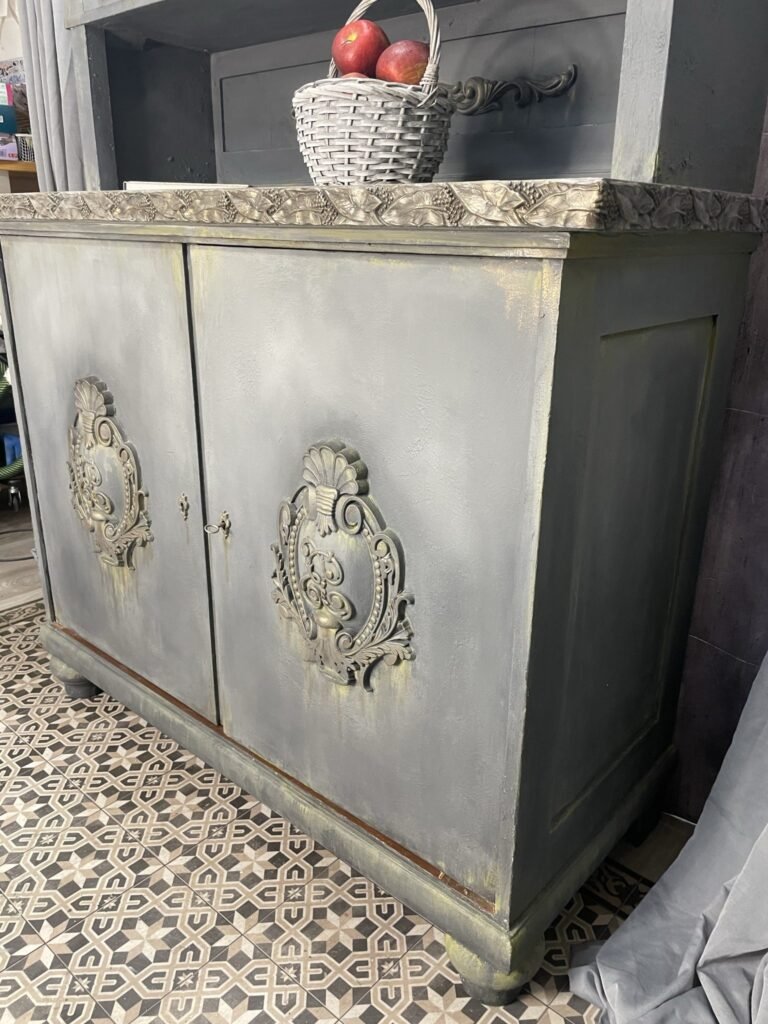
Nevertheless, the ugly duckling turned into a beautiful swan—with the help of Dixie Belle, WoodUbend, Posh Chalk, and a lot of hard work.
The full description can be found below the video and a list of the products used at the end of this article.
As always, I thoroughly cleaned this fine piece with White Lightning by Dixie Belle to get rid of the layers of grease that had built up on it.
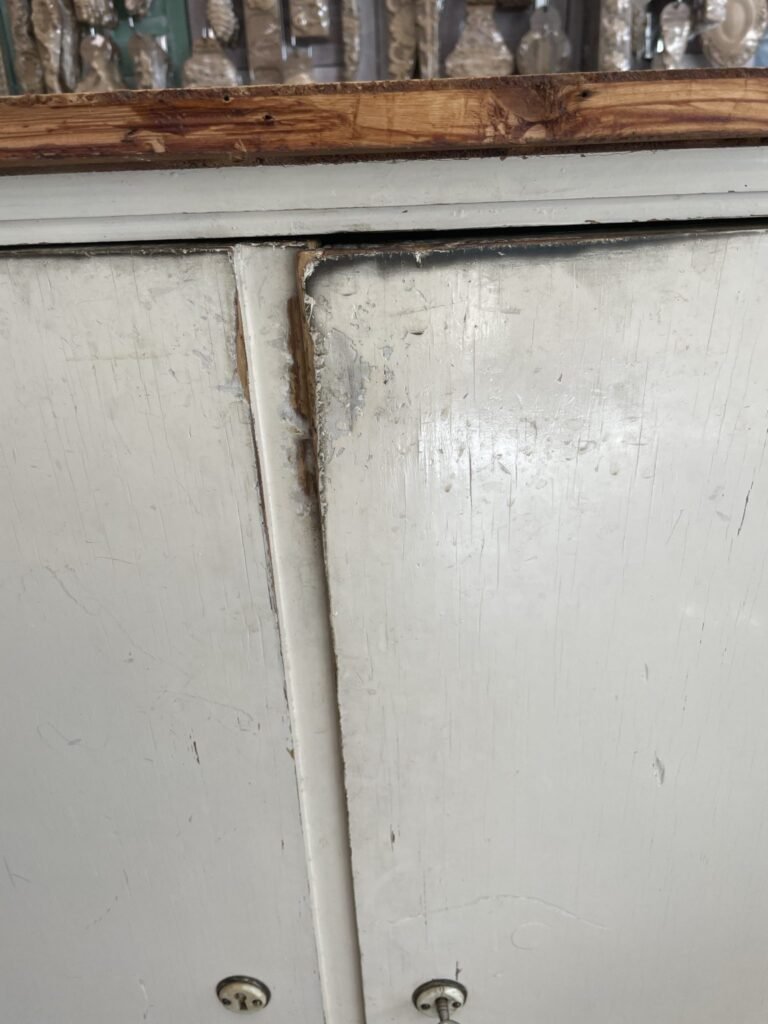
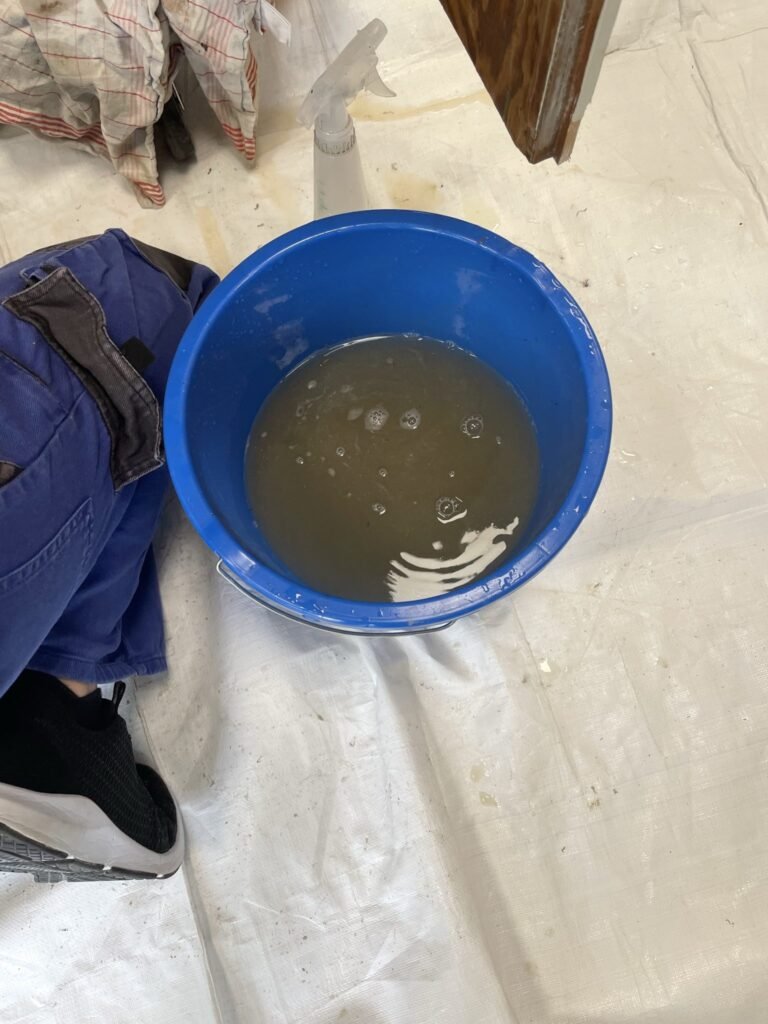
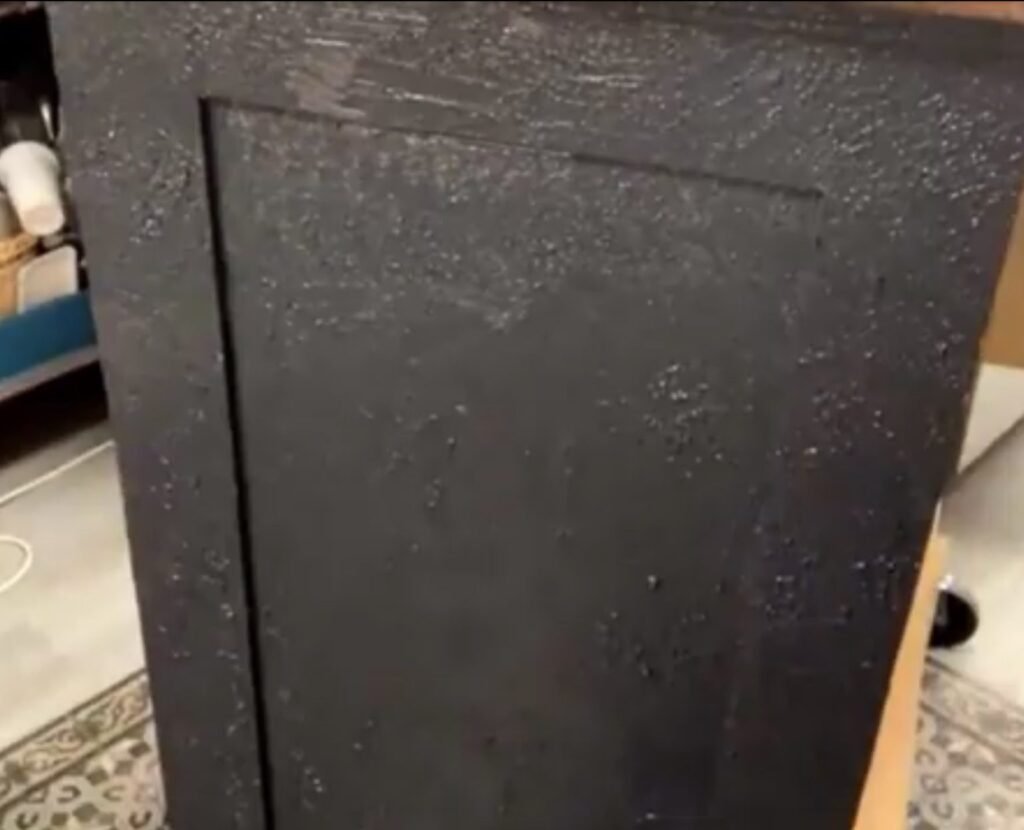
The finish was original and had become cracked over the years; the veneer was peeling off in many places and had lifted. I gave up on stripping the paint relatively quickly. Neither my Festool Rotex sander nor paint stripper nor a carbon scraper could really make a dent in the paint. So I ultimately decided to just work with what I had on hand. The plan now was to add even more texture to the existing texture.
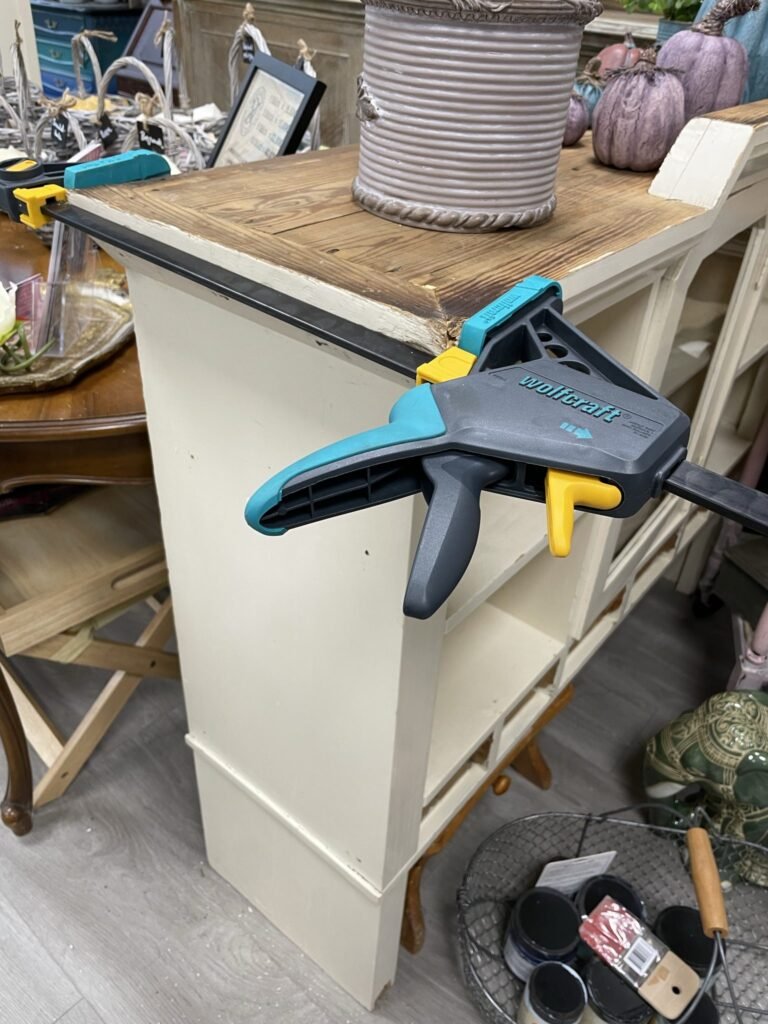
After cleaning, I first focused on the repairs that were immediately visible, such as the broken moldings.
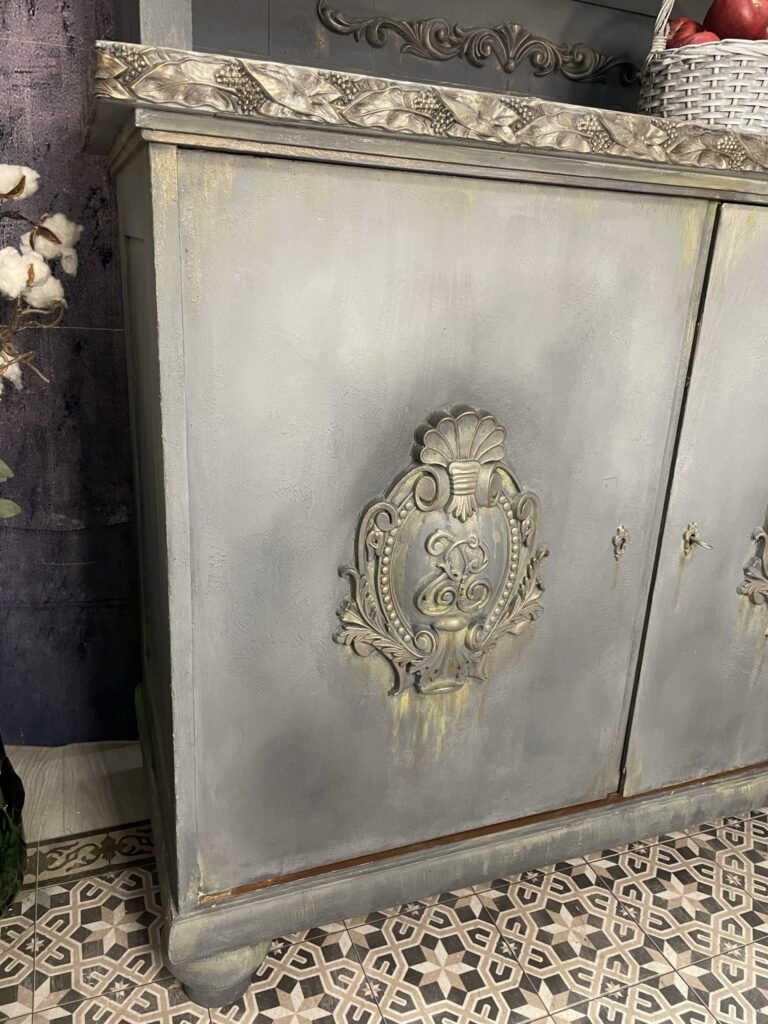
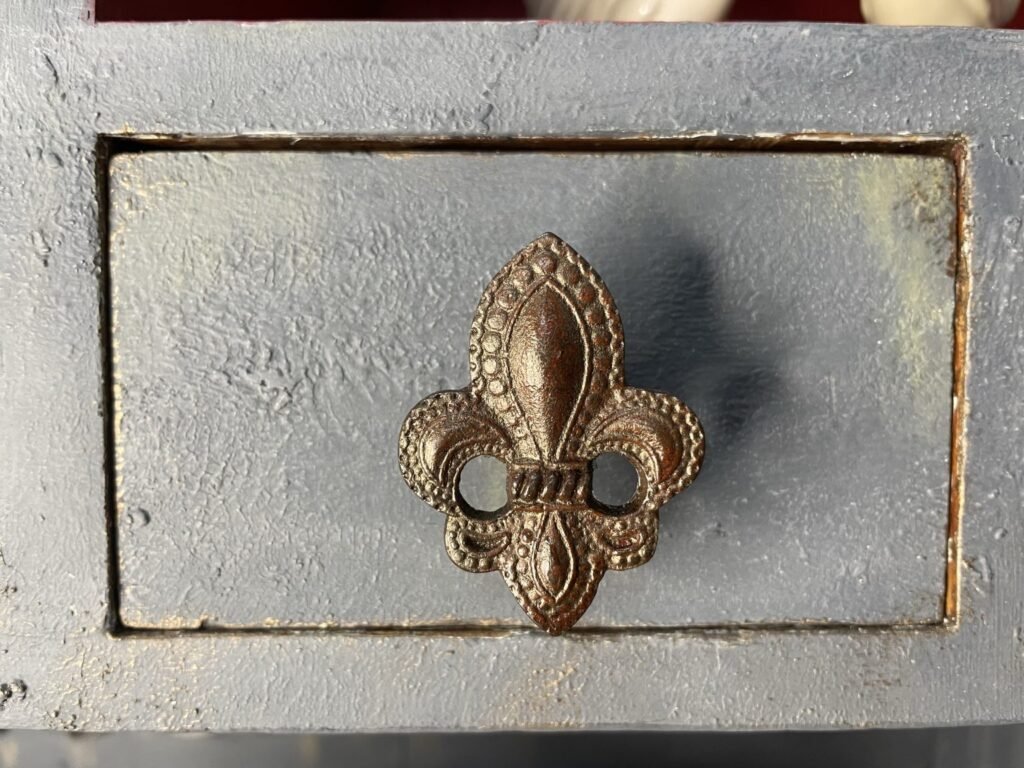
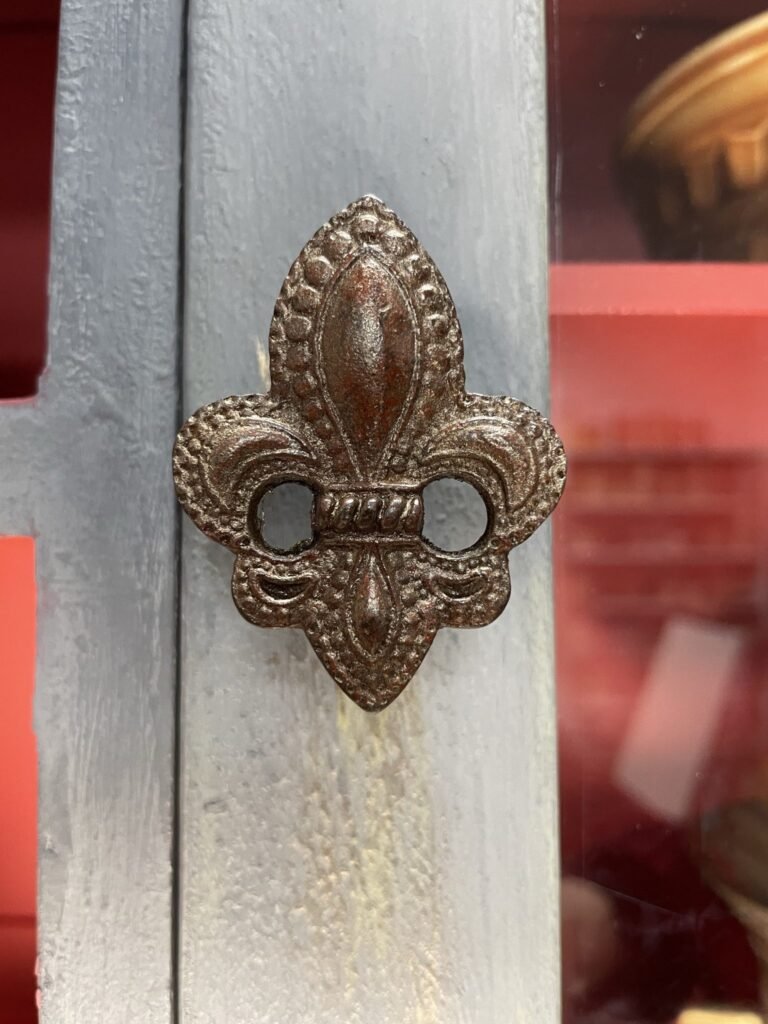
Now it’s time to create. For the doors this time I chose a really big ornament from WoodUbend, the WUB1264.
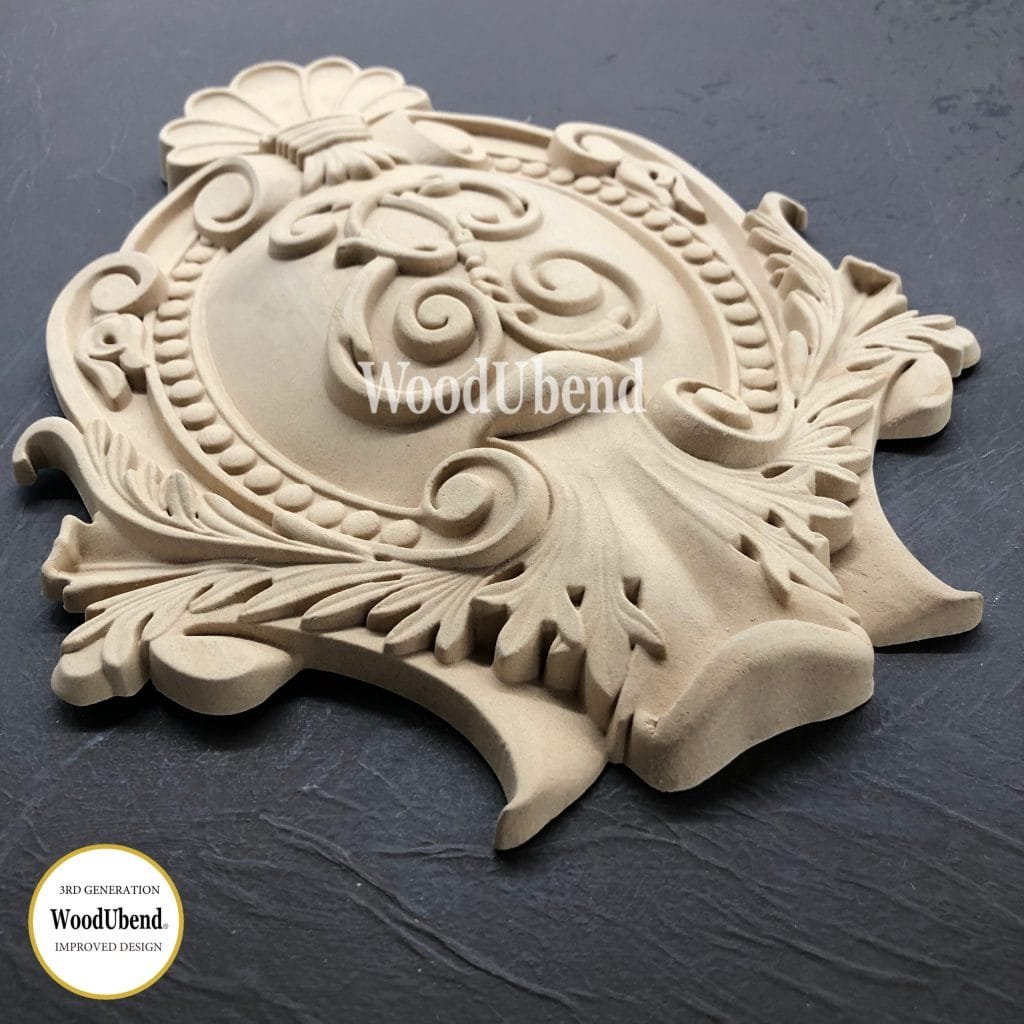
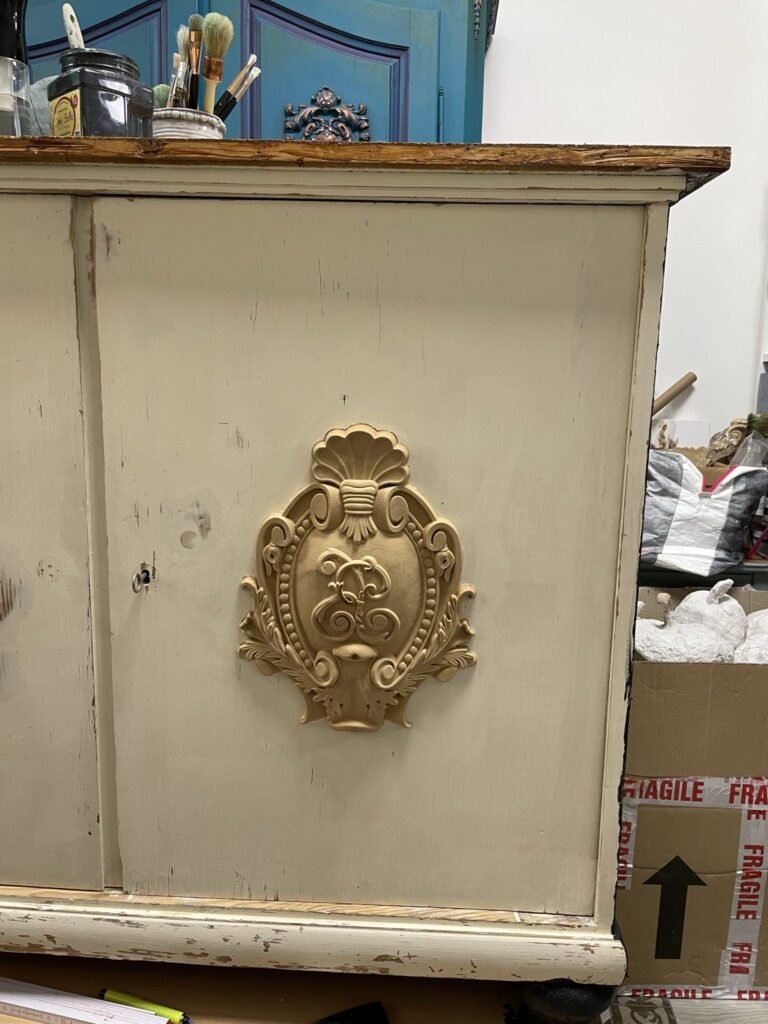
The thicker the WoodUbend, the longer it takes to heat through completely and become flexible—as in this case. This time, I attached the ornaments first and then painted them so they would blend in nicely with the project.
After heating the WoodUbend with a heat gun, I apply wood glue evenly to the back. I prefer to use Titebond Quick & Thick. For my projects, I especially like its strong initial adhesion, because it prevents the embellishment from slipping off, even on a vertical surface, while I’m working on it. This larger—and consequently heavier—embellishment is a good example of that.
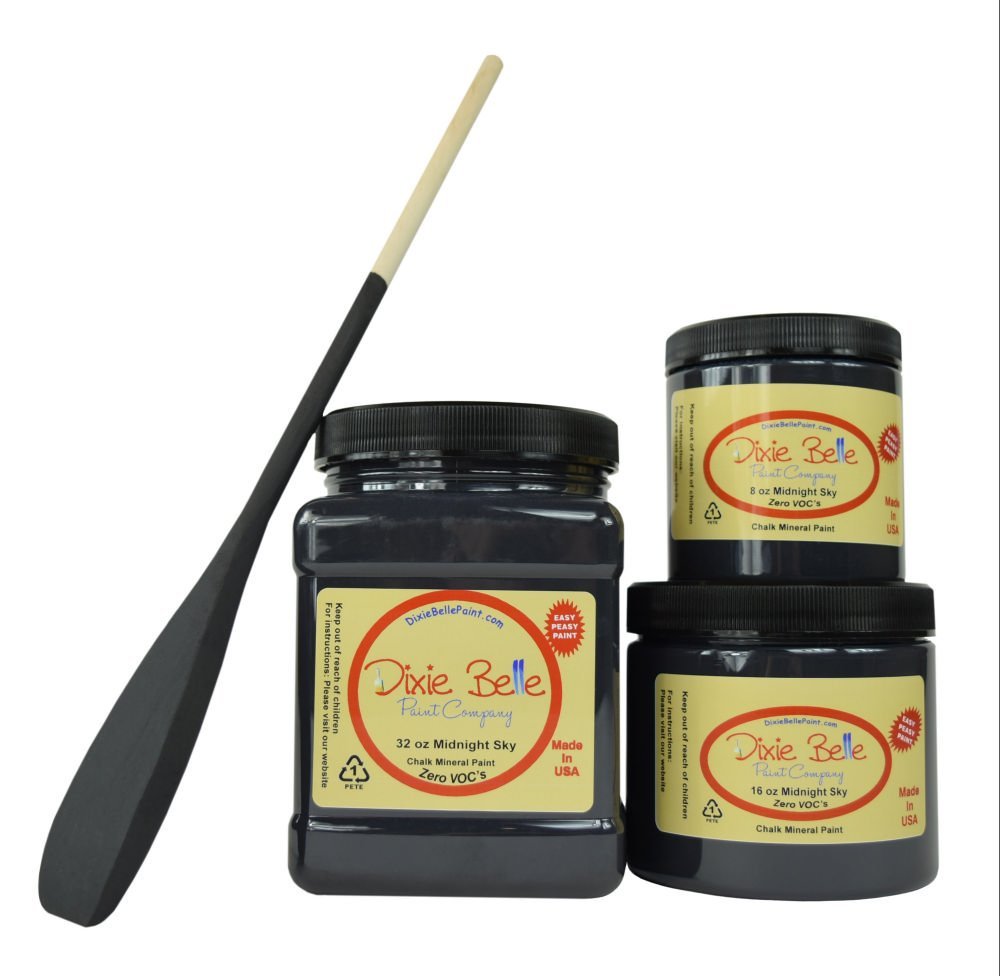
Now it’s time for the first layer of texture. For this, I’m using Midnight Sky—a “near-black” shade from Dixie Belle’s Chalk Mineral Paint line—and mixing it with Dixie Belle’s Sea Spray texture additive. Sea Spray is mixed into the paint to create a textured surface.

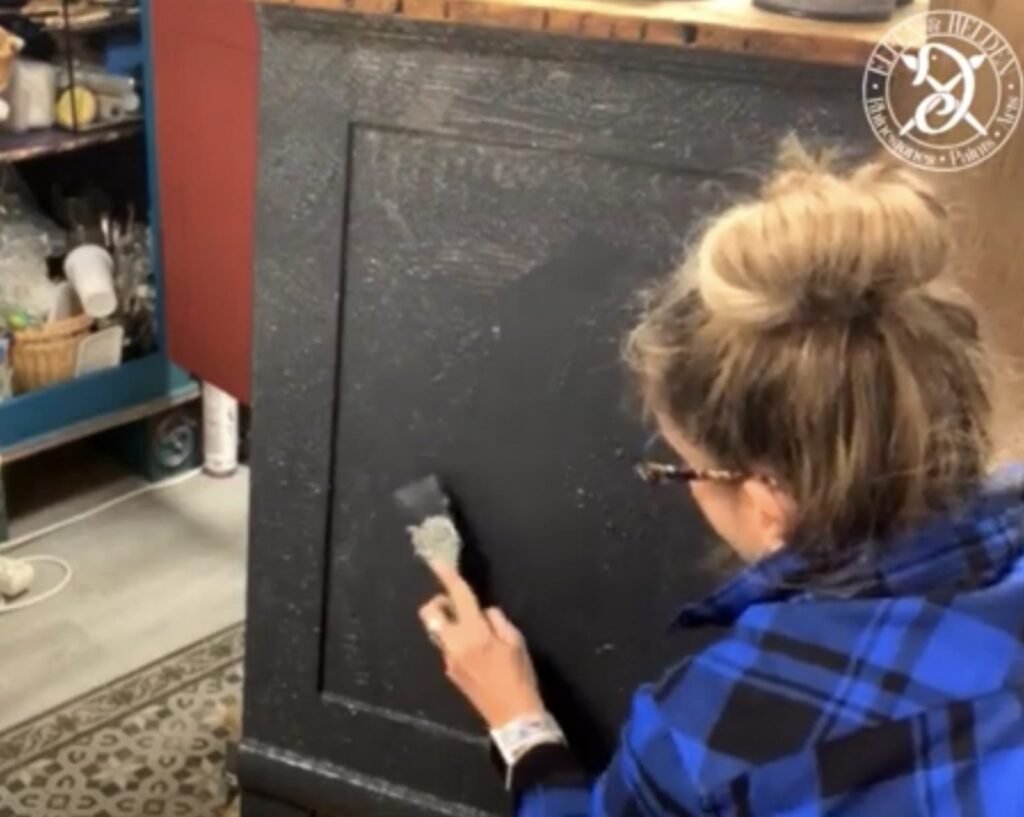
A quick tip: When mixing Sea Spray, it’s best to use cups and tools that you can clean properly or, if necessary, dispose of. Do not pour product residue down the drain—please also follow the manufacturer’s disposal and usage instructions.
I apply the mixture evenly over the surface of the cabinet and then use the brush to dab in additional texture in an irregular pattern. I mainly focus on the corners and edges, where I want to create a weathered look.
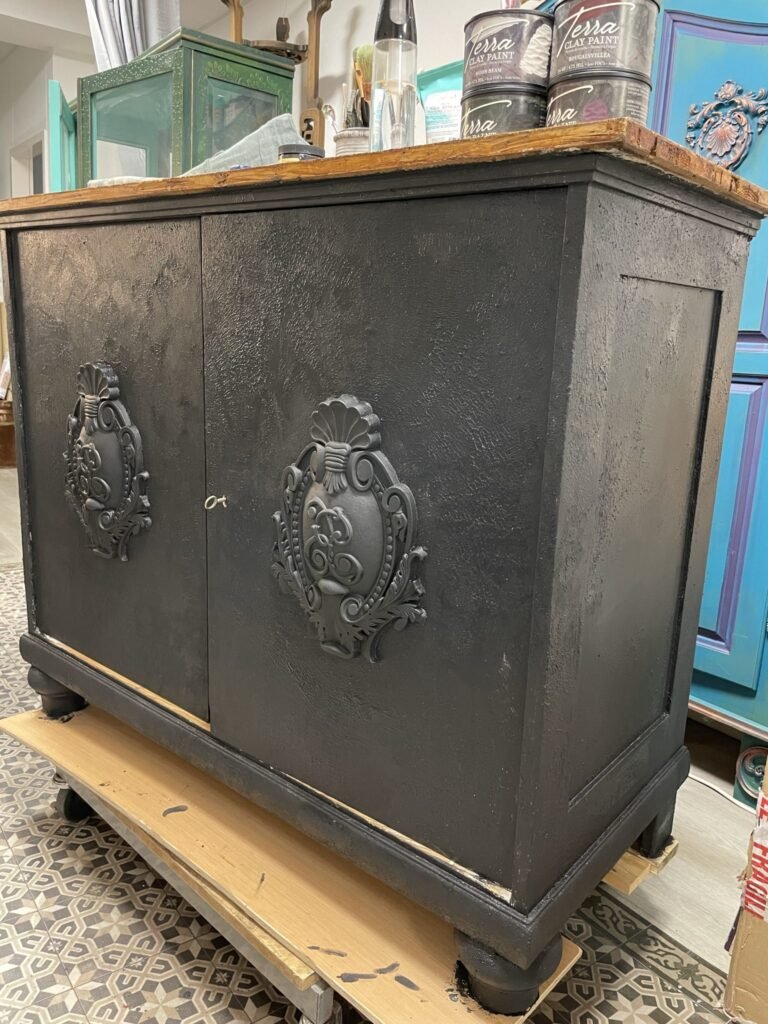
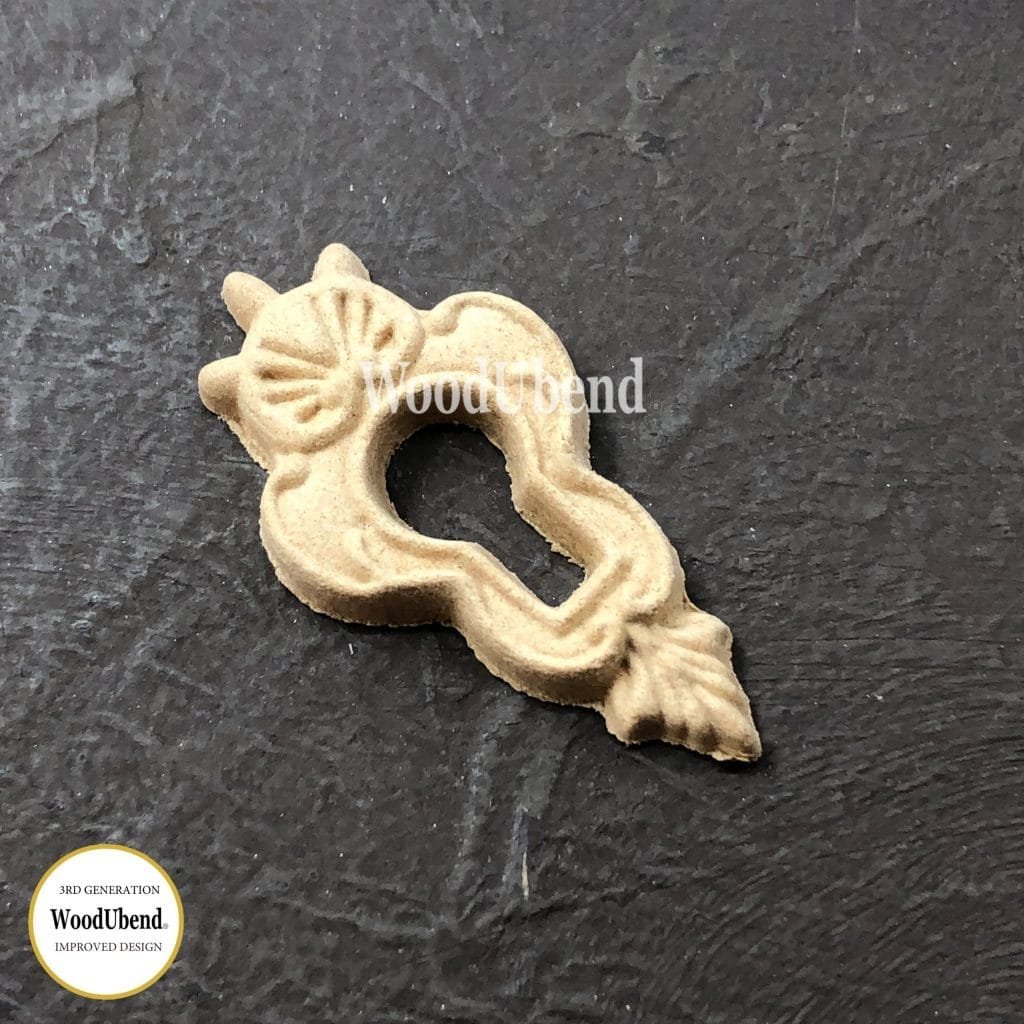
For the keyhole, I also chose a WoodUbend—the WUB993. Thanks to its shape, the ornament fits nicely around an existing keyhole.
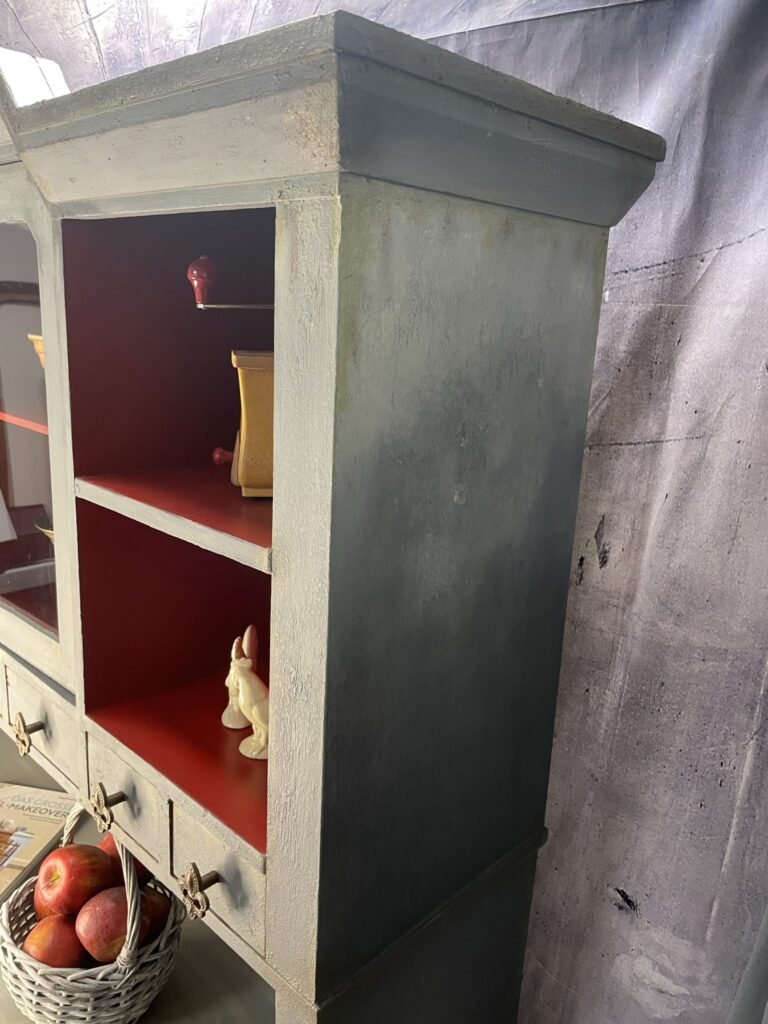
While the bottom part is drying, I can start working on the top part. For the sides, I’ve chosen the Belles & Whistles “Art Deco Birds” decoupage set.
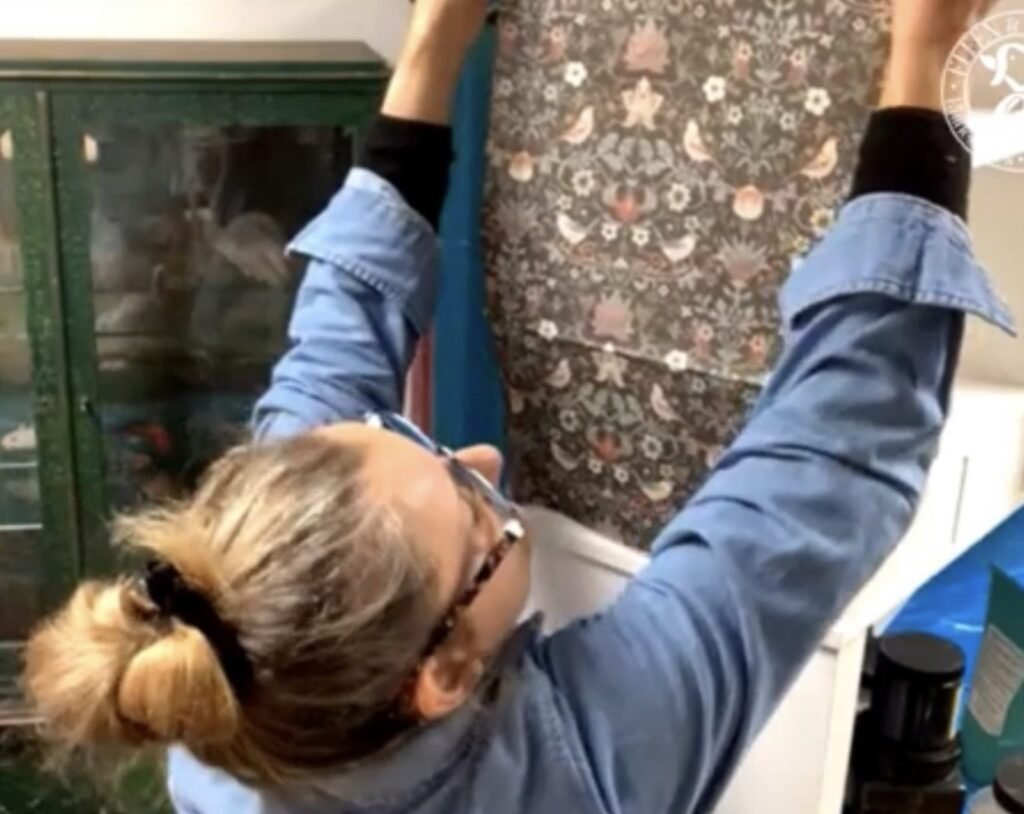
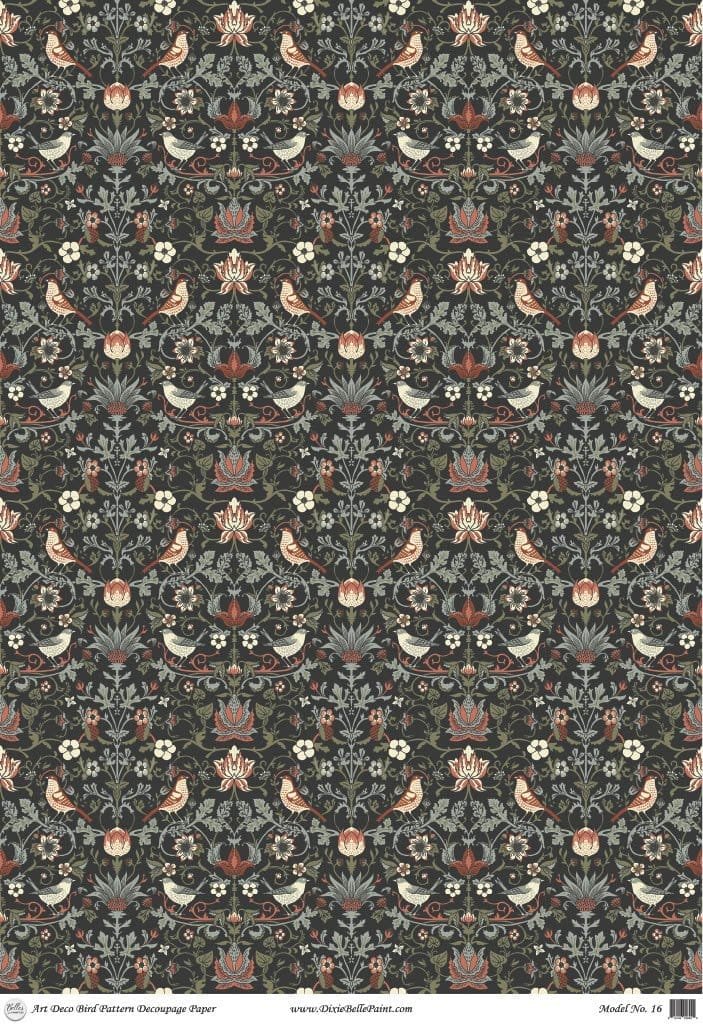
For decoupage, I use Dixie Belle’s Top Coat Satin. It’s one of my favorite products for applying decoupage, and I can also use it to seal the project afterward—killing two birds with one stone. I take a close look, especially along the edges, to make sure the paper is lying flat everywhere.
Now I’m applying a second layer of texture using Midnight Sky. For this, I chose “Fluff” and mixed in a little “Sea Spray” again. Originally, I had planned to bring these layers back out later using a putty knife and sandpaper. But then I changed my mind.
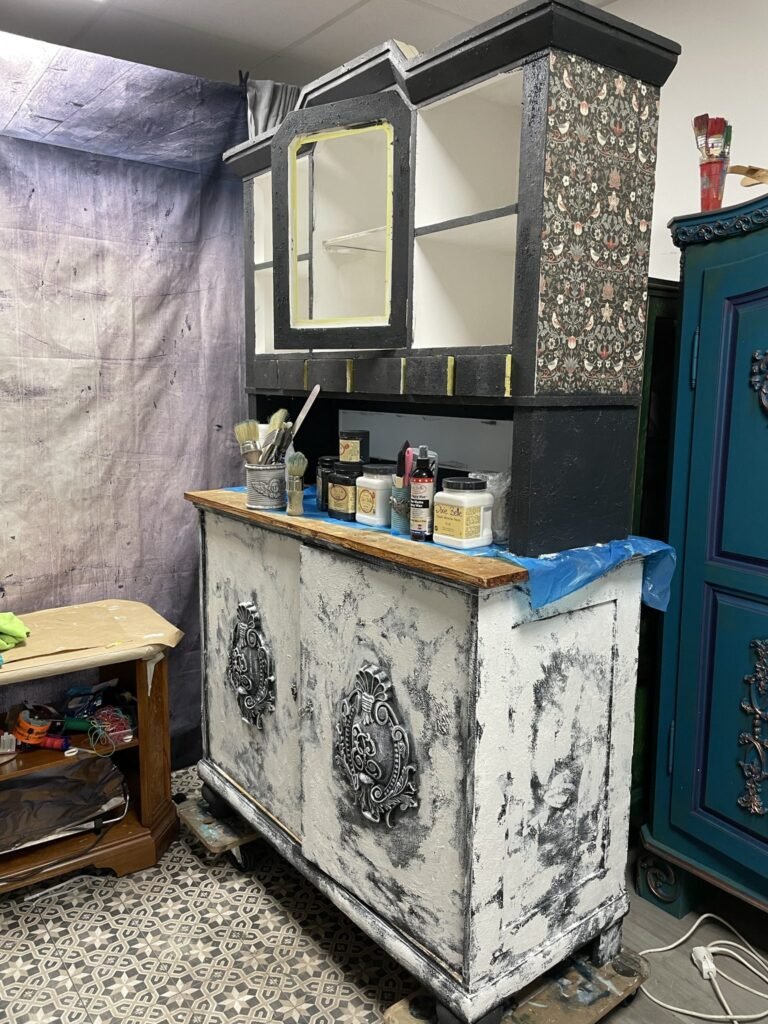
Once everything has dried, I sand down the roughest bumps.
The cabinet is now getting its final coat of paint. For this, I’m using the colors Onyx, Prairie Dawn, and Blue Moon from Dixie Belle’s Terra Clay Artisan Paint series. I’m mixing these three colors to create a shade of gray with a slight blue tint. This gives me a beautiful mid-tone that falls right between Onyx and Prairie Dawn.
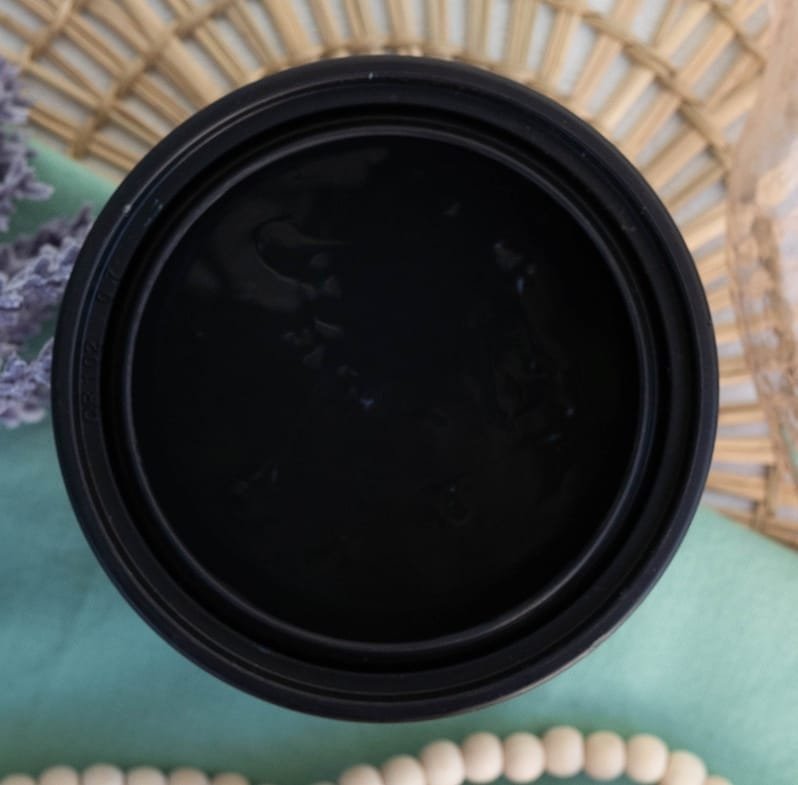
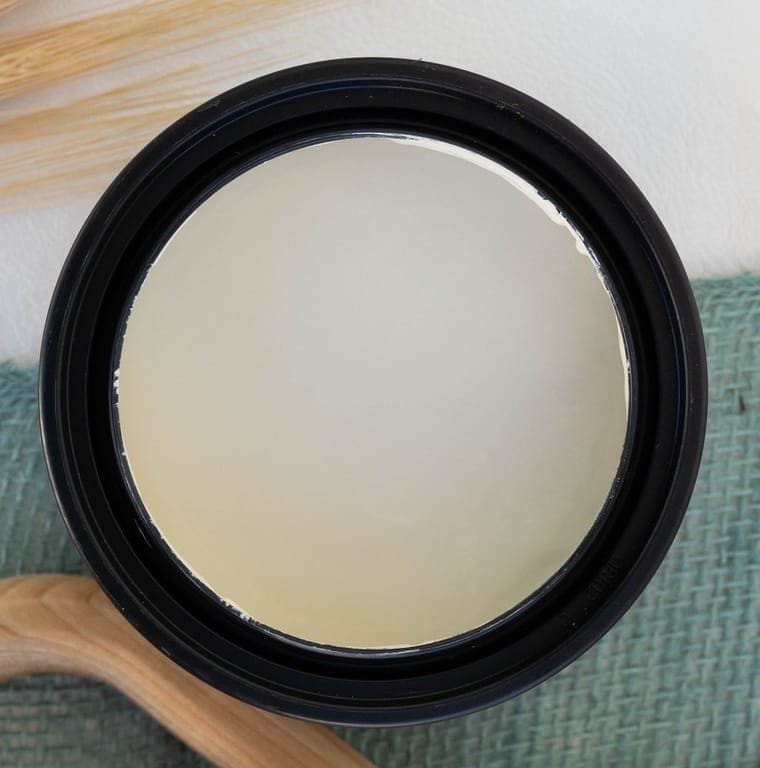
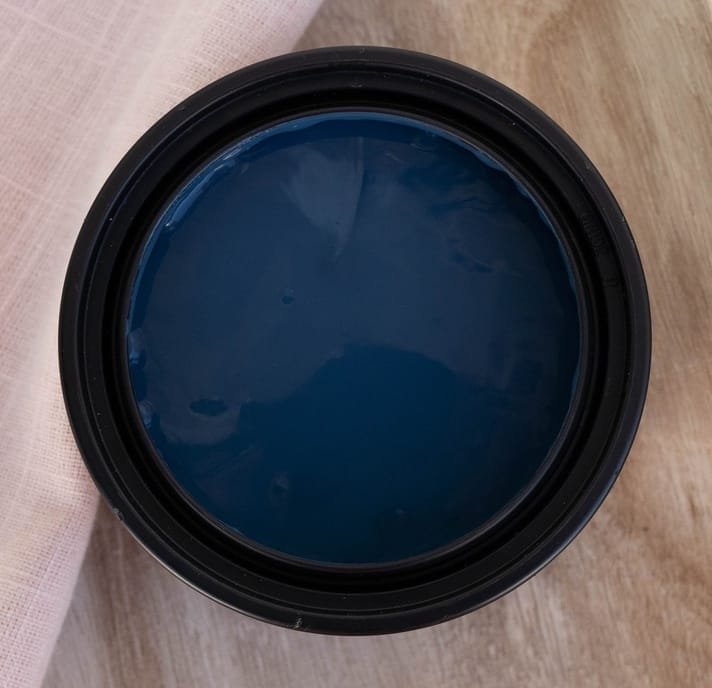
Here’s an easy way to mix a medium shade if you want to create a color gradient between two shades that are relatively far apart.
For painting, I use Dixie Belle’s La Petite. I start at the bottom with Onyx, then transition to my mixed shade of gray, and work in a little Prairie Dawn at the top.

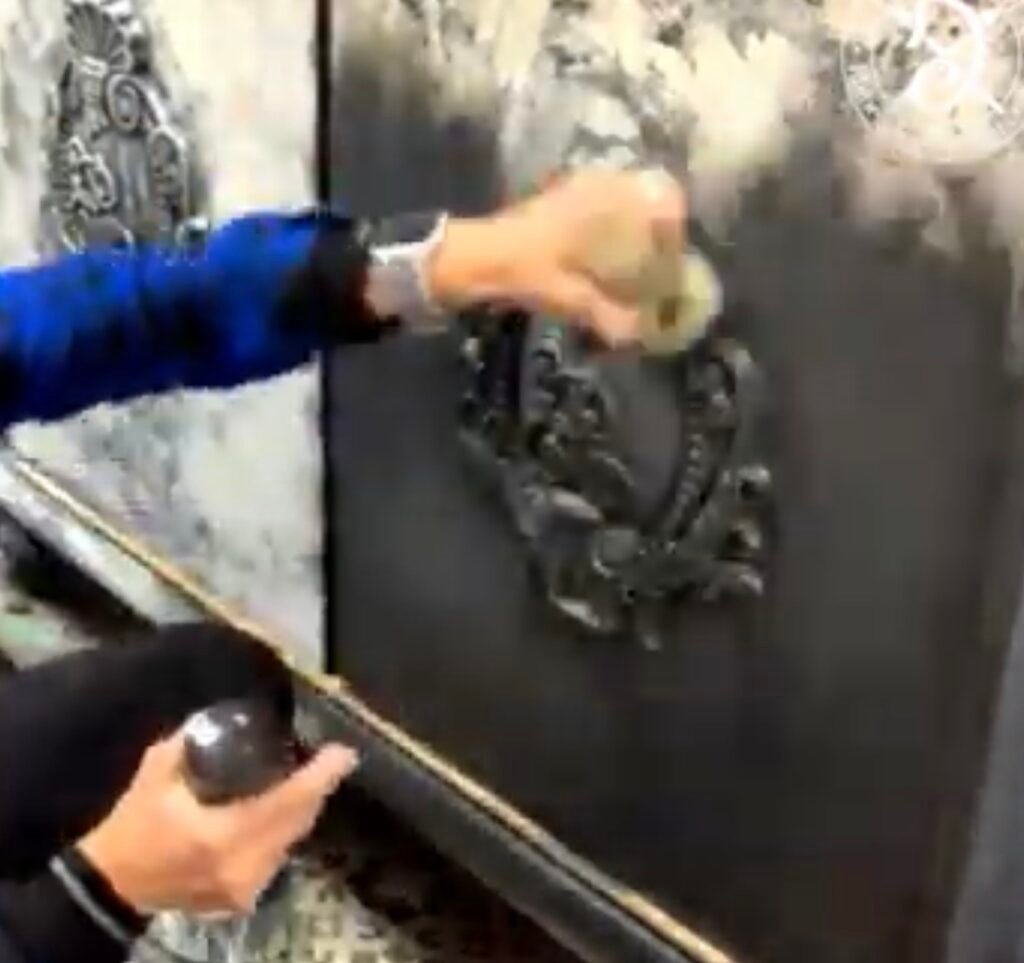

Terra Clay Artisan Paints can be blended together. I want the color gradient I’m creating here to have a slightly cloudy look. That’s why I’m working mainly with circular motions.
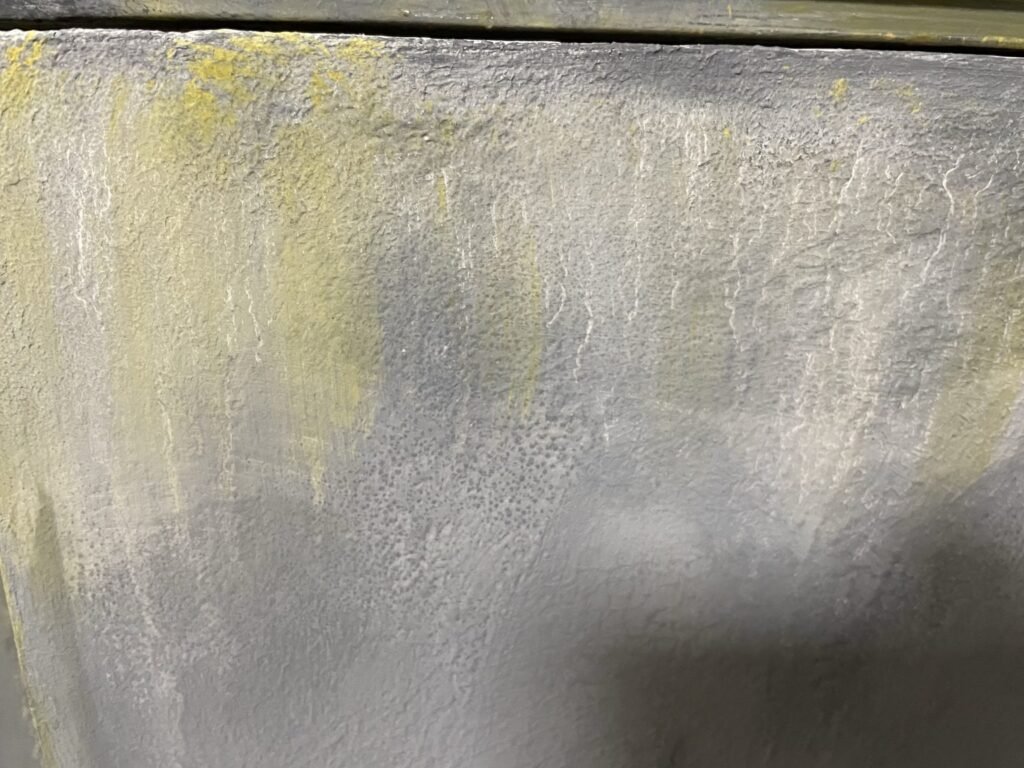
For the weathered details, I mix Pistachio with Marigold to create an olive tone. I apply this especially to the corners and around the ornament. This time, I’ve mixed vinegar with water in my spray bottle. For this project, I’m using the mixture to alter the flow of the still-unsealed Terra Clay Paint and create a caked-on effect.


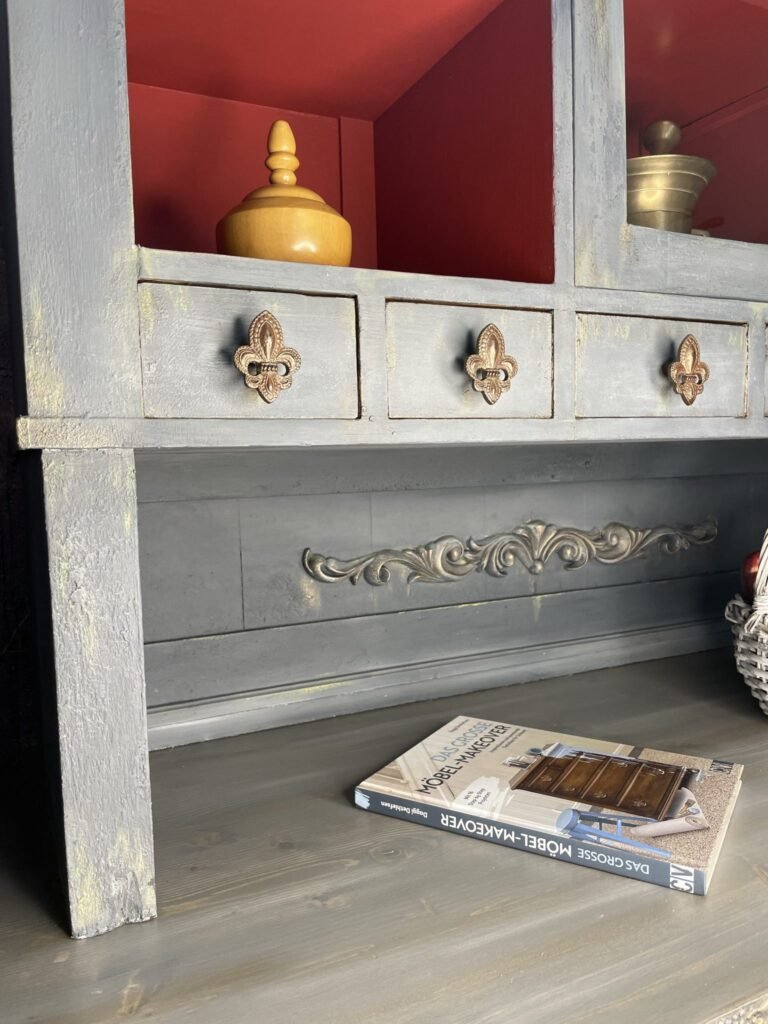
I started by applying two coats of Dixie Belle’s Bonding Boss to the upper interior area and the tiles in the middle section. Bonding Boss is used as an adhesive and sealer.
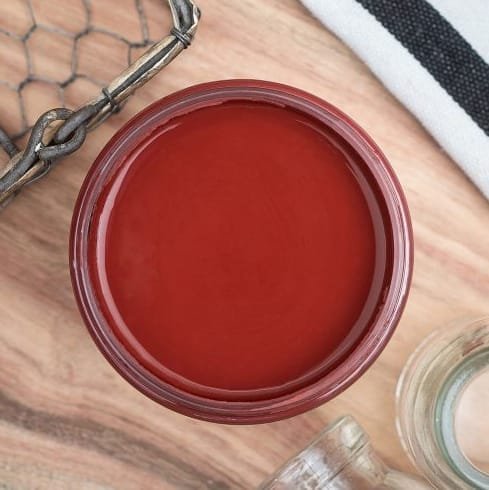
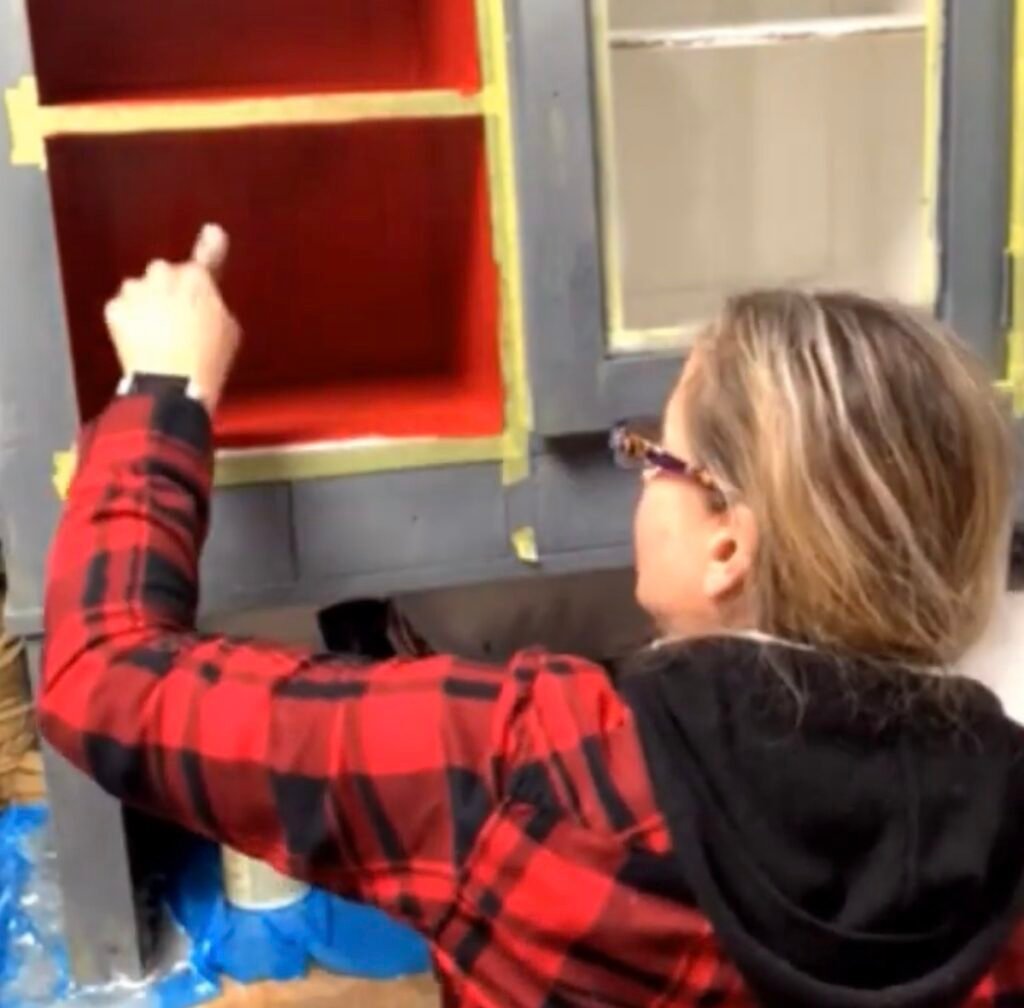
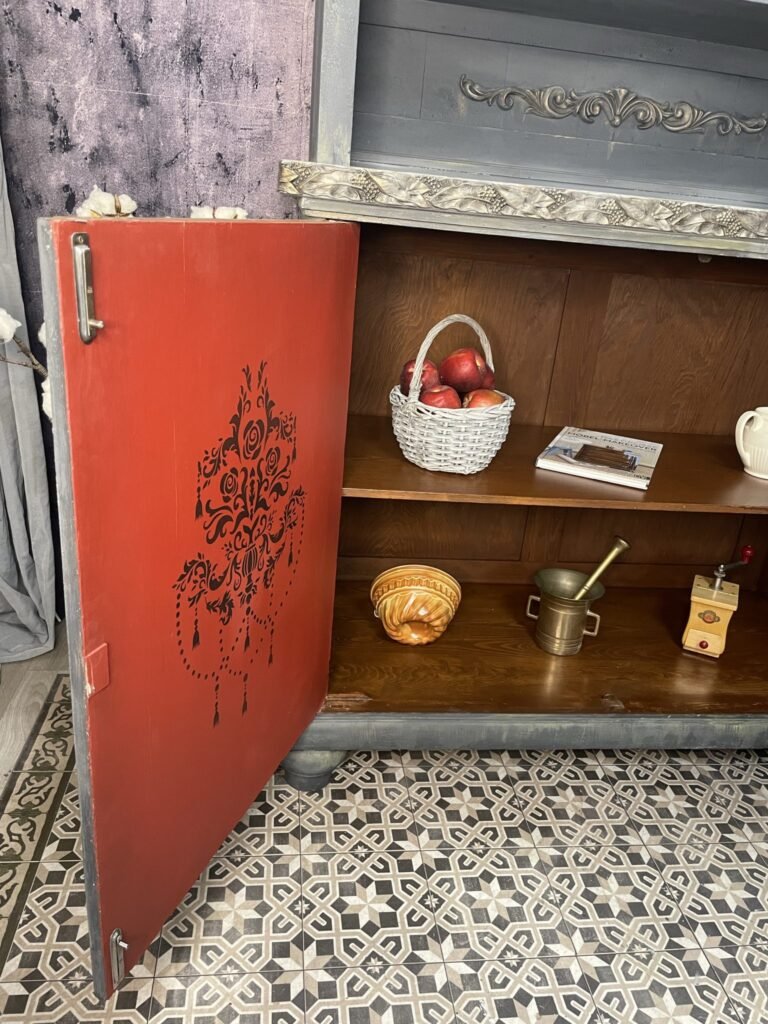
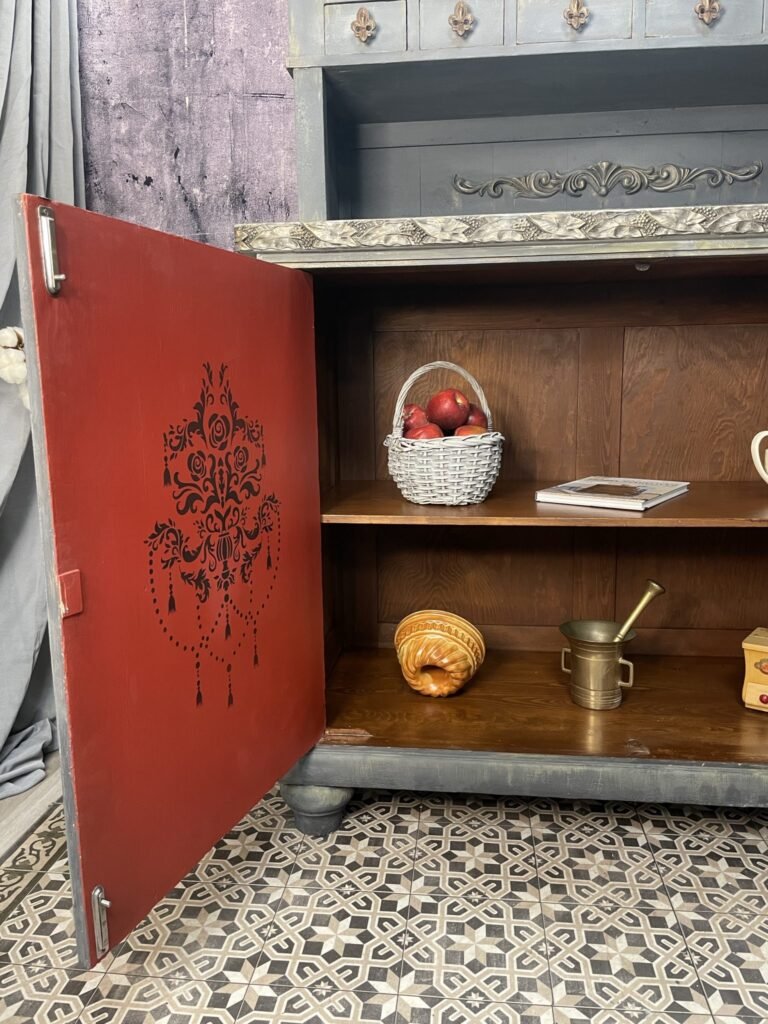
To add a little pop of color, the interior was then painted with two coats of Barn Red from Dixie Belle’s Chalk Mineral Paint line.
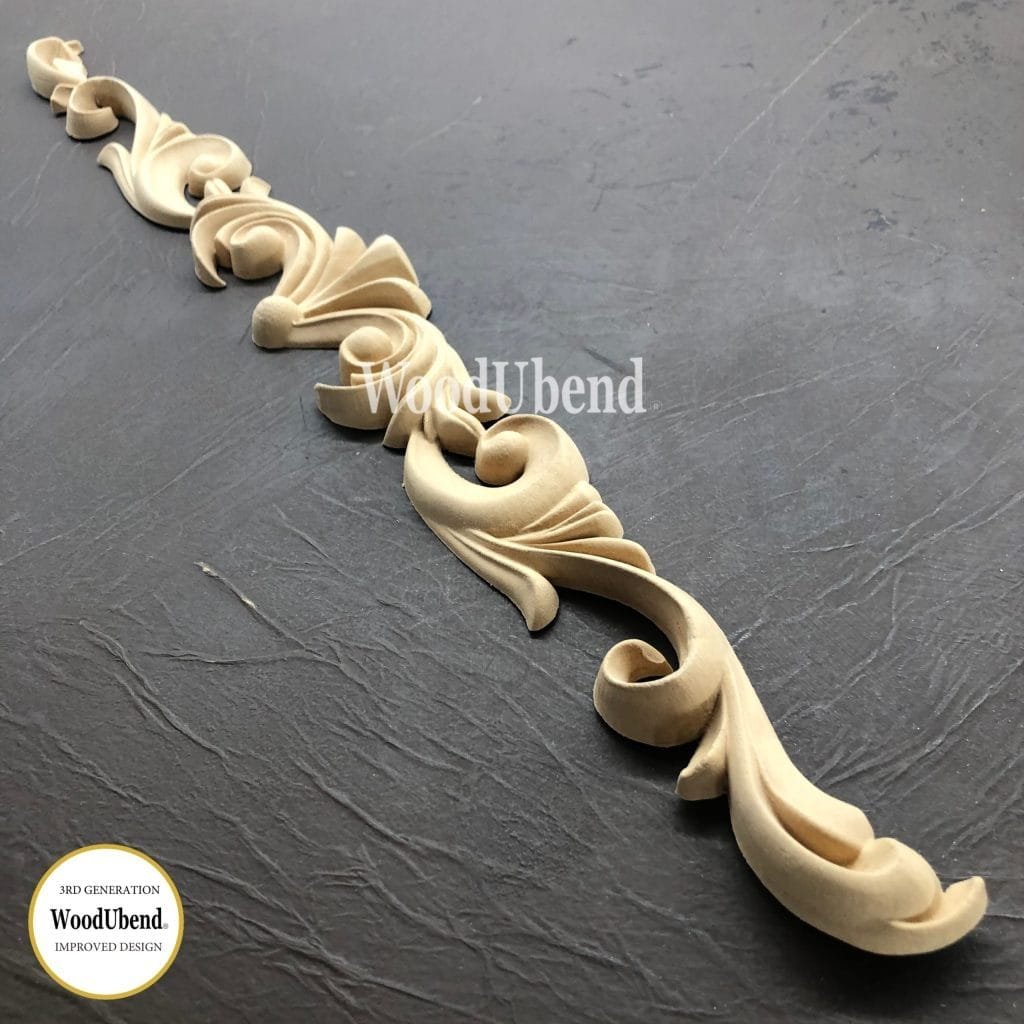
The WUB1269 ornament will be added to the original tiles as an eye-catching feature.
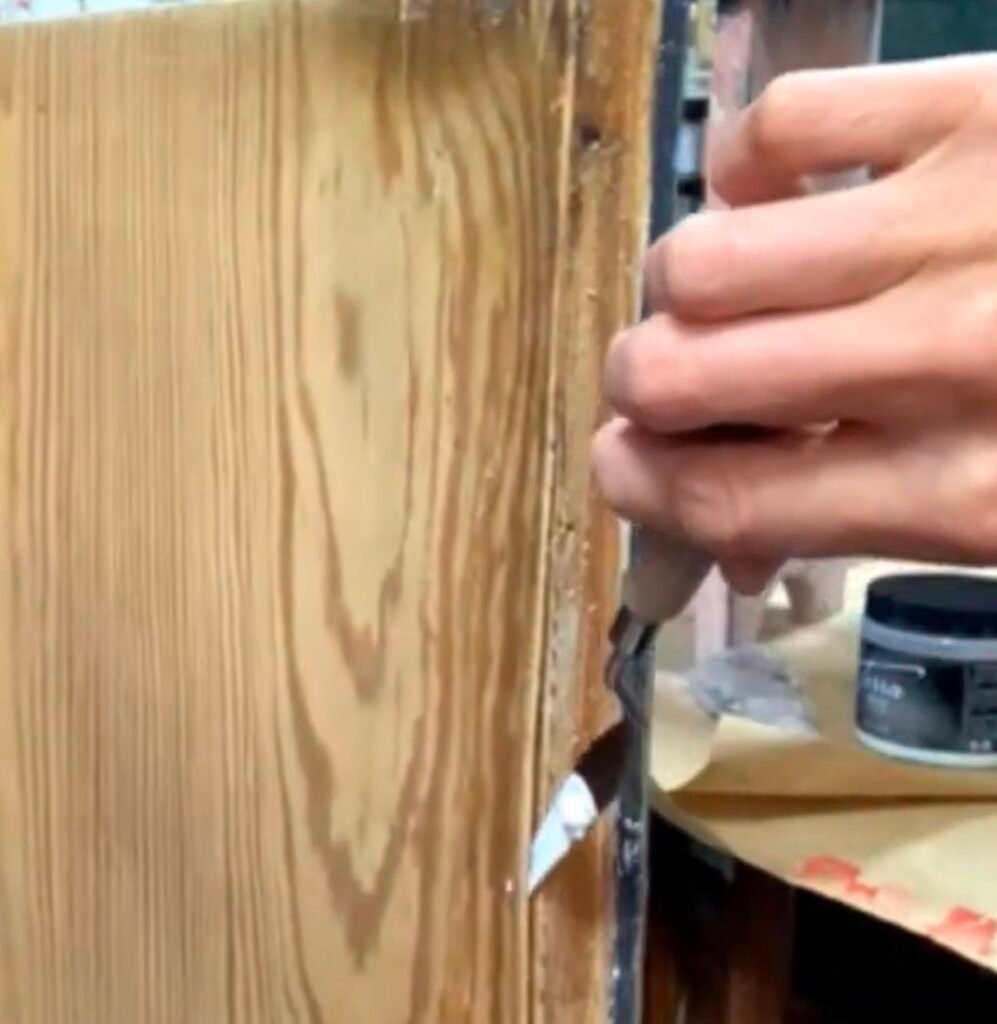
Further repairs had to be made again and again on all corners. The veneer came loose, especially on the lower interior doors.
Using a painting spatula, I worked wood glue under the veneer and then secured it in place to preserve as much of the original material as possible.

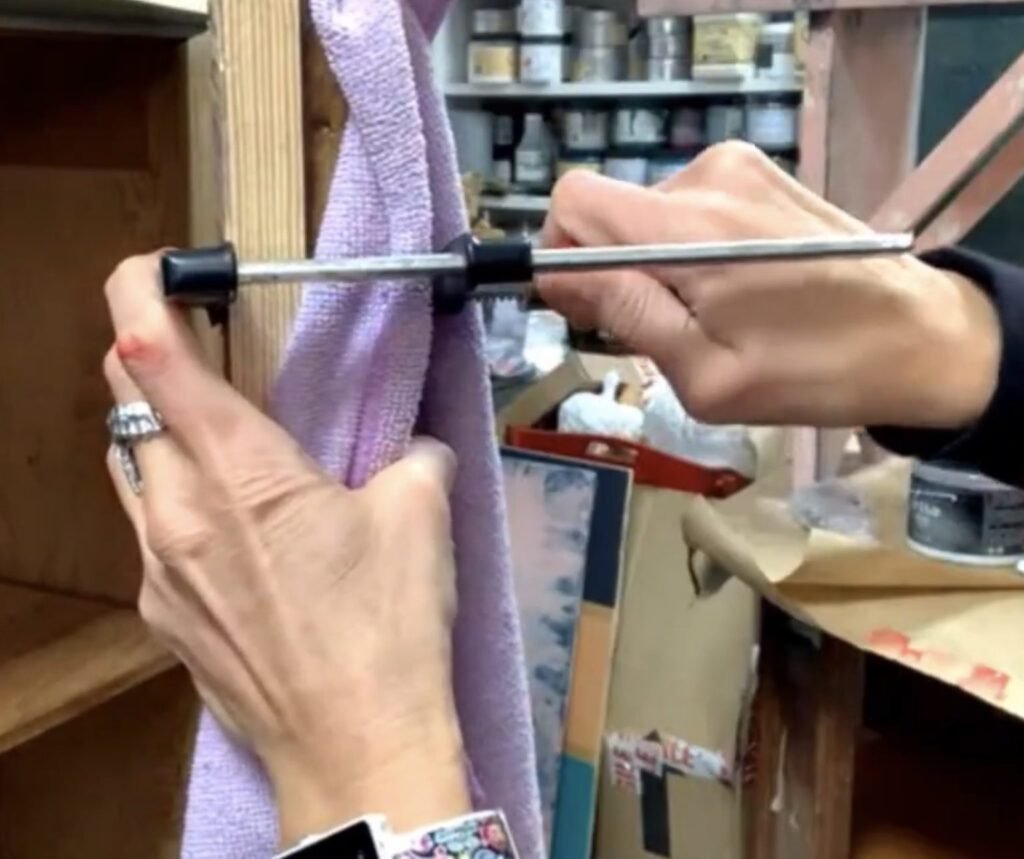
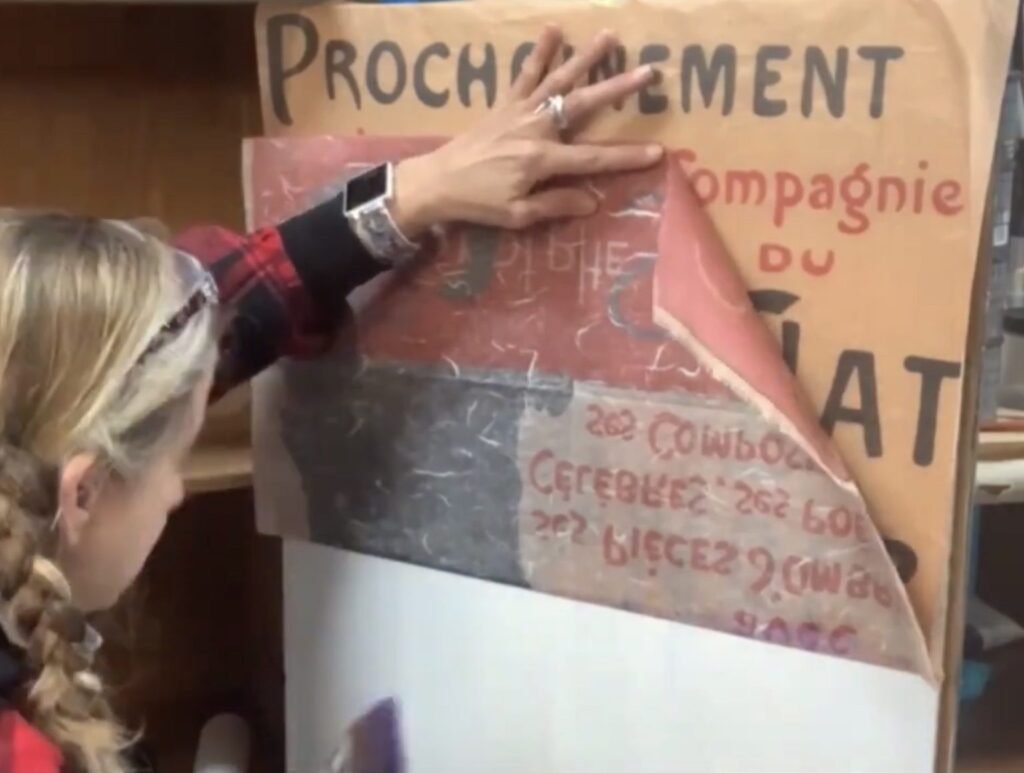
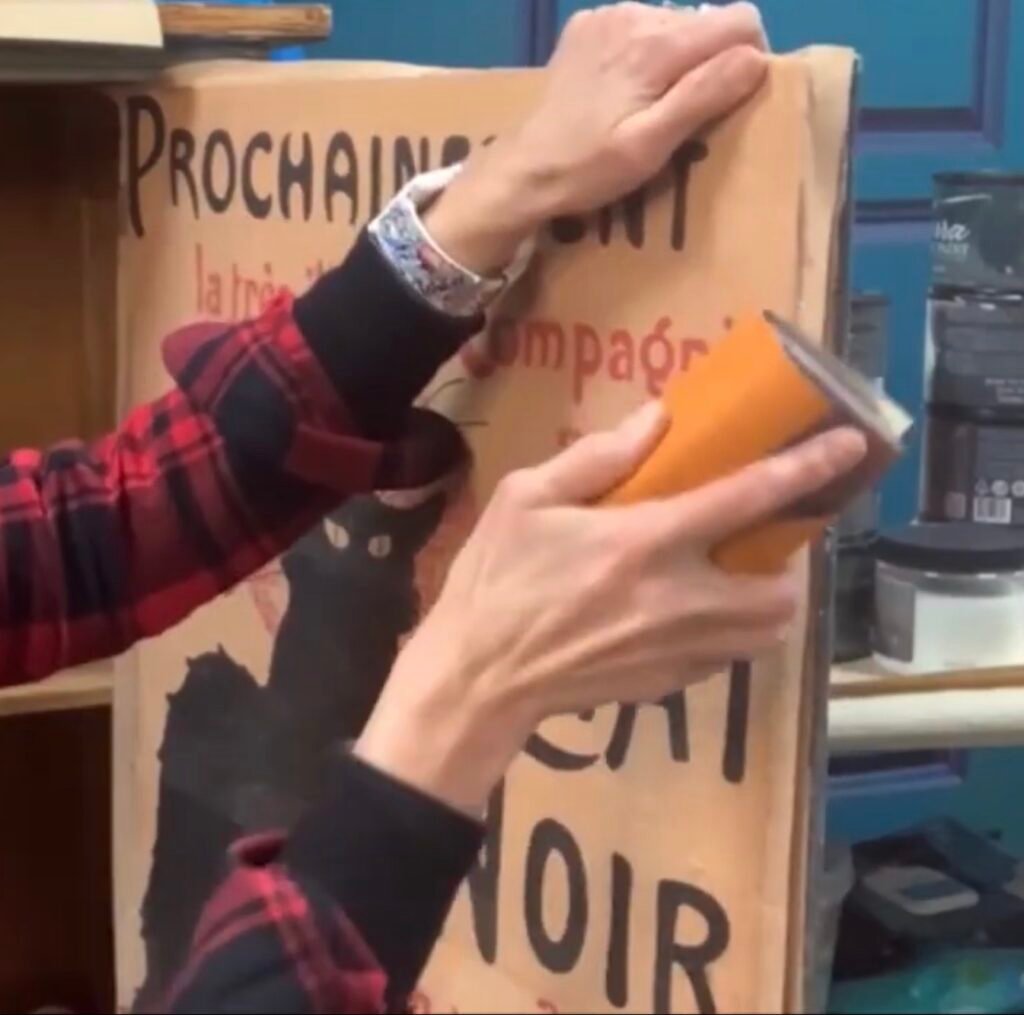
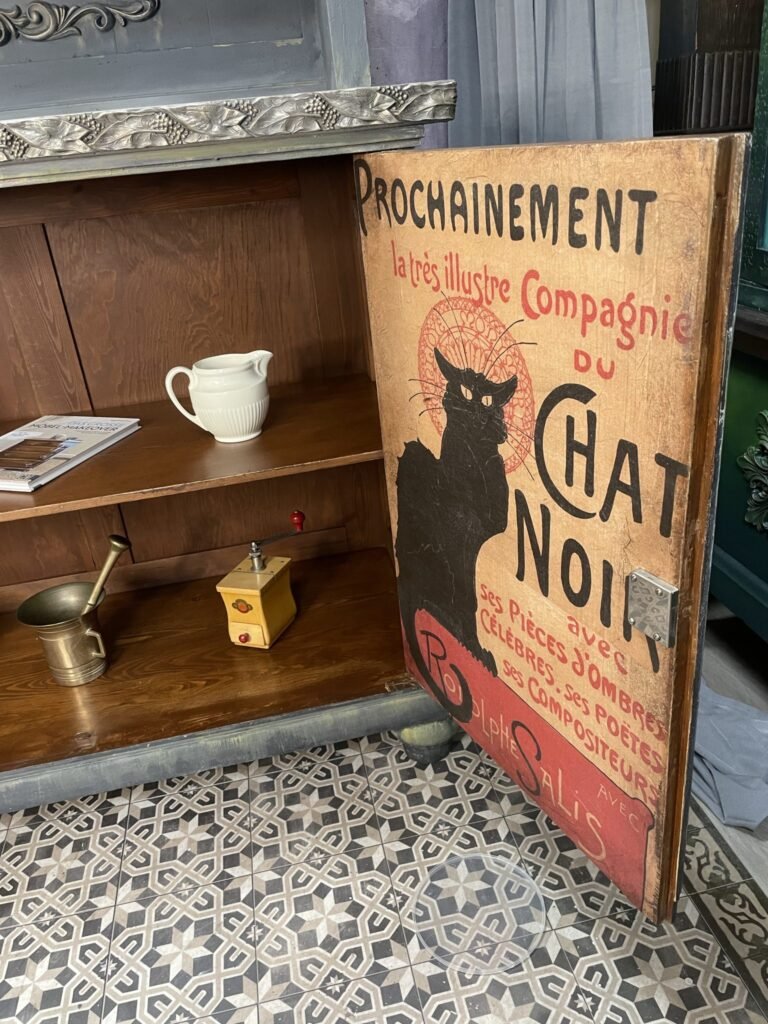
Since I noticed while cleaning that the veneer on the interior doors was showing through, I primed one door with Dixie Belle’s B.O.S.S. White and then applied the Posh Chalk “Chat Noir” decoupage paper. This time, I’m using Posh Chalk’s Infusor as the decoupage medium and the large Smooth & Blend Brush from Posh Chalk to apply it. Since I demonstrated this part live on the WoodUbend website, I naturally used their products. I’m using the Infusor here both as a decoupage medium and as a sealant.
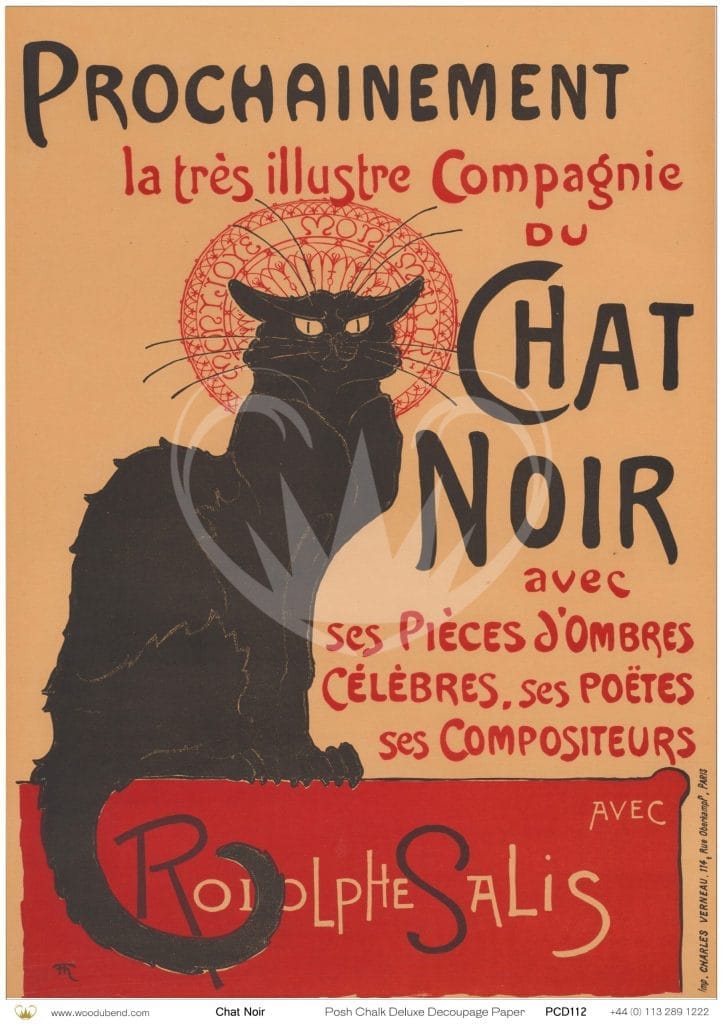

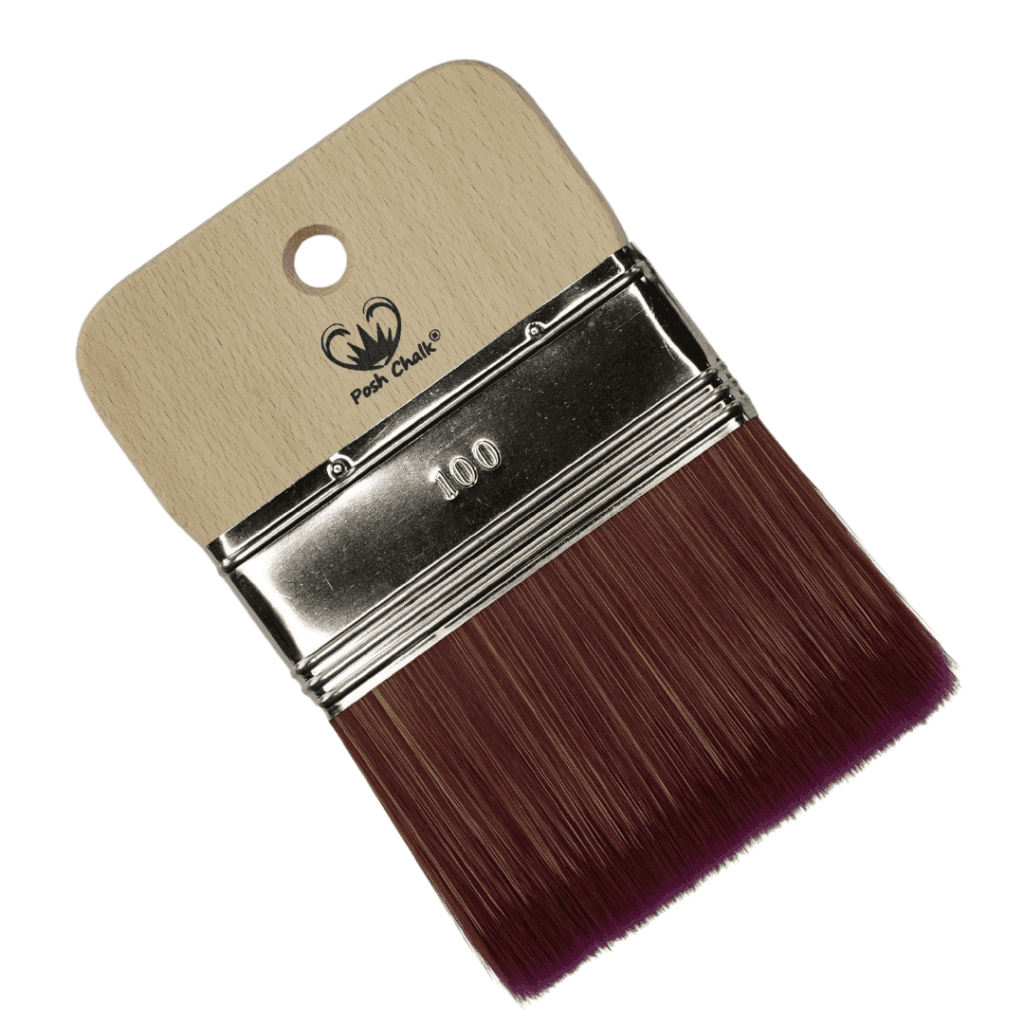
With large-format papers, I work in sections, smoothing out air bubbles from the center outward. Once everything is dry, I even out the edges. To do this, I take a sanding block and drag it away from the decoupage paper at an acute angle across the edge.
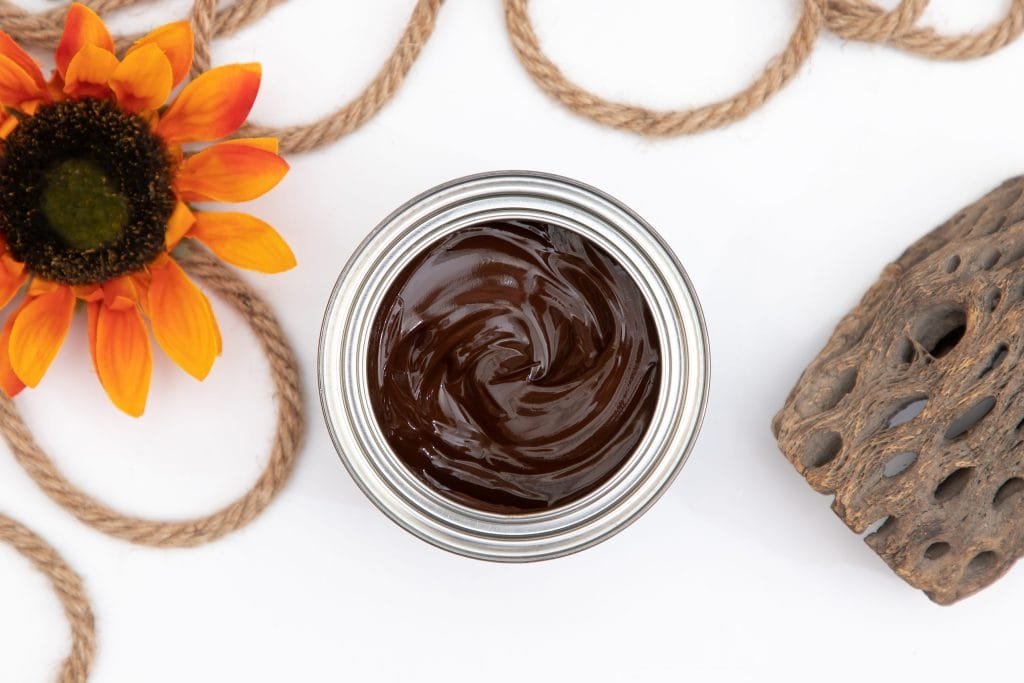
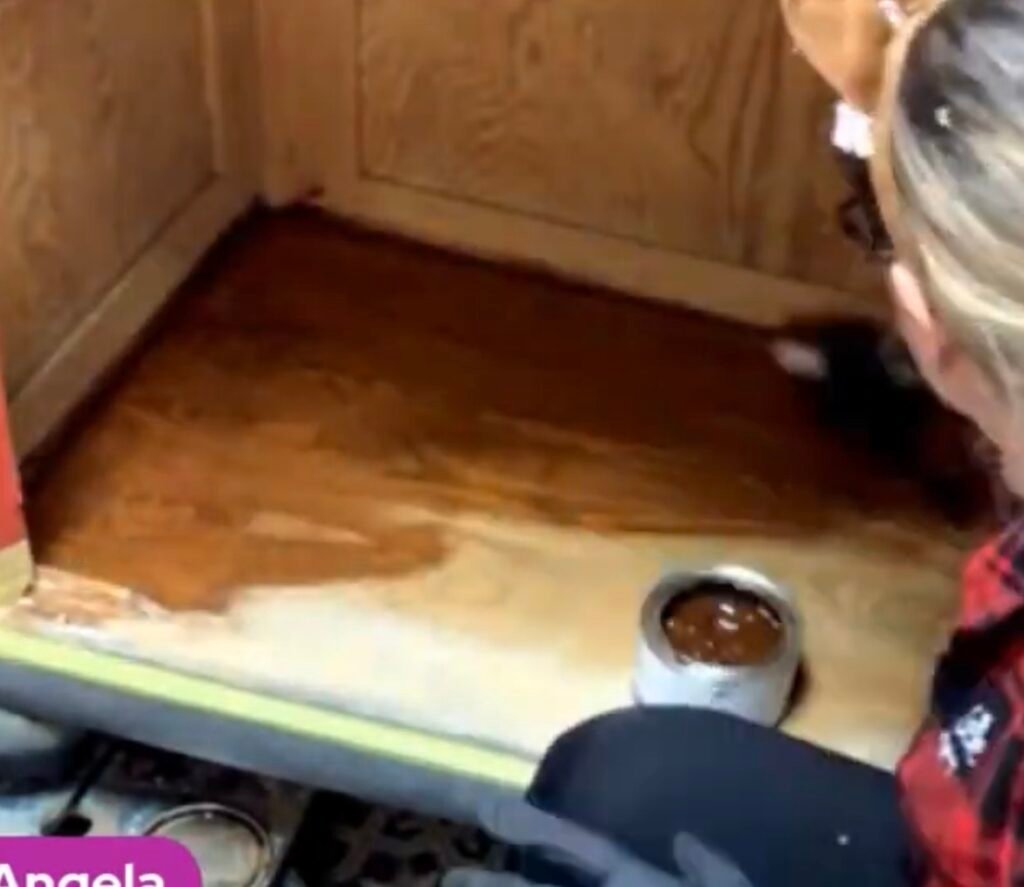
For interior projects, I use No Pain Gel Stain in American Honey to preserve as much of the existing wood grain as possible. I think the transformation is fantastic.
No Pain Gel Stain is an oil-based product. When working with it, I follow the manufacturer’s current application and safety instructions. To apply it, I use the Dixie Belle applicator pad.

The second door was painted Barn Red to match the upper interior, and decorated with the “Chandelier” stencil from Posh Chalk to add a touch of flair.
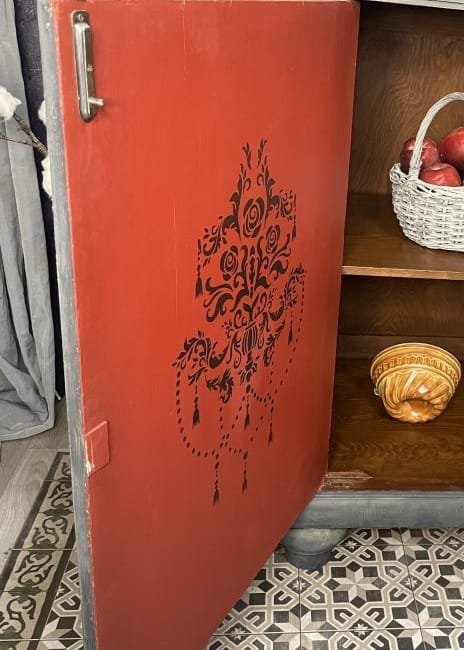
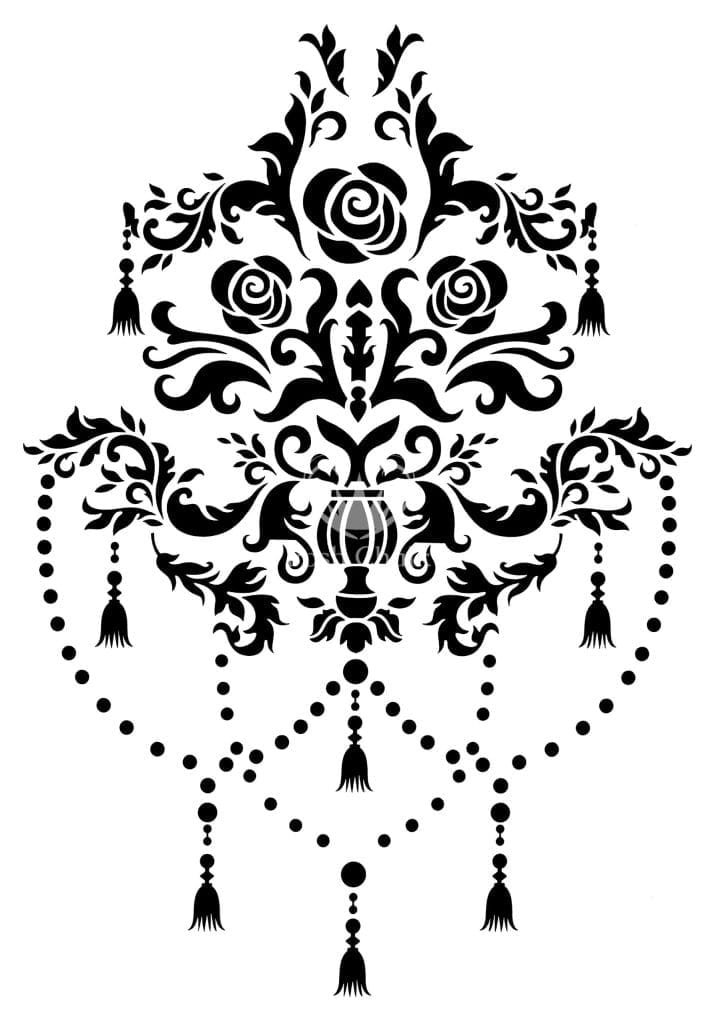
I sealed this surface with Best Dang Wax in Clear, to which I added a tiny bit of Barn Red to intensify the color effect even more. For the final polish, I also use the applicator pad.
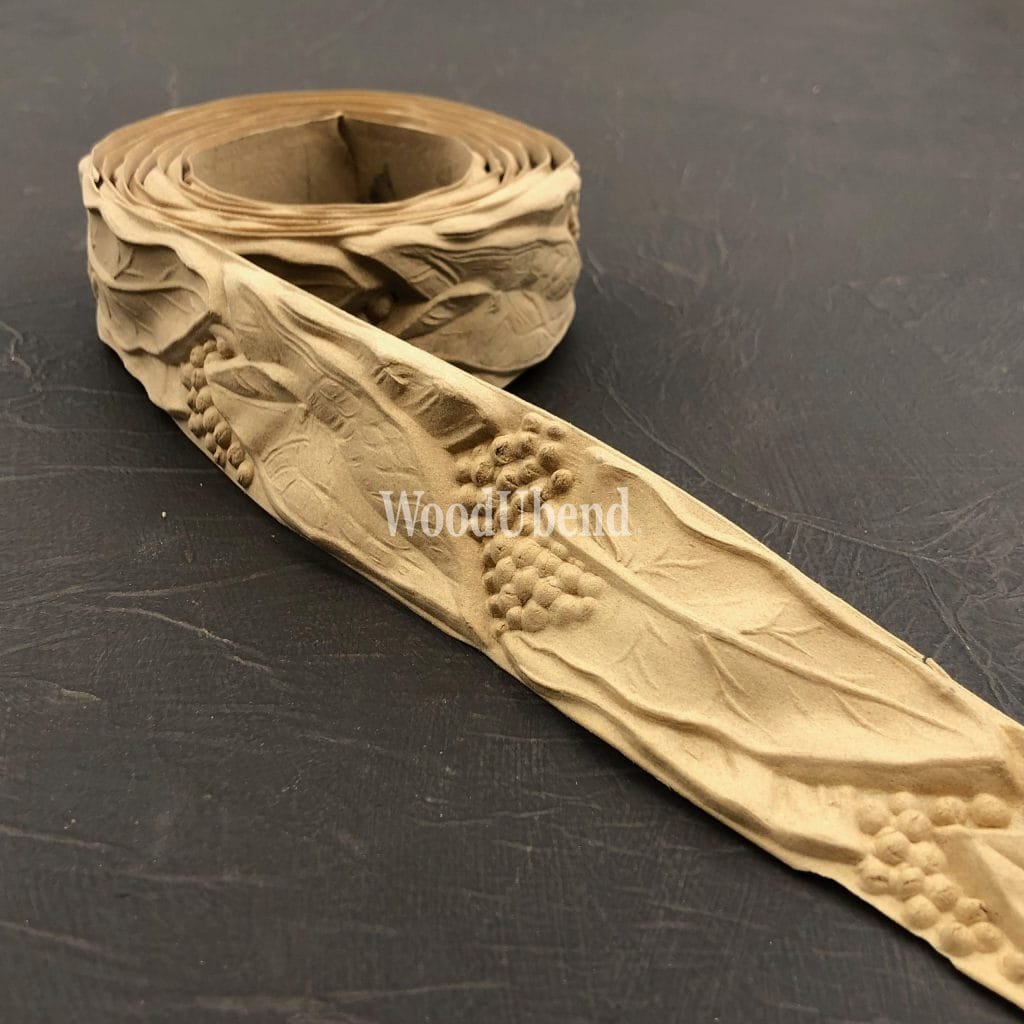
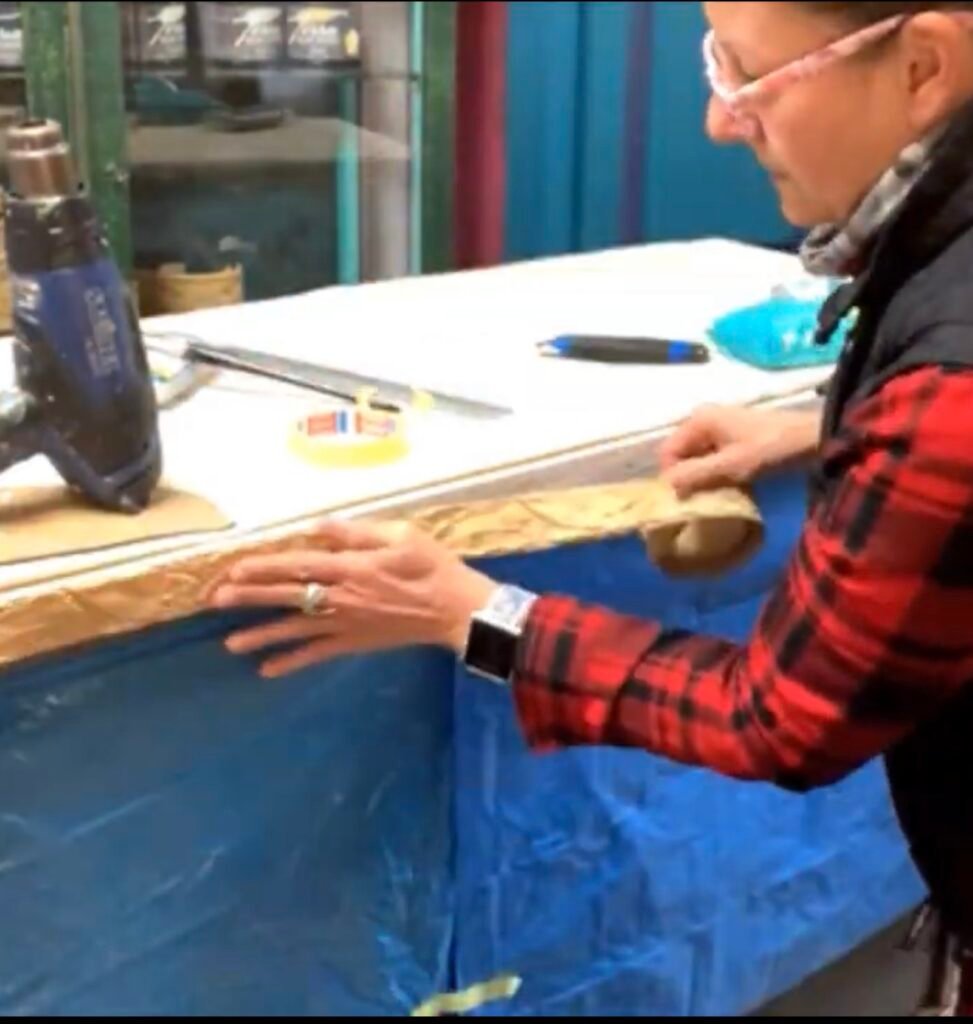
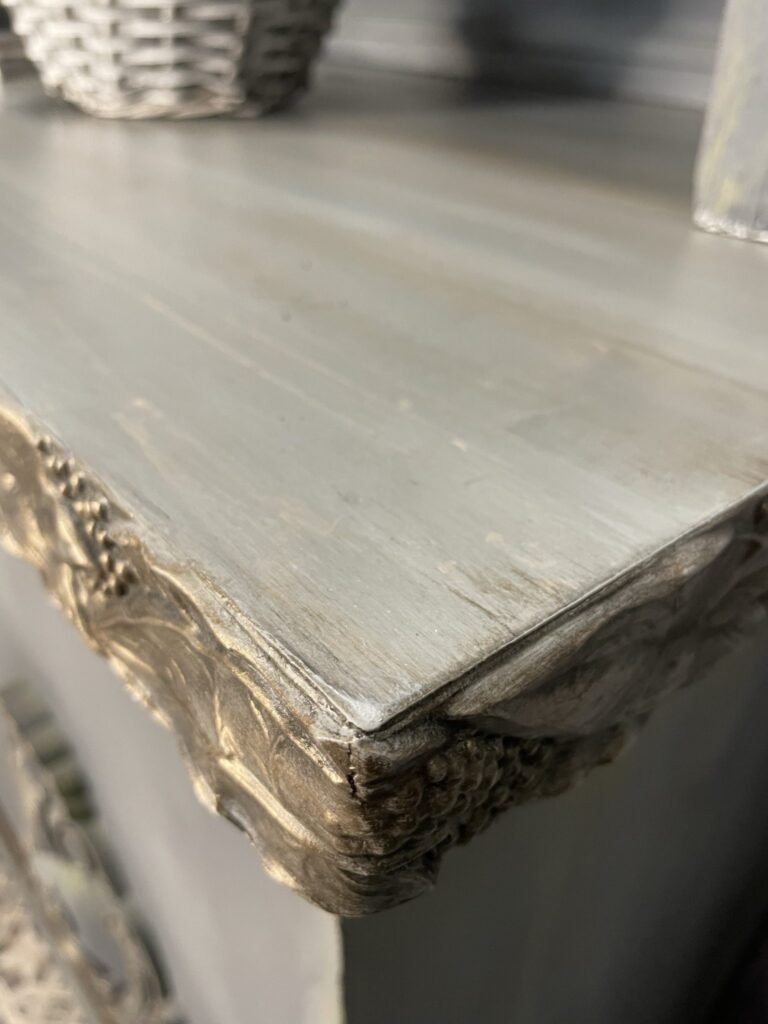
This piece also got a new panel. I had it cut to size at the hardware store. To cover the edge, I’m using WoodUbend’s Trim TR726. I work in sections and keep the trim in the roller as long as possible. That makes it easier for me to control and heat it up bit by bit. With trims, I usually apply the wood glue directly to the project rather than to the WoodUbend. I adjusted the pattern accordingly as I worked along the seam.

I’m now giving the surface a driftwood look. Here, I’m using No Pain Gel Stain again. I start with Weathered Gray as a base, then add streaks of Pickling White and Golden Ash, which I blend using the applicator pad.


I sealed both the countertop and the lower interior shelves with Gator Hide by Dixie Belle. Before applying the water-based topcoat, I let the No Pain Gel Stain dry for five to six days for this project and follow the current application instructions for the products I’m using.
When doing the trim, I used black and bronze gilding wax to highlight both the recesses and the raised areas.
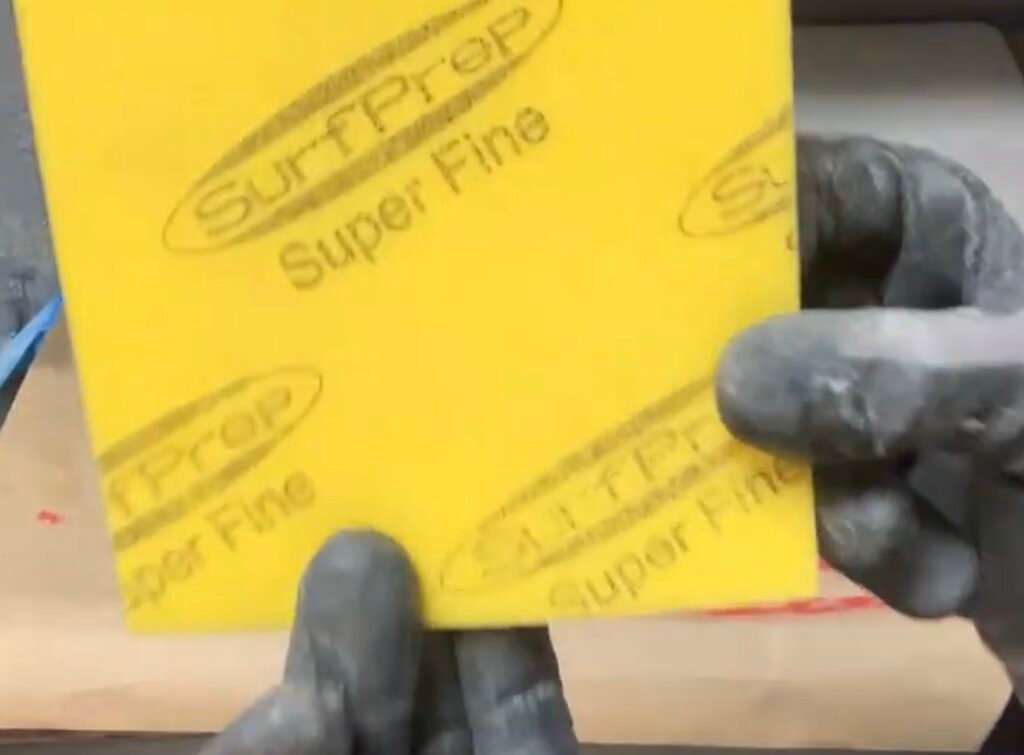
I straightened out the latch again and removed the existing patina using the SurfPrep Superfine sanding sponge.

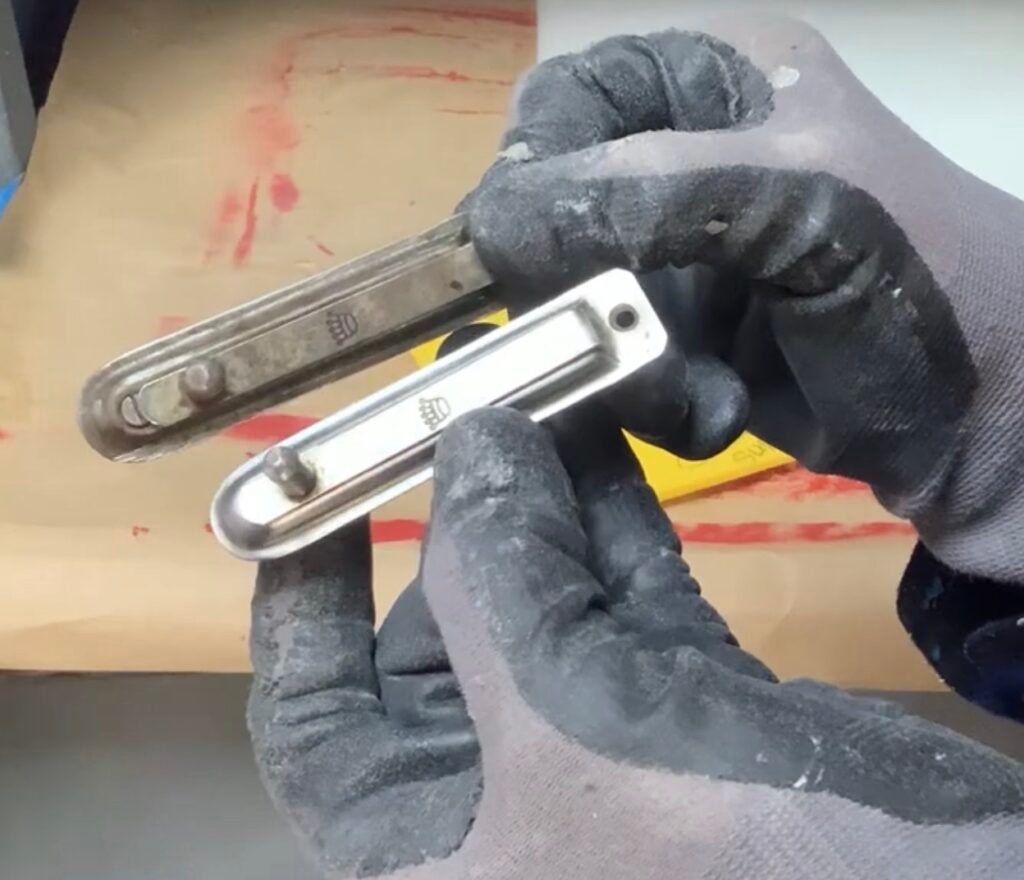
For the drawers that are hard to open, I use Big Mama’s Butta by Dixie Belle and work it in with the Finishing Pad—a very fine sanding pad—especially on the sliding surfaces. This significantly improves how smoothly these drawers slide.
I sealed the body with Terra Seal to preserve the matte finish of the Terra Clay Paint.
This brings us to the end of this ambitious project. I’d like to take this opportunity to thank you all for watching the video. I hope you enjoyed it and found it helpful.
If you have any questions, feel free to contact me at any time or just leave a comment below.
For now, I’d just like to say thanks for reading, and see you in my next blog post. 👋
Your Master of Disaster
Angela
Products used for this mega project (for reference):
Not all of my favorite products I carry myself in the shop. Nevertheless, I don’t want to withhold them from you and I’m happy about every cent in my coffee box so that I can continue to compile informative articles for you.
The links marked with an asterisk (*) are so-called affiliate links. If you click on such an affiliate link and buy via this link, I get a commission from the online shop or provider in question. But your price does not change!
Festool ROTEX RO 90 DX FEQ-Plus geared random orbital sander
Festool 497481 Interface Pad IP-STF-D90/6
Festool CTL SYS Mobile Dust Extractor – 575279
Hot air gun Steinel HL 1920 E*



Sign up for my newsletter and stay up to date.
I share new products, creative trends, helpful tutorials and exclusive offers with you.
You can easily unsubscribe at any time – via the link in the footer of every email or by sending me a message. You can find the relevant contact details in the imprint or directly in the newsletter.